Let's get one thing straight: CyanogenMod is one hell of a ROM. They've got a great community, a great product, and getting it on your HTC One couldn't be easier with their CyanogenMod installer, which does all the hard rooting and bootloader unlocking for you.
If at all you don't like CyanogenMod, you can revert back to factory settings, but as we've discovered, and as others have reported, as easy as it is to install CM on the HTC One, going back to stock Sense from it can prove elusive. Worry not, we've got you covered. You'll be back to browsing your Blink Feed in no time.
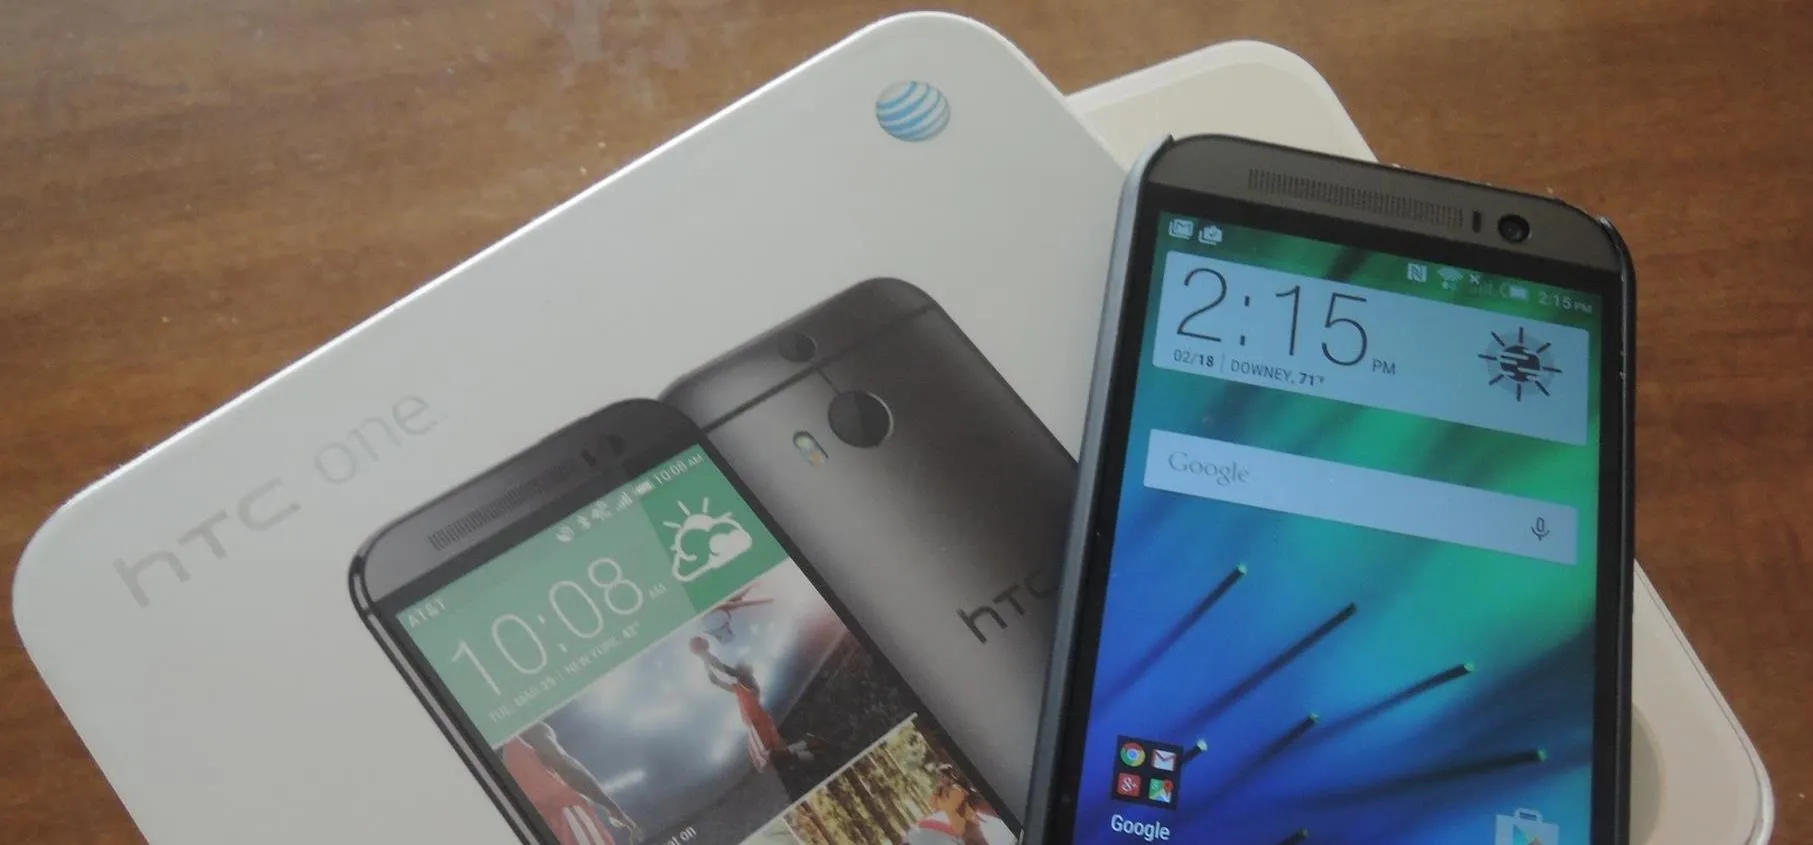
This guide applies to the AT&T version of the HTC One.
Back Up
Before we start, remember, by the time this process is complete, your device is going to go through a factory reset which means you're going to lose everything you care about. Make backups. Make all the backups.
Download Android SDK
Time to download the Android SDK tools so we can send commands from our PCs to our phones. There's a slim version I like to use which has only the essentials, or you could opt to download the full version from Google. Either is fine. I'll be using the slim version in this guide.
Extract File
Unzip the file using your extractor of choice. WinRar is mine and it's free. You can unzip it anywhere, as long as you keep it together and remember where it is. A lot of folks create a new folder on their desktop, name it SDK, then extract the file right in there.
Confirm Version
Make sure you have what you need by navigating to the folder where you've extracted the file, which should be android-sdk-windows. Open the file, then open platform tools.
Now hold in the Shift key, right-click, and select open command window here. In the terminal type in:
- adb version
If it kicks you back a version number, you're on the right path. Leave the terminal open.
Download HTC Sync Manger
To ensure you have the drivers on your PC that you need, download and install the HTC Sync Manager from HTC.
Download HTC ROM Update
This is the most recent software update to the AT&T HTC One officially released by HTC. This utility will run a setup wizard and apply the update to your device automatically via micro USB cable when you open it (when we're ready). Download and install from this link.
Enable USB Debugging
On your HTC One, select USB debugging in Settings -> Developer Options, if it's not already.
Lock Bootloader
To proceed further, the bootloader on your device needs to be locked. If you've been using Cyanogen, odds are it isn't. If you're not sure, power down your device. Now power it back on while holding in the volume down key.
At the bottom of your screen you should see Androids skateboarding, and at the top of your screen you should see text that either reads 'LOCKED' or 'RELOCKED'. If it reads 'UNLOCKED' you need to re-lock it.
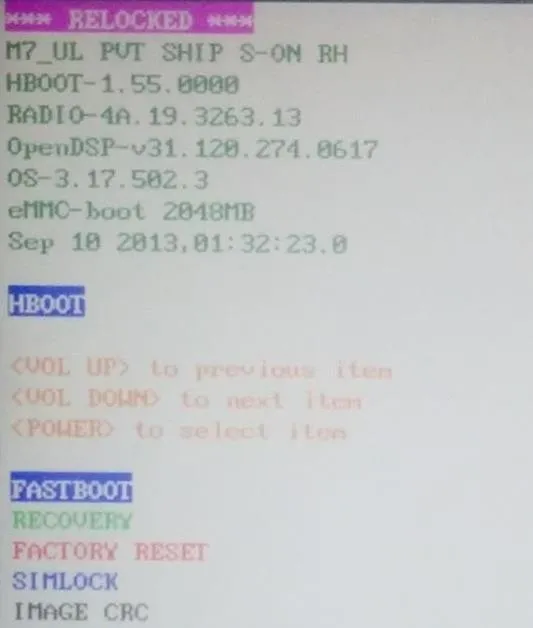
You can do this by plugging your device into your computer with your micro USB cable. Now, using the volume keys on your phone, highlight FASTBOOT on your device and use the power key to make the selection to enter the device in fastboot mode.
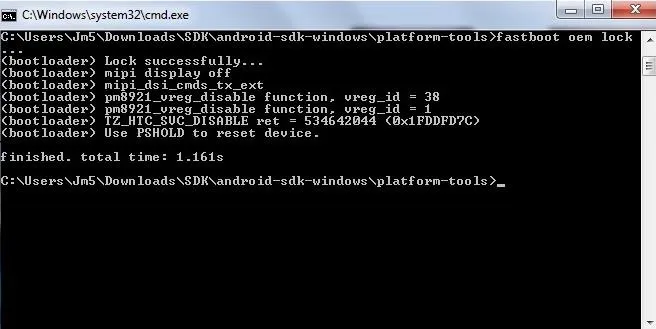
In the terminal on your PC, enter:
- fastboot oem lock
Run HTC ROM Update Utility
Ensuring your device is plugged into your computer with your micro USB cable and that it's in fastboot mode, run the HTC ROM update utility. Follow the instructions from the wizard until the update is complete. The process should take about ten minutes and your device will power off and on a few times. Don't disconnect the cable, power down your computer, or touch your phone until it tells you!
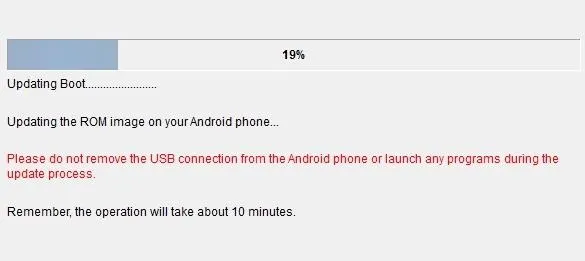
Once the wizard alerts you that the process is done, so are you! Enjoy your factory version HTC One! If you have any issues, let me know and I'll try and square you away.







Comments
Be the first, drop a comment!