


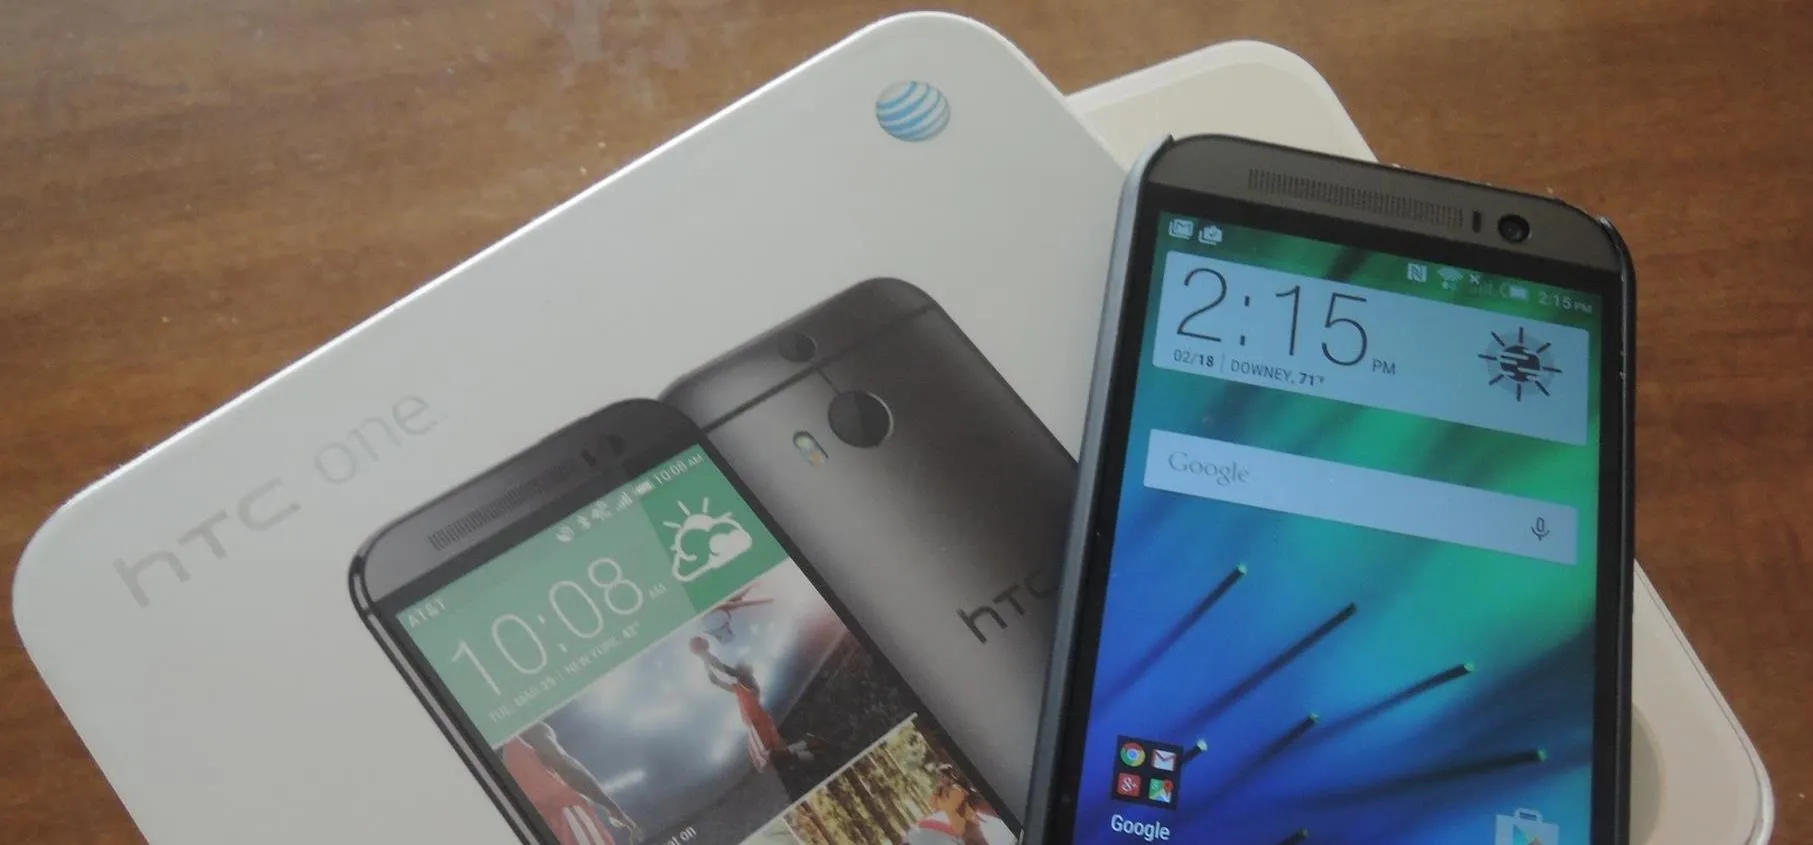
As a fan of the HTC One series, I almost always upgrade my phone soon after the new model becomes available. I purchased the M7 when it first came out, upgraded to the M8 shortly after its launch, and then jumped on the M9. However, I stopped right there.
Next in line was the HTC 10, the successor to the One M9. After assessing the hardware differences and handling the HTC 10 just after launch, I made the decision to stick with the M9 until the HTC 11 is eventually released. I didn't see a major advantage cost-wise in getting last year's model. Plus, having used the M9 for close to a couple years now, I've noticed several slight flaws that I've tweaked throughout time to improve performance. Now it's running better than ever.
Out of the box, the HTC One M9 is generally good to go for the average user, and I would still recommend the M9 to others since the price has diminished considerably since its May 2015 launch. That is, as long as they follow my three tips below for making it run as smoothly as possible.
Ideally, if the device is new to you, wait for a little while and use the stock configuration, as some of these instructions are written with the preface that the phone has accumulated at least some unique usage data.
Adjust App Settings to Improve Battery
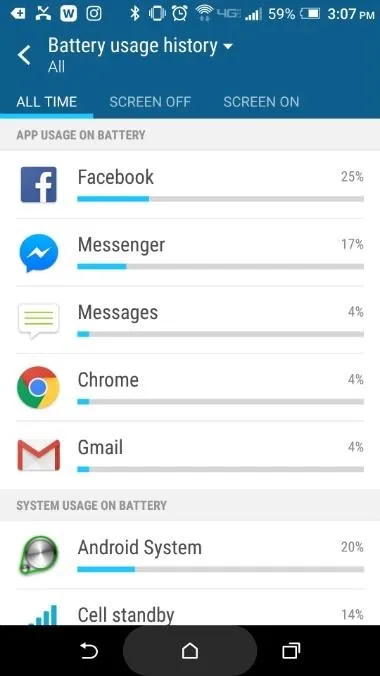
Out of the box, the battery life is horrible. So to improve battery life, open your Settings app and scroll down to the second section where you'll see "Power," and give it a tap. Next, select the Battery Usage tab, where you can see the amount of data utilized by each of your apps. Make note of the apps you see in the App Usage on Battery section, as these are the ones you'll be able to modify.
In the example below, you can see that Facebook is my most burdening application (which is common), so we'll make changes inside the app.
Open the Facebook app, then tap on the far right icon below the search bar. From here, scroll down to the Help & Settings section, and go into the App Settings tab. As notifications (as well as actually using the app) affect both battery usage and data, we'll modify these settings. Turn off as many of the options seen below (on the right) to prevent background processes from draining battery life.
I should probably disable some of these Facebook notifications.
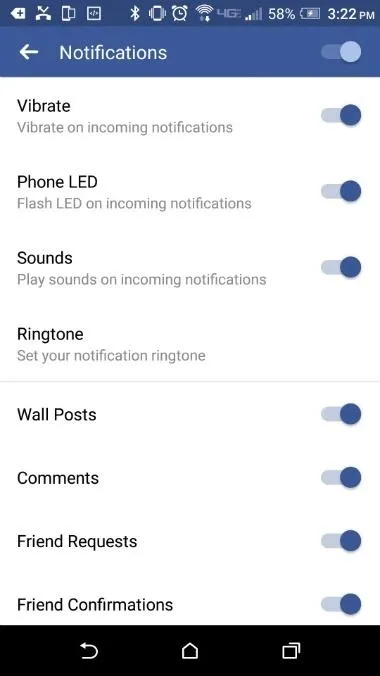
I should probably disable some of these Facebook notifications.
The process here is similar for other apps you'd like to tweak settings for, so go ahead and do that for each battery-hogging app you see.
Delete or Disable Unneeded Apps
Depending on where the device originated (i.e., the service provider that originally sold the phone), different applications are installed by default. Turning off or deleting apps will prevent them from running in the background, where they consume a small amount of resources, drain battery life, and utilize data.
Again, head to your phone's main Settings menu, then scroll down and select the "App Manager" entry. From here, scroll down through the apps, taking note of everything installed on the device. Find the apps you don't use, but make sure to avoid apps furnished by your service provider as well as those with "Android" in their names, as these may provide essential core functionality.
As an example, I have no use for anything Amazon related on my phone, so I'll disable or uninstall everything in the app family. To do that, select "Amazon" from the list (or an app of your choice) and tap the button at the top that reads "Disable" to deactivate the application. Repeat this process for other unwanted applications. If the option is provided, tapping "Uninstall" will get rid of the apps entirely.
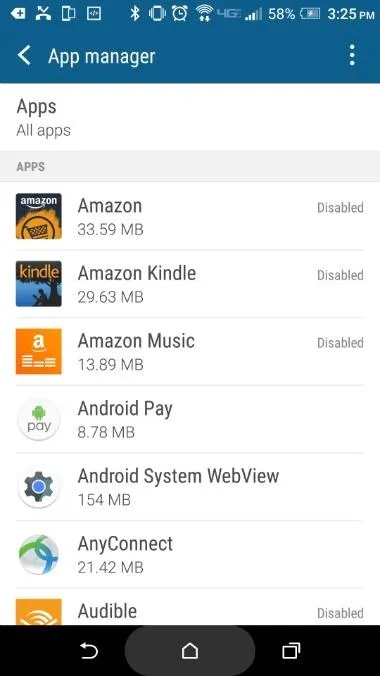
I like Amazon but the apps don't add any value to my phone.

I like Amazon but the apps don't add any value to my phone.
Get Rid of BlinkFeed
BlinkFeed is an app that aggregates your social media accounts and places them on the home screen in a messy kind of display. The idea is neat, but everything the app does can be accomplished with specific widgets that offer better customization with less information clutter. Plus, BlinkFeed consumes resources, which is probably its biggest downside.
So from your home screen, drag two fingers together in a pinching motion to open an interface for modification. The far left tile should be BlinkFeed. Hold a finger down on the tile directly to the right of BlinkFeed until the options "Set as Home" and "Remove" appear at the top of the screen, then drag that particular tile to "Set as Home." Finally, hold a finger on the BlinkFeed tile until these options appear again, then drag it to the "Remove" option.

This is BlinkFeed.
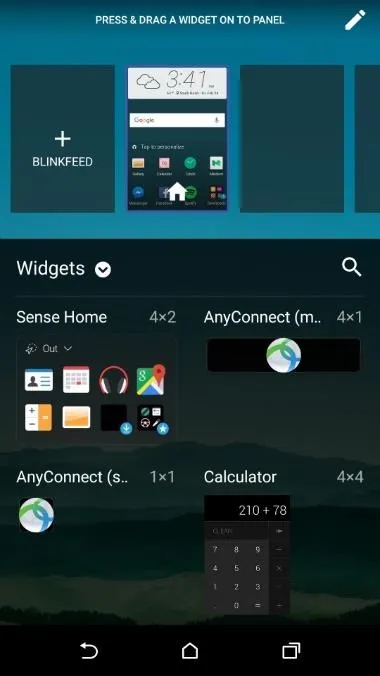
Things are better without BlinkFeed.
This is BlinkFeed.
Things are better without BlinkFeed.
Though the HTC One M9 may not be the most powerful phone on the market today, it's still a great device by today's standards. If you have an M9 and don't want to go through the process of rooting, the tips provided above will increase the performance considerably.
If you're planning on purchasing a M9 or already own the phone, make sure to complete these steps to speed up performance and further prevent the battery from dying by the late afternoon. This should keep things running smoothly until the HTC 11 becomes available.
- Follow Gadget Hacks on Facebook, Twitter, Google+, and YouTube
- Follow Android Hacks on Facebook, Twitter, and Pinterest
- Follow WonderHowTo on Facebook, Twitter, Pinterest, and Google+
Cover photo by Karlis Dambrans/Flickr
Screenshots by Nick Epson/Gadget Hacks


Comments
Be the first, drop a comment!