What's the point of having a 1080p screen if you're not using it to get in some quality gaming time? Google Play is great for downloading games, but you probably already have an extensive library of games for your consoles, so use those!
Emulators are a dime a dozen, but RetroArch managed to bundle them all into one. Created by Libretro, RetroArch aims to provide users with a easy and reliable way to play their favorite retro and modern games.
The emulator supports most gaming consoles out there, with the exception of the newer generations. You can play SNES, N64, PS1, Game Boy, GBA, and more! In this softModder guide, I'll be showing you how to get started with RetroArch and set it up for a close-to-real emulator experience.
Installing RetroArch
RetroArch can be installed directly from Google Play, so no need to worry about Xposed or rooting your device. After installation, open it from your app drawer and continue with the setup process, which is basically a few pop-ups asking you to allow the app to run the different emulators it has.
Getting Game ROMs
While I can't link you to any specific game ROMs, there are plenty of places out there where youcanlook—just be sure to only download ROMs for games that you own, otherwise you're entering into murky pirate territory.
Playing Game ROMs
Once you've downloaded the ROMs, and their corresponding BIOS files if you need them, just open up RetroArch and tap the Load Content (Detect Core) option.
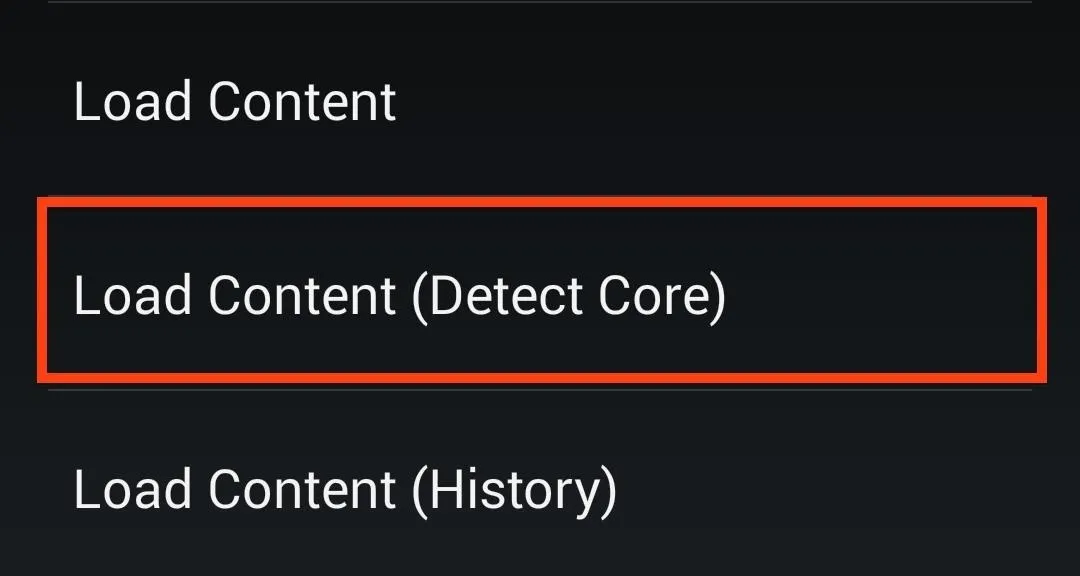
Now head to your Download folder, or wherever you downloaded game ROMs, and select the game you want to play. If there is more than one emulator to play a certain ROM, like with Game Boy games, it will prompt you to choose which you prefer. Some emulators, like the Nintendo DS, don't seem to have a proper control overlay, so I wouldn't recommend playing those.
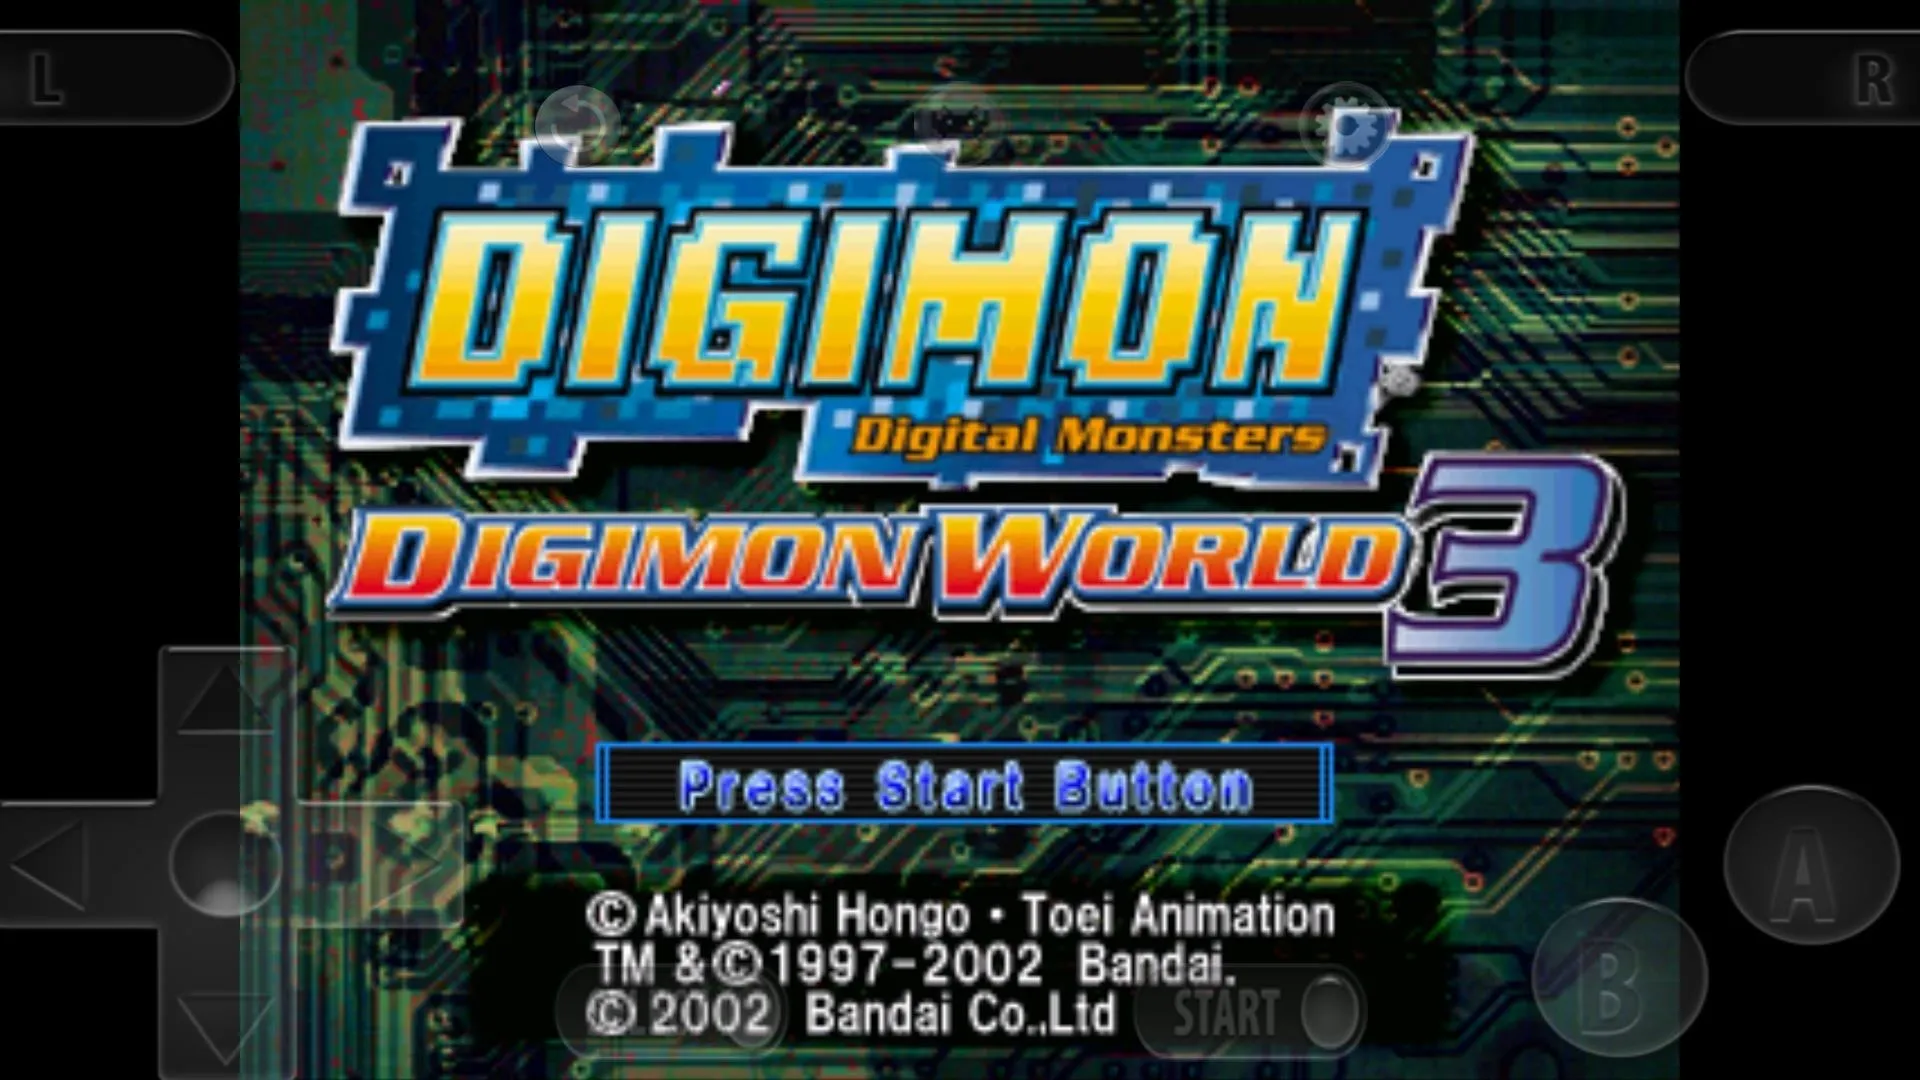
I've used RetroArch to play MAME, Game Boy Advanced, and PlayStation ROMs, and they've all worked great, despite some lag here and there.
Adjusting Gameplay Settings
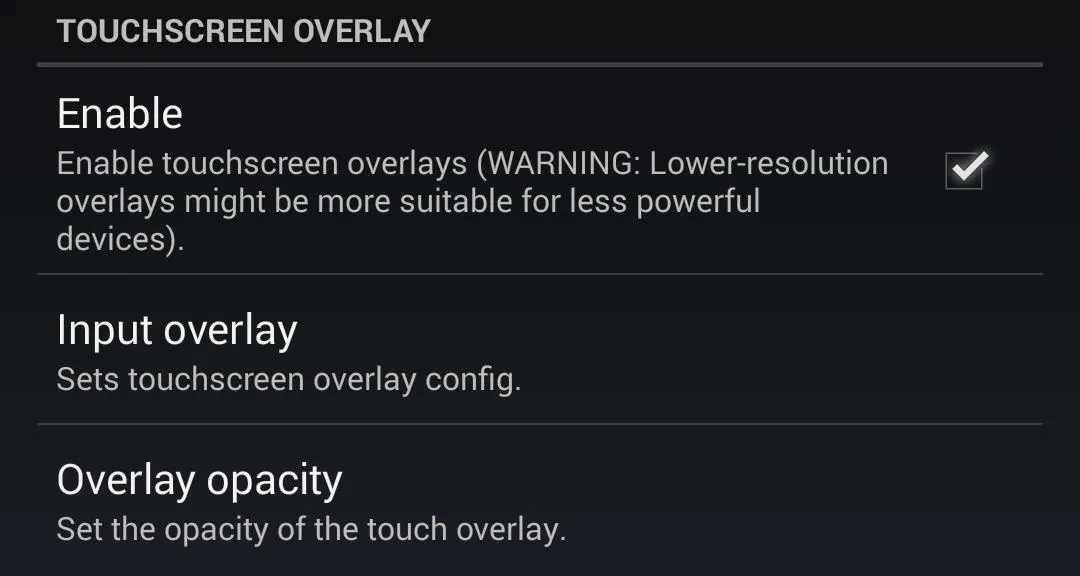
Once you start a game, a default controller overlay will be added. The default controller can be changed by tapping the Settings option in the RetroArch main menu and going to the Input tab. Under Touchscreen Overlay, you'll see an Input Overlay option, which will let you pick the controller you want on your device.
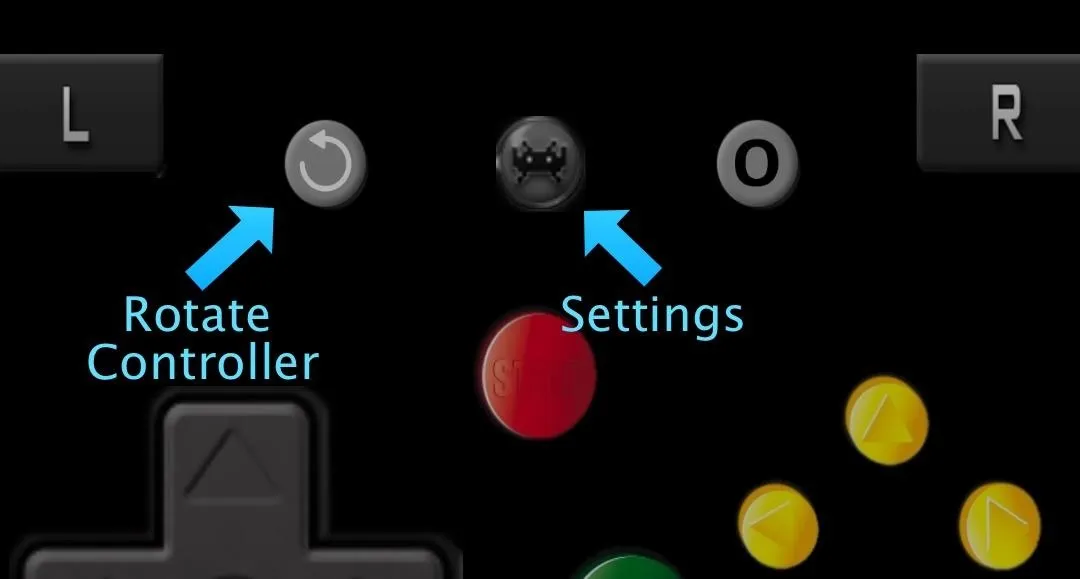
After you have the controller that feels right, go ahead and re-open the ROM. The screen will auto-rotate to match the orientation of your phone, just be sure to hit the Rotation Icon on top of the overlay to change the controller orientation as well.
Adjusting Settings in Games
Any settings you changed from the main settings page can also be changed while the ROM is running, all you have to do is hit the RetroArch icon in the middle of the controller. This makes it especially easy to change controller overlays on the fly.
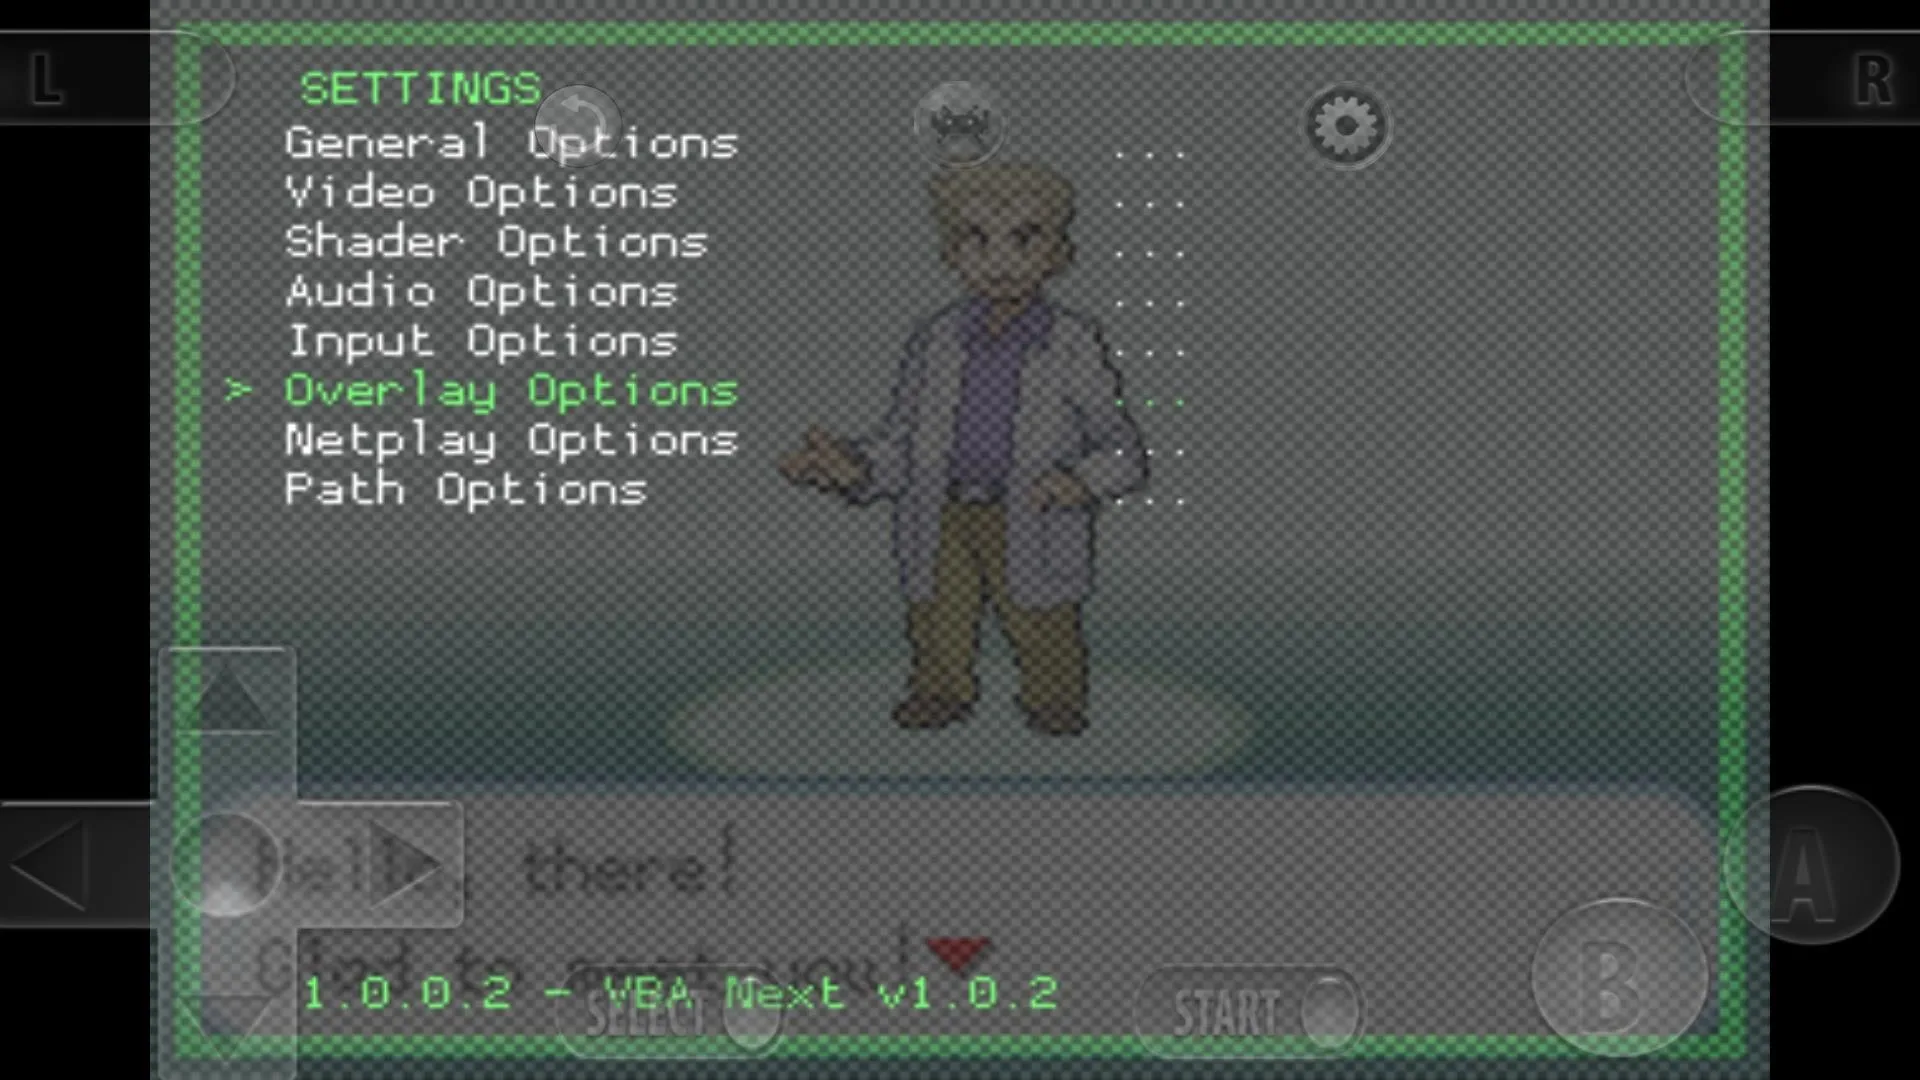
Using Save States
RetroArch comes with the ability to Auto Save games when you exit the app, because you're a grown up now and don't have time to look for a save point. You can also have it automatically start up the last save state you made when you launch RetroArch.
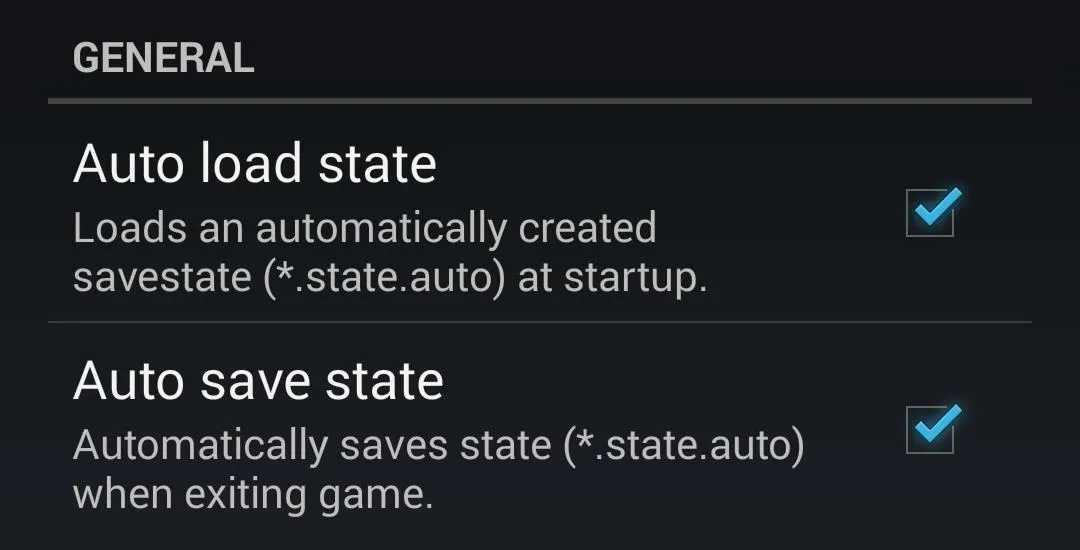
To enable both these options head to Settings -> General and check the boxes next to Auto Load State and Auto Save State
Using Custom Directories (Optional)
If you like to keep your internal memory organized, you may want to look into moving your game saves, ROM, and BIOS files into individual folders. Once you have them all organized, RetroArch will be able to auto-detect them, after you set it up of course.
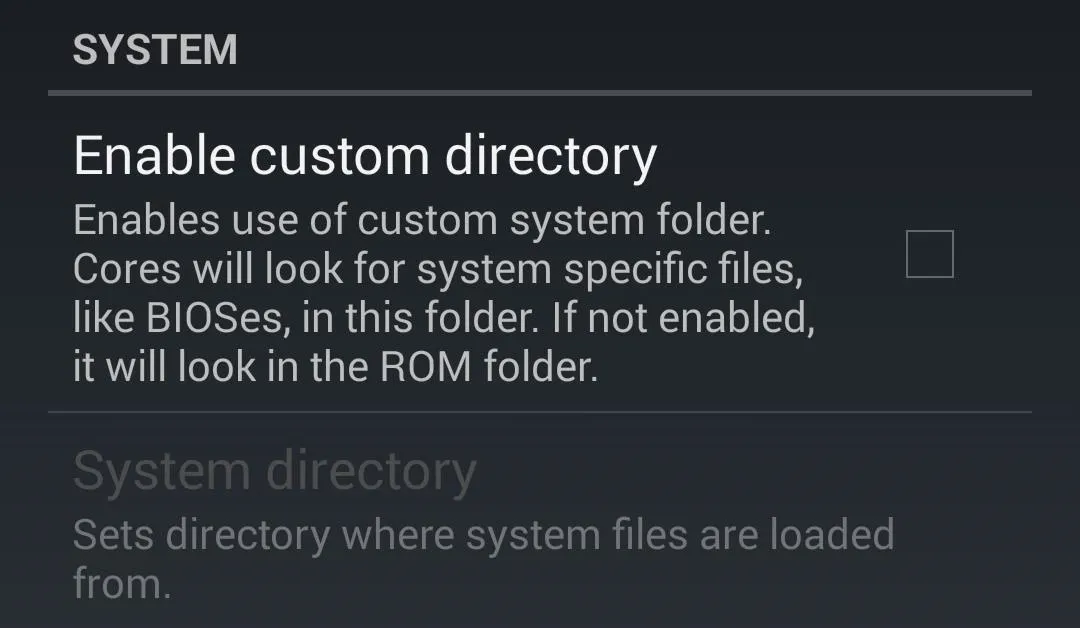
To set up custom directories, go to the Paths tab in the Settings menu. Enable each custom directory you have set up and then select the folder you placed the files in.
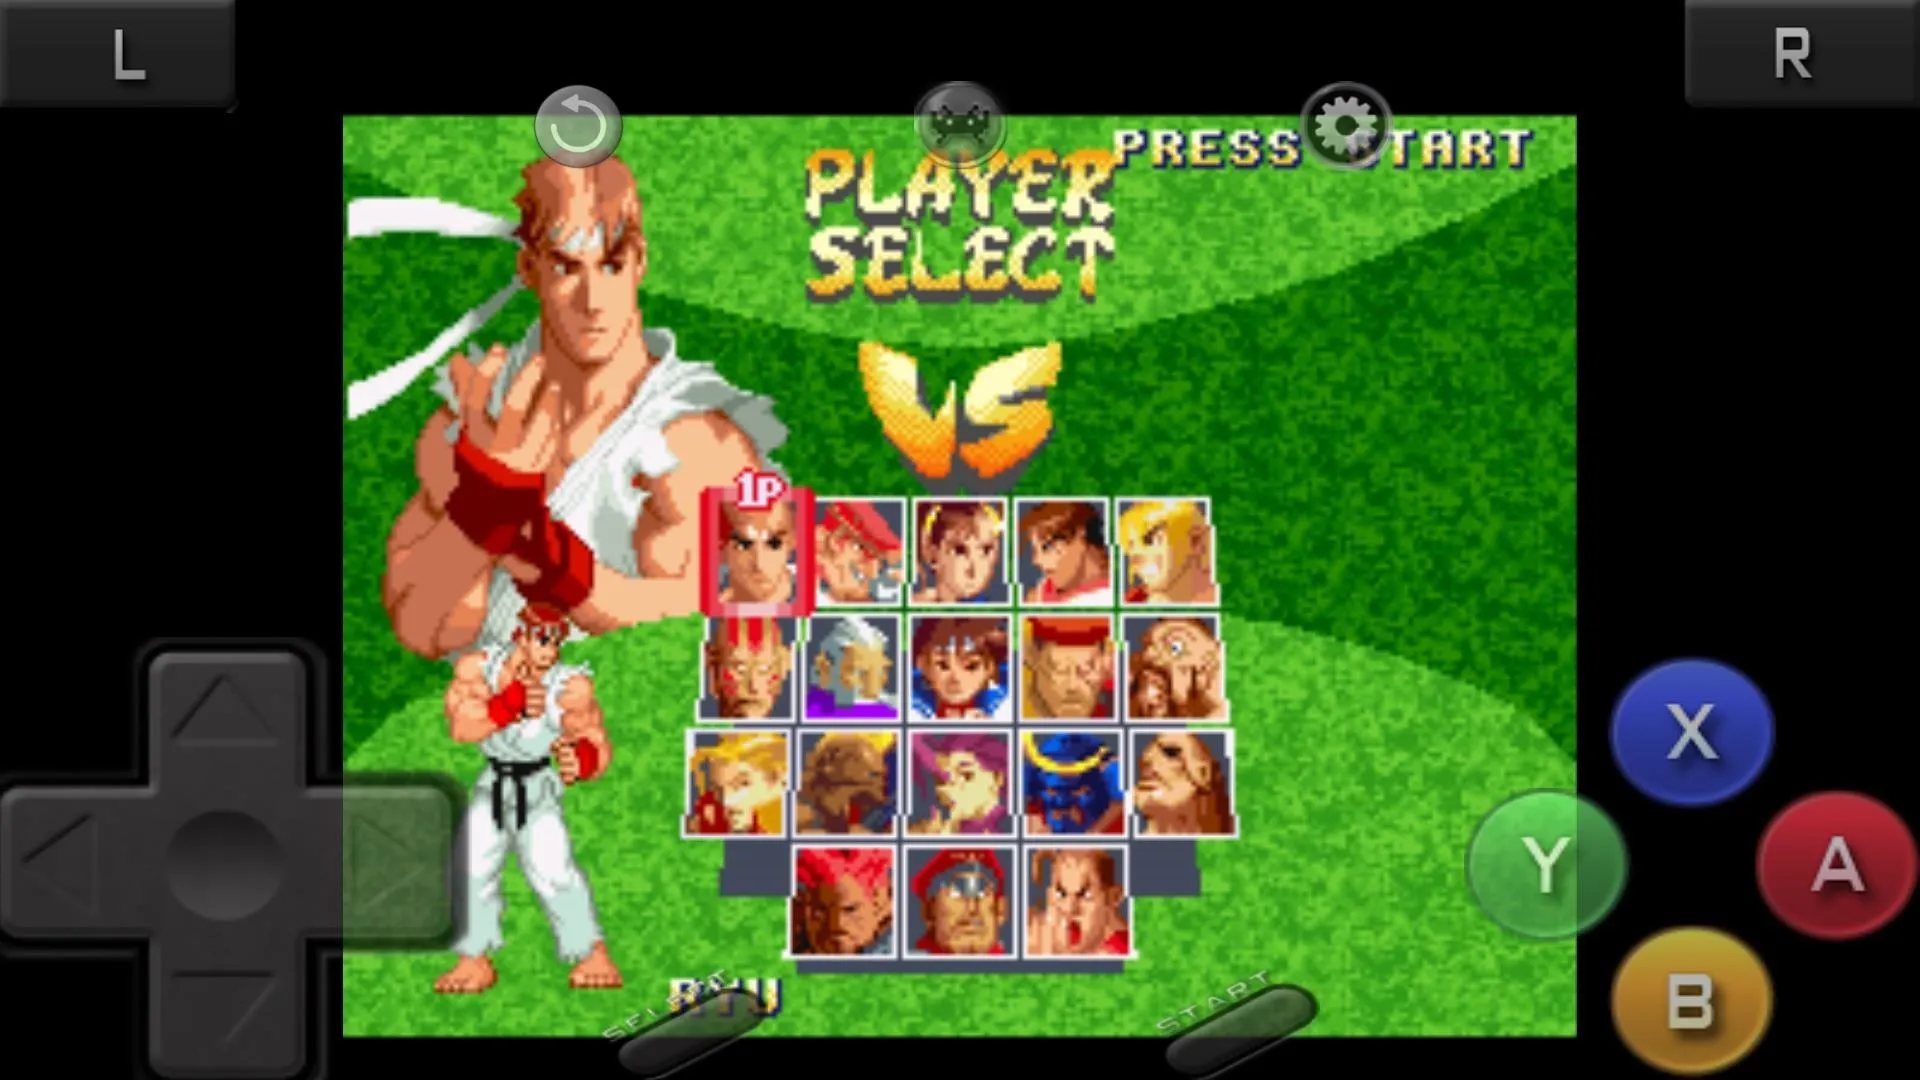
RetroArch should have no issues running most ROMs on your HTC One, or any other high-end Android, just be sure to have the proper ROMs and BIOS files loaded up. There are plans to add more controllers, so be sure to check back to see when the update comes out!







Comments
Be the first, drop a comment!