One of the most heated topics in the Android community now (and probably forever) is stock Android, with lots of users requesting the ability to use it rather than the manufacturer's skin.
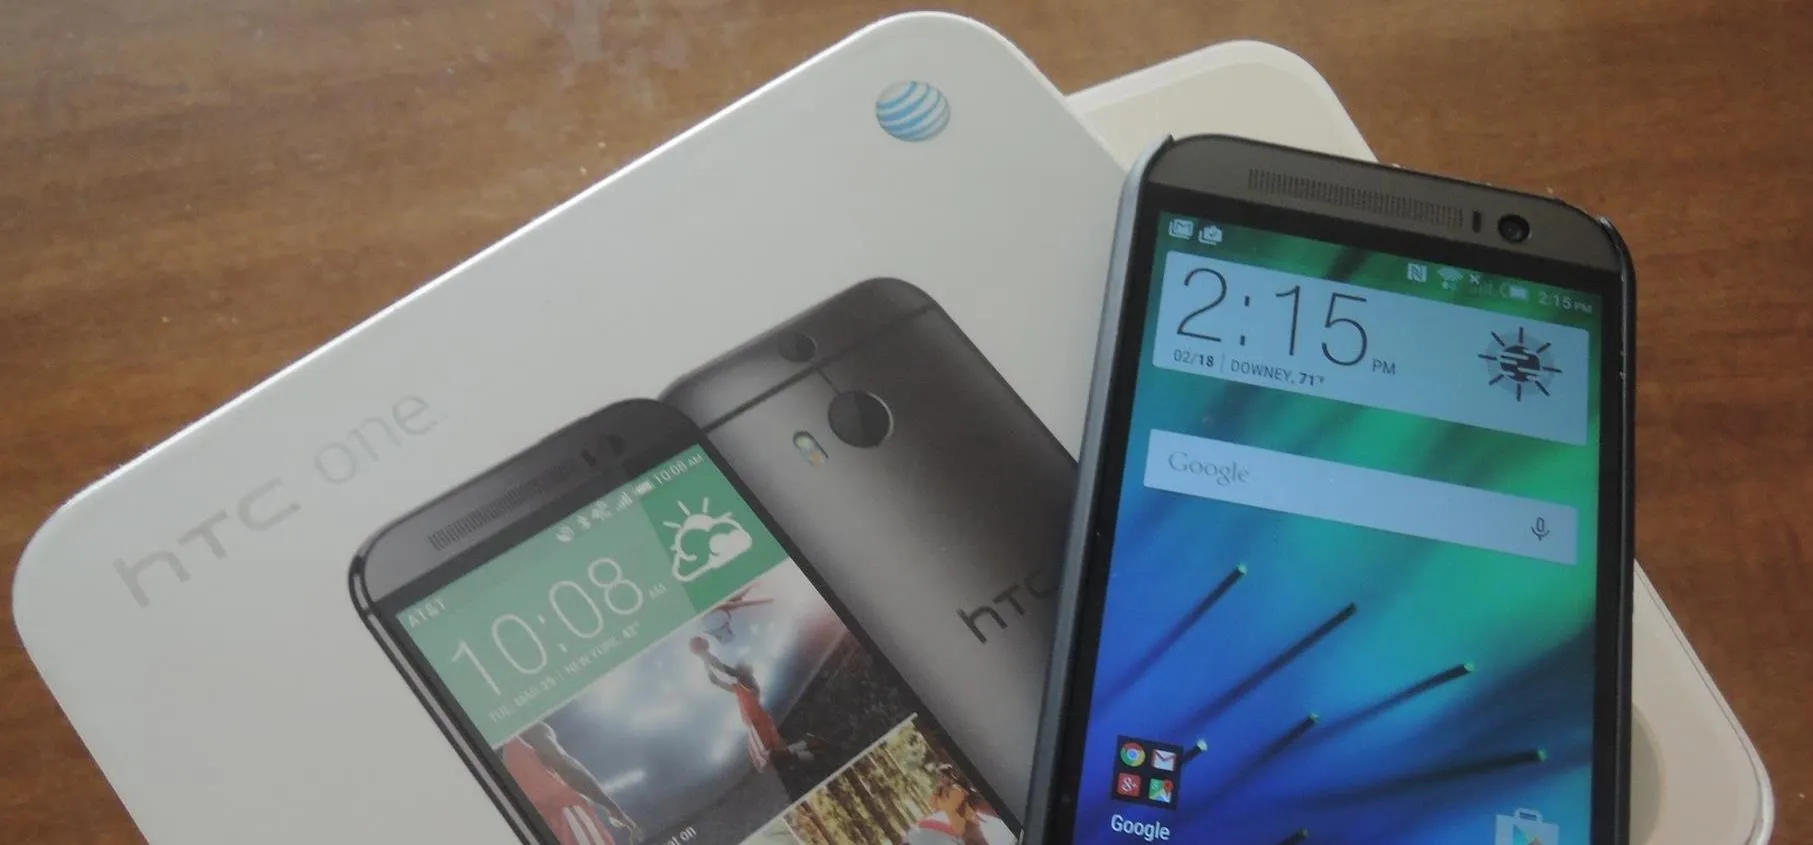
That's why Google has been offering phones like the HTC One, Samsung Galaxy S4, and Moto X in the Play Store with a nearly stock Android system—so that users don't have to deal with the bloatware from manufacturers and carriers if they don't have to.
What's Even Better?
As a softModder, there's something even better than the stock experience—CyanogenMod—a community-developed ROM that provides a stock experience with the most desirable softMods built right into the ROM.
The latest version (10.2) is based on Android 4.3 and can be downloaded right now. It's still in the nightly phase, which means updates are released for testing every night, so stability is not guaranteed and problems are to be expected.
Don't worry, though, there is an easy way to update the ROM build in CyanogenMod, which I will cover later. If that does not scare you off, read on to learn how to get CM instead of Sense on your HTC One right now.
Prerequisites
Before you go any further, you must have the following.
- Unlocked bootloader. This goes without saying. Any custom ROM requires this. Check with our previous guide to unlocking the HTC One bootloader for more details.
- Custom Recovery. TWRP is preferred.
- Latest CyanogenMod 10.2 Nightly for your specific HTC One:
- AT&T
- Sprint
- T-Mobile
- International GSM
- Verizon (sorry, it has a permanently locked bootloader)
- Latest Gapps from here.
Make sure the CM nightly and Gapps files are downloaded onto the root of your HTC One's internal storage before proceeding.
Backup Current Configuration
You will lose everything when installing this ROM, so we will make a backup in case you ever want to go back to the stock Sense ROM or whatever you had before. In your custom recovery (TWRP), do the following.
- Tap Backup.
- Check the boxes for System, Cache, Data, Boot, and Recovery.
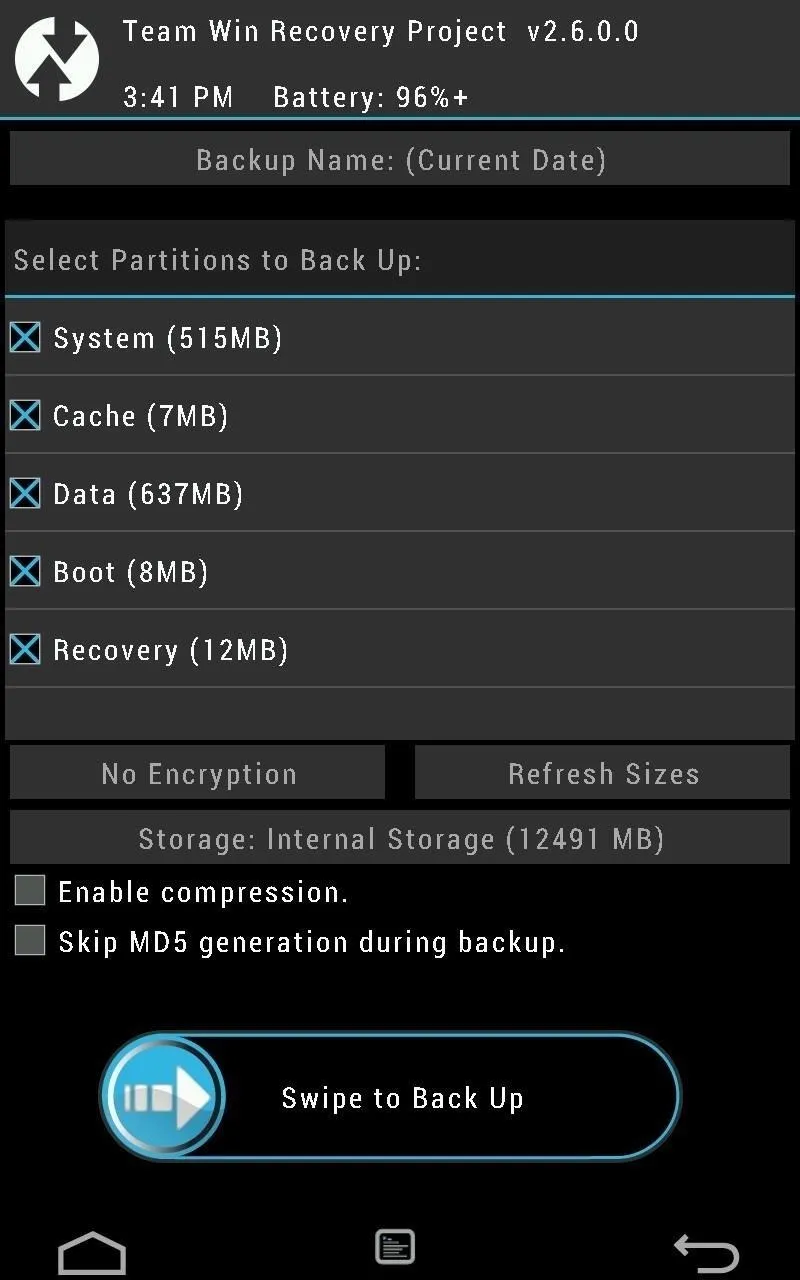
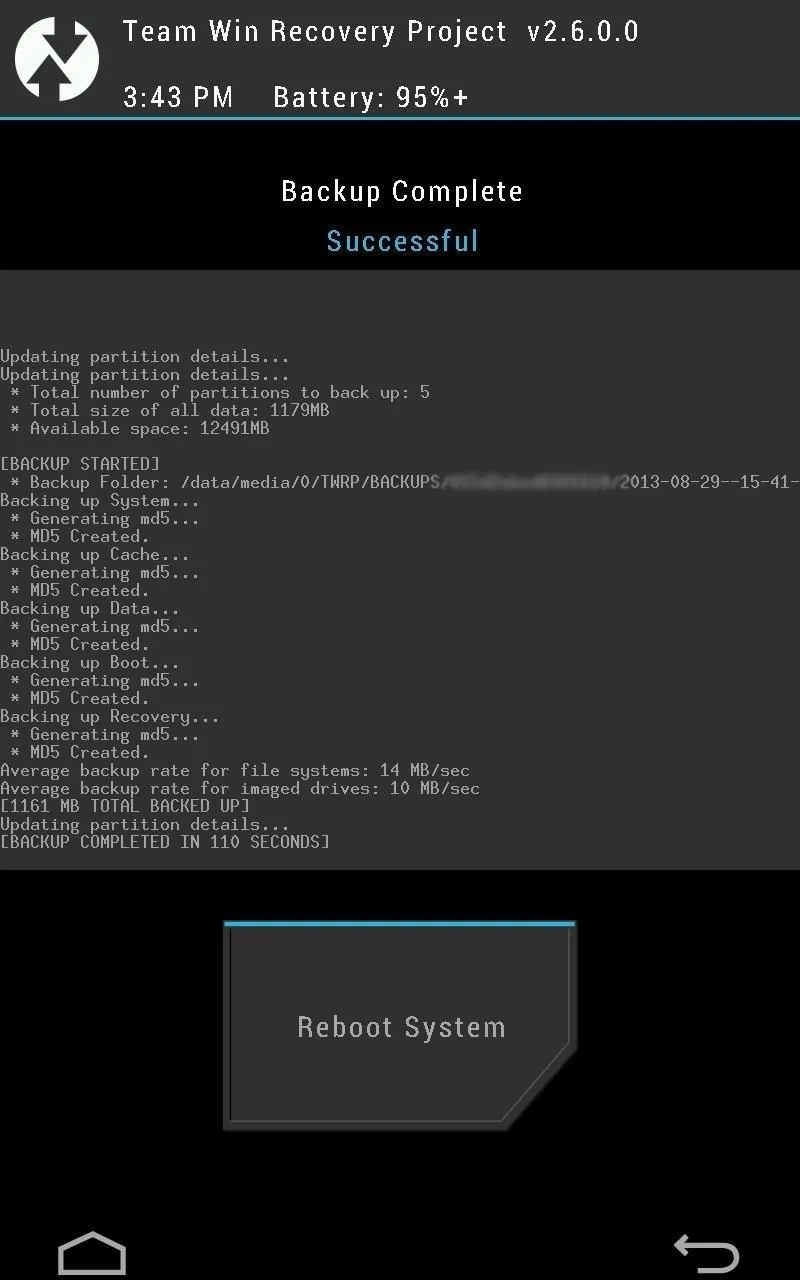


- Swipe to Back Up.
- Tap the Home button once it's done.
Wipe the Device
Now that you're all backed up, we're going to need to wipe the device so nothing gets messed up when you install CyanogenMod. Don't worry, your internal storage is not wiped when doing this! In your custom recovery (TWRP), do the following.
- Tap Wipe.
- Tap Advanced Wipe.
- Check the Dalvik Cache, System, Cache, and Data boxes.
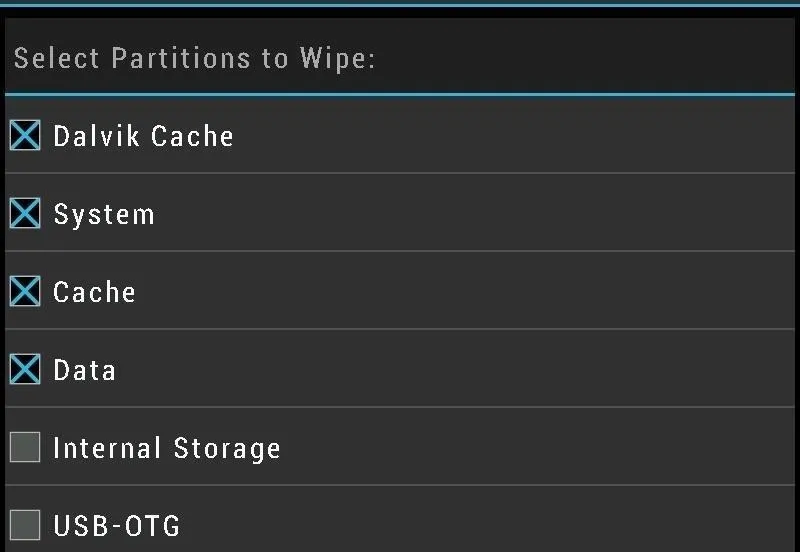
- Swipe to Wipe.
Install the ROM
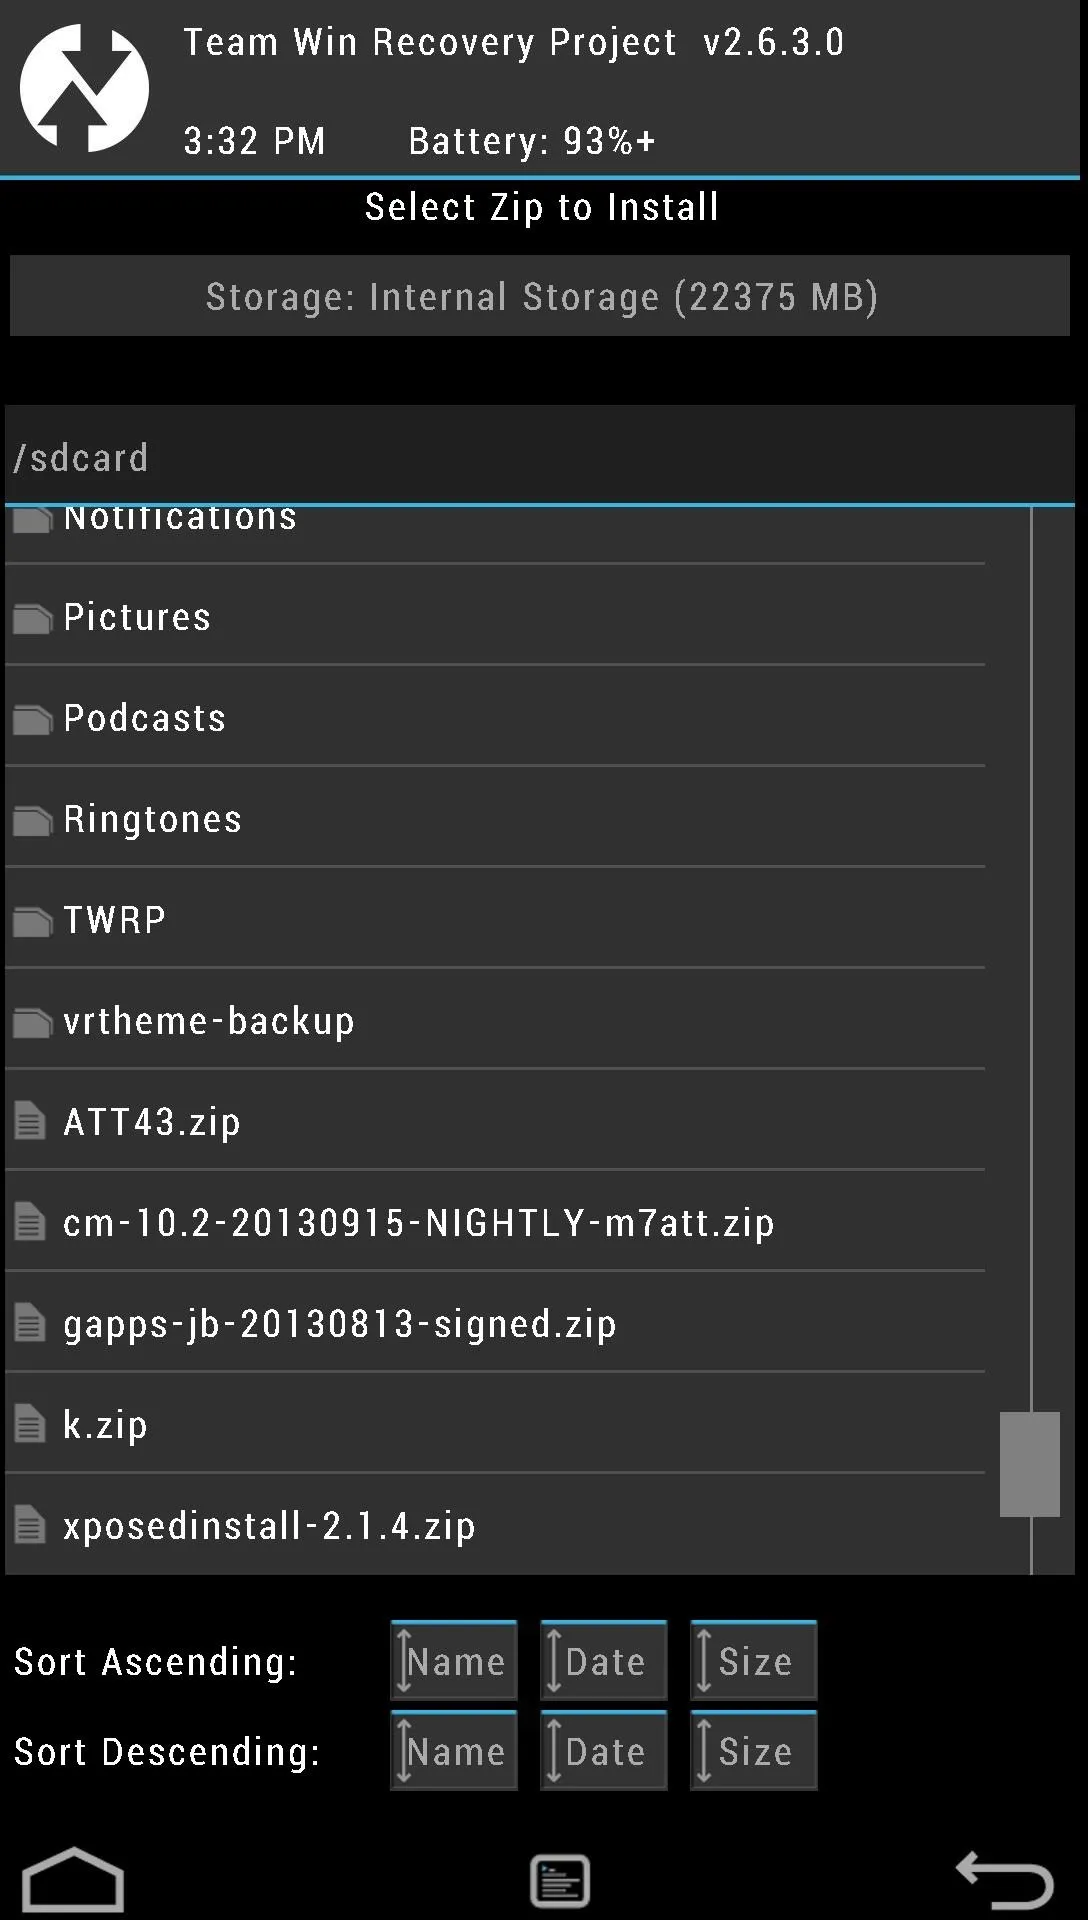
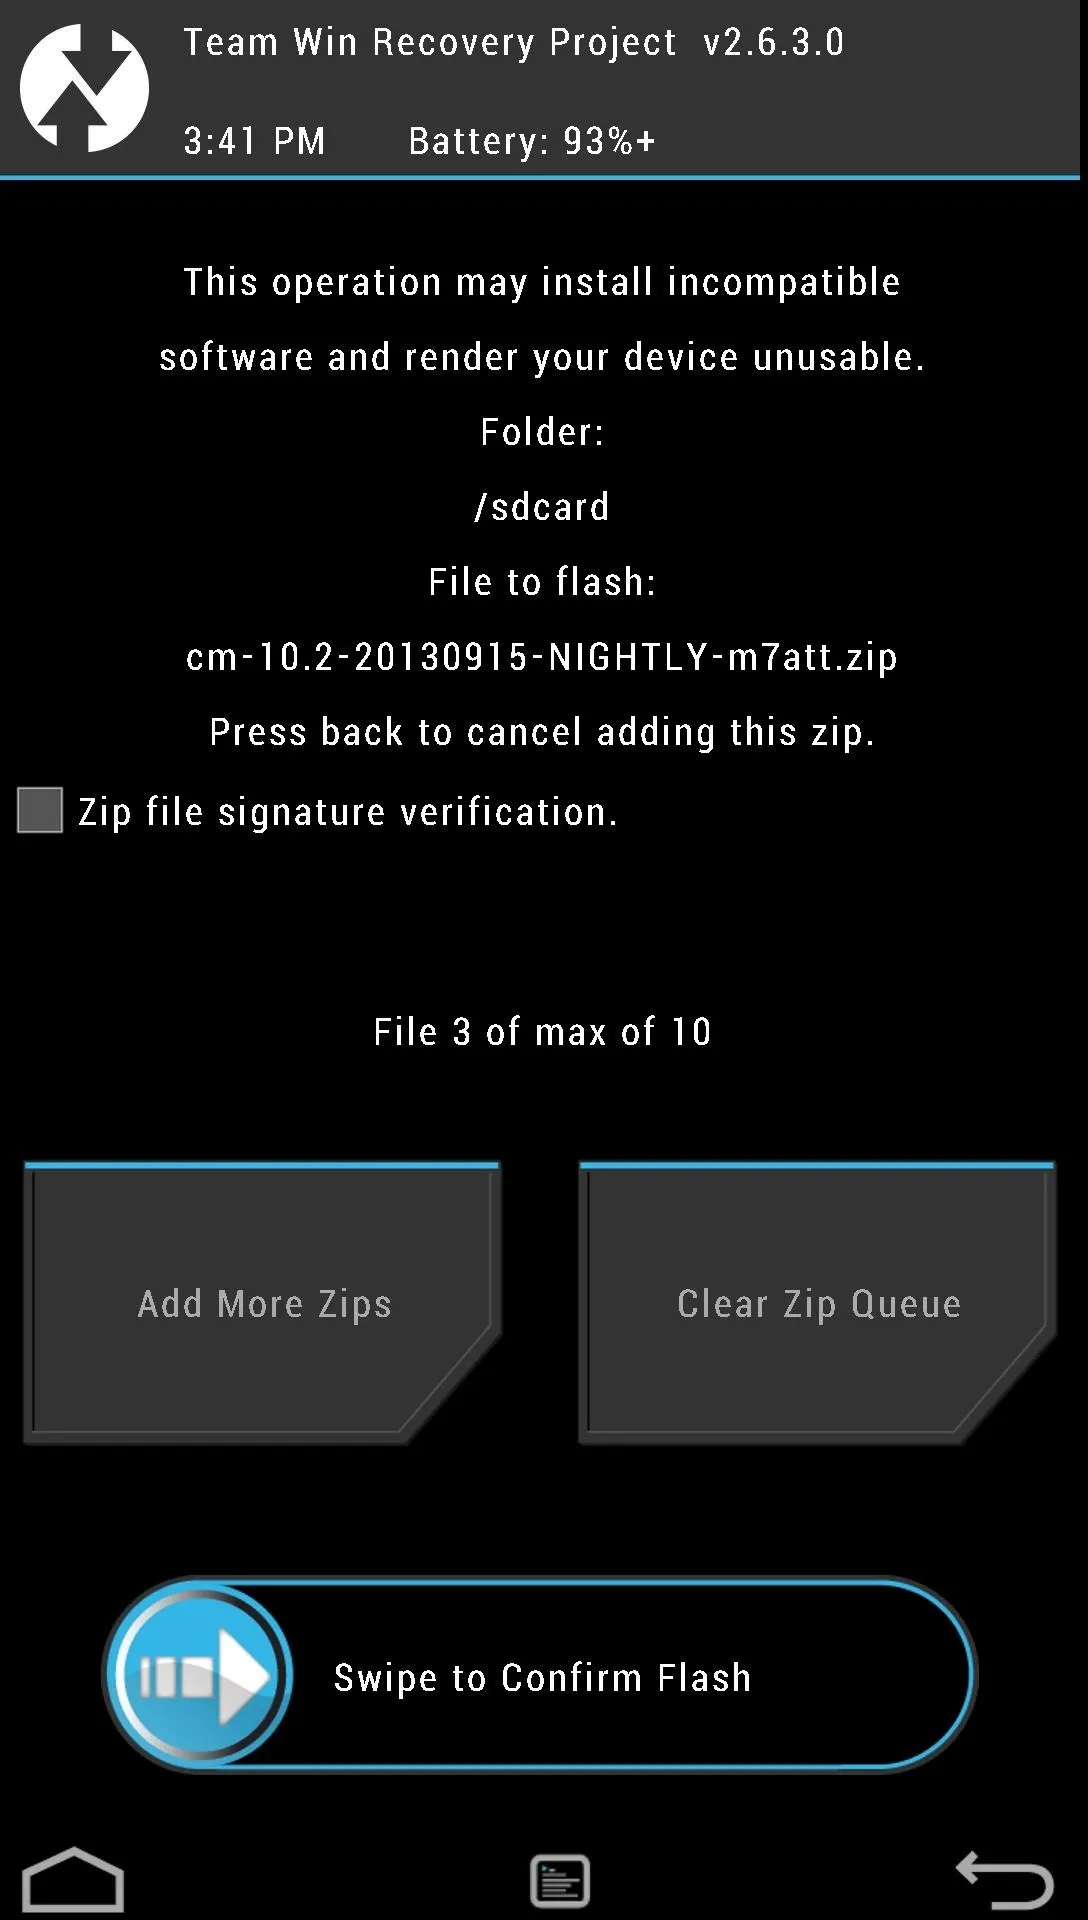
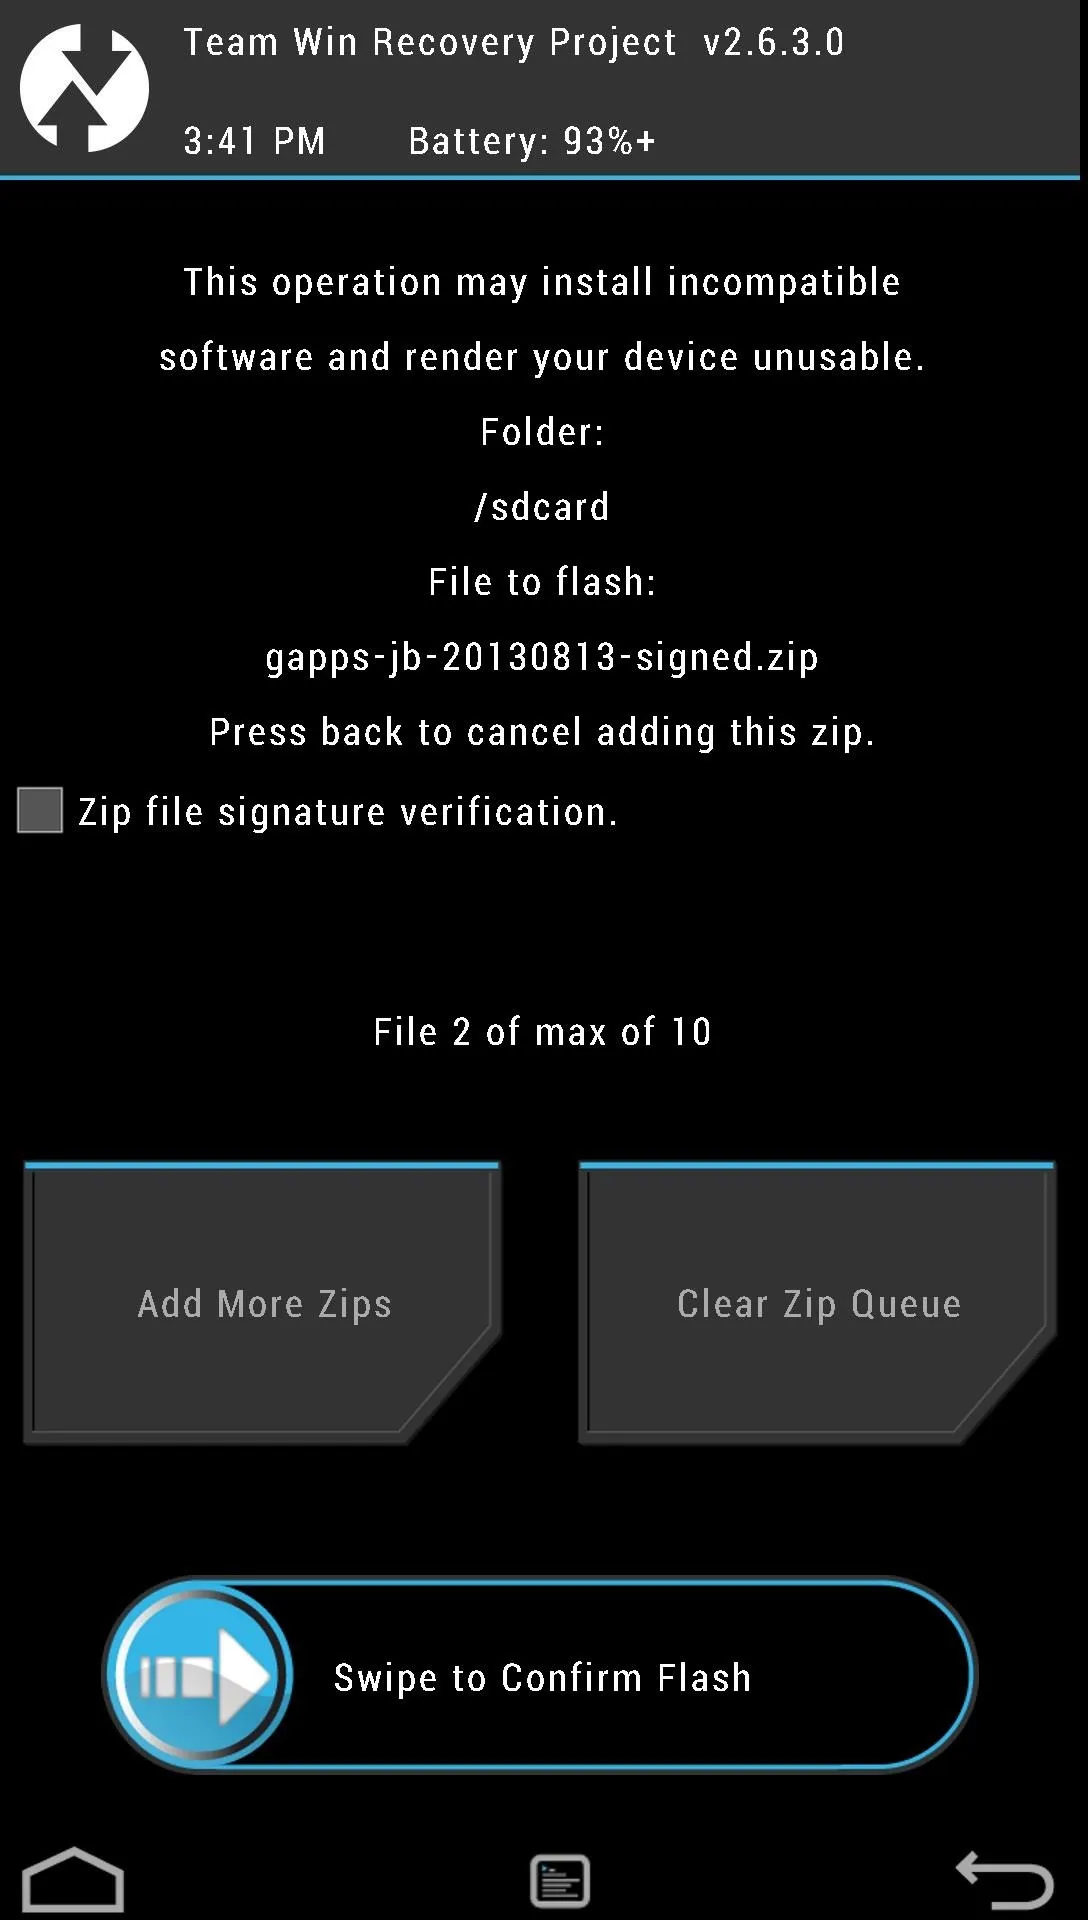
Now that we've backed up and wiped the device, it's time to install the new CyanogenMod ROM. In your custom recovery (TWRP), to do the following.
- Tap Install.
- Select the CyanogenMod 10.2 .zip file you downloaded earlier.
- Tap Add More Zips.
- Tap on the Gapps .zip file you downloaded earlier.
- Swipe to Confirm Flash.
- Remove the USB cable once it's done (if even connected).
- Tap Reboot System and the device will reboot.


Set Up the ROM
The first boot will take a while longer than normal, as with all first time installs, so let it boot up and it should bring up the setup screen once it is finished. Let's run through the options.
CyanogenMod Accounts
First, you will see an option to setup a CyanogenMod account. This allows you to track your phone and remotely erase your phone from the CyanogenMod Account Manager. It's a secure alternative to the Android Device Manager. It's your prerogative if you want to setup the account; it's not needed for the ROM to work.
Other Setup Options
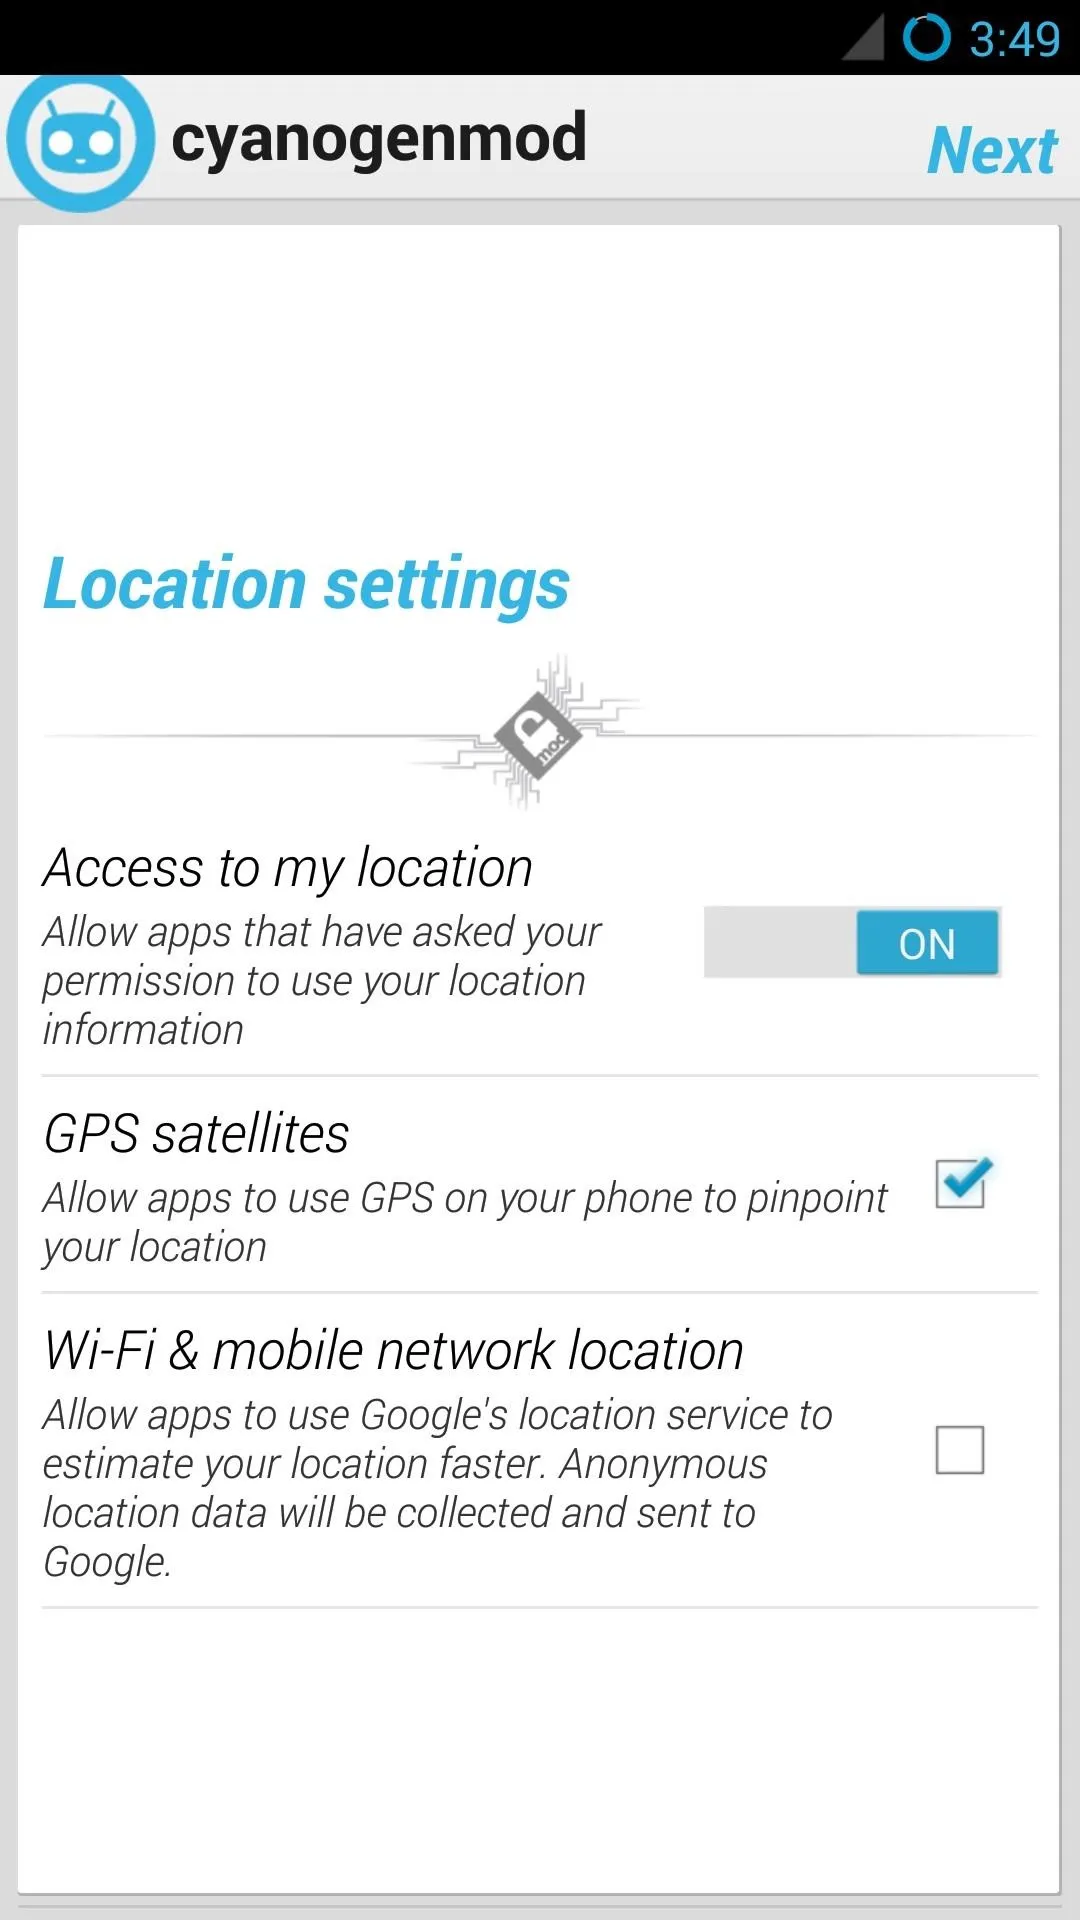
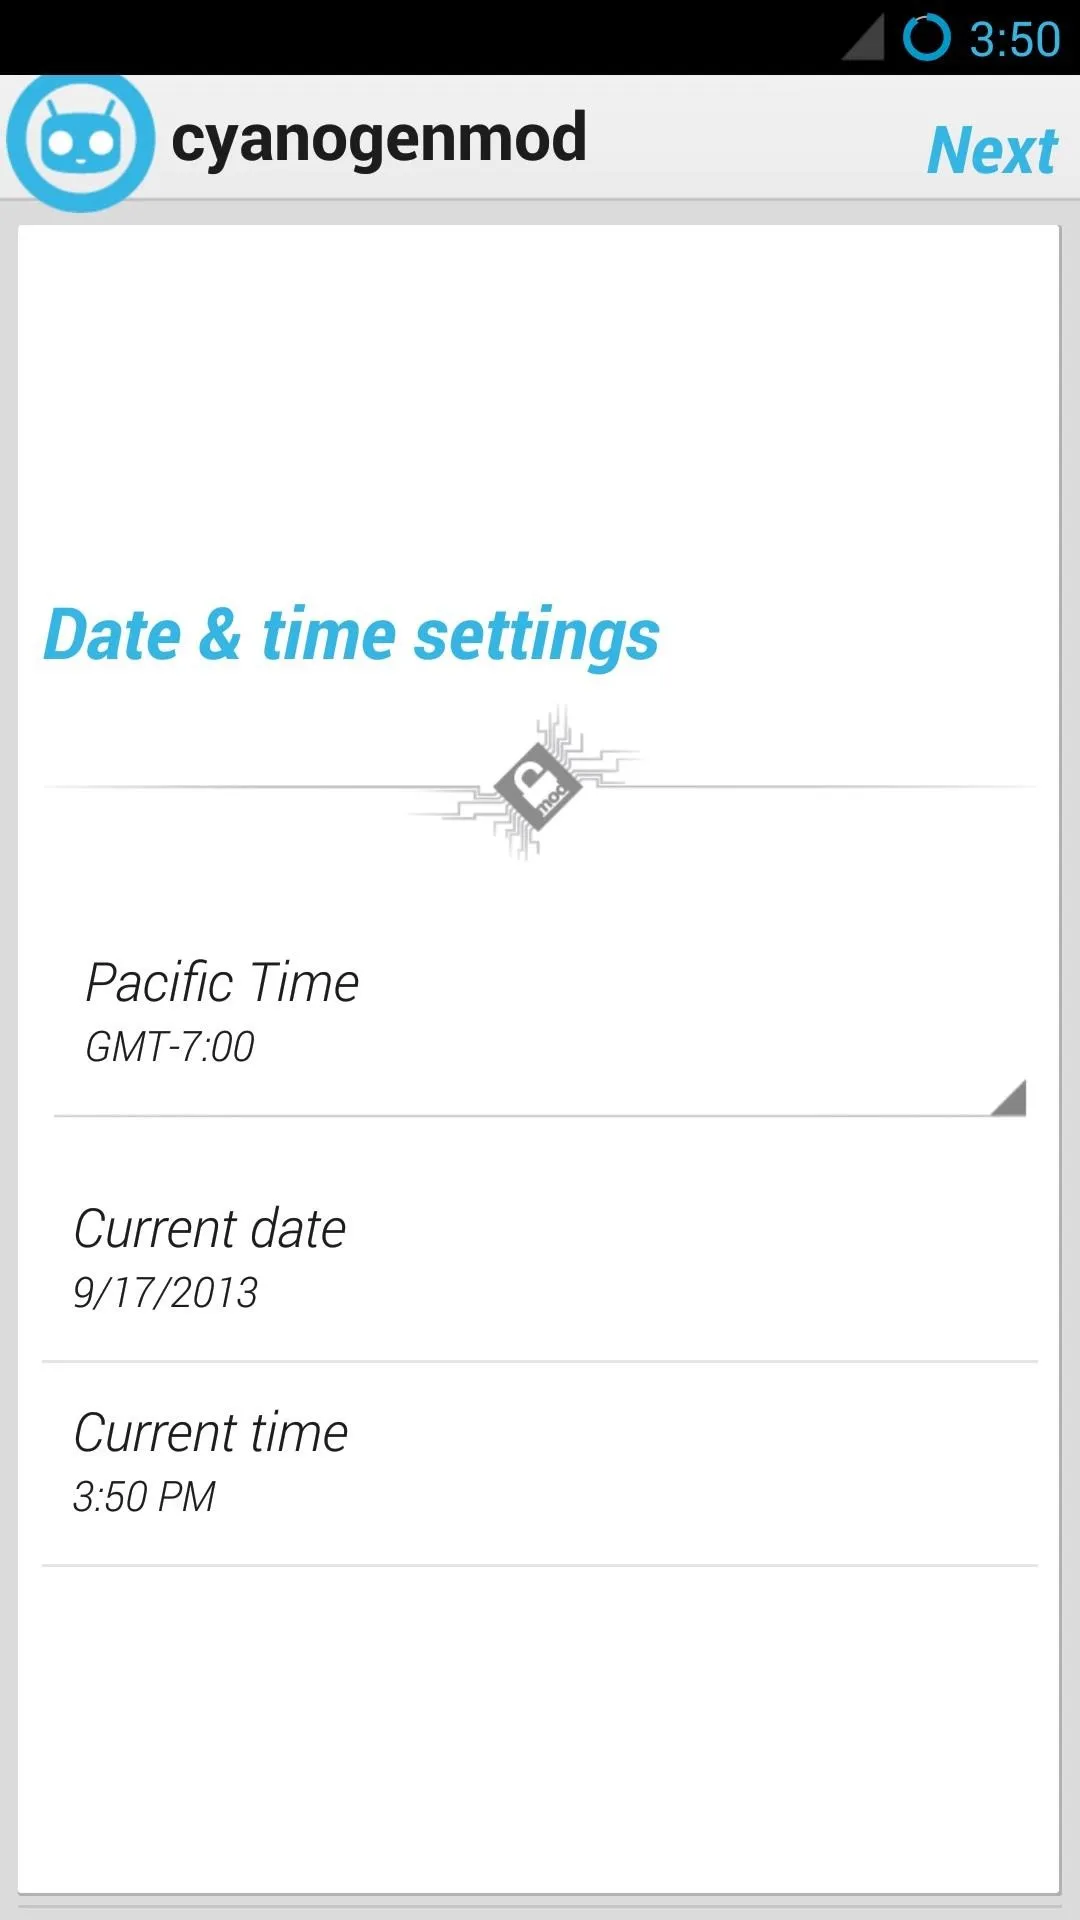
Next, you will see options for Location Settings, Google Accounts, and Date & Time. Set these up how you would like and you're done!


Make Sure CM Is Up to Date
As I mentioned in the beginning, there's an easy built-in way to update CyanogenMod to the latest nightly edition. To do this:
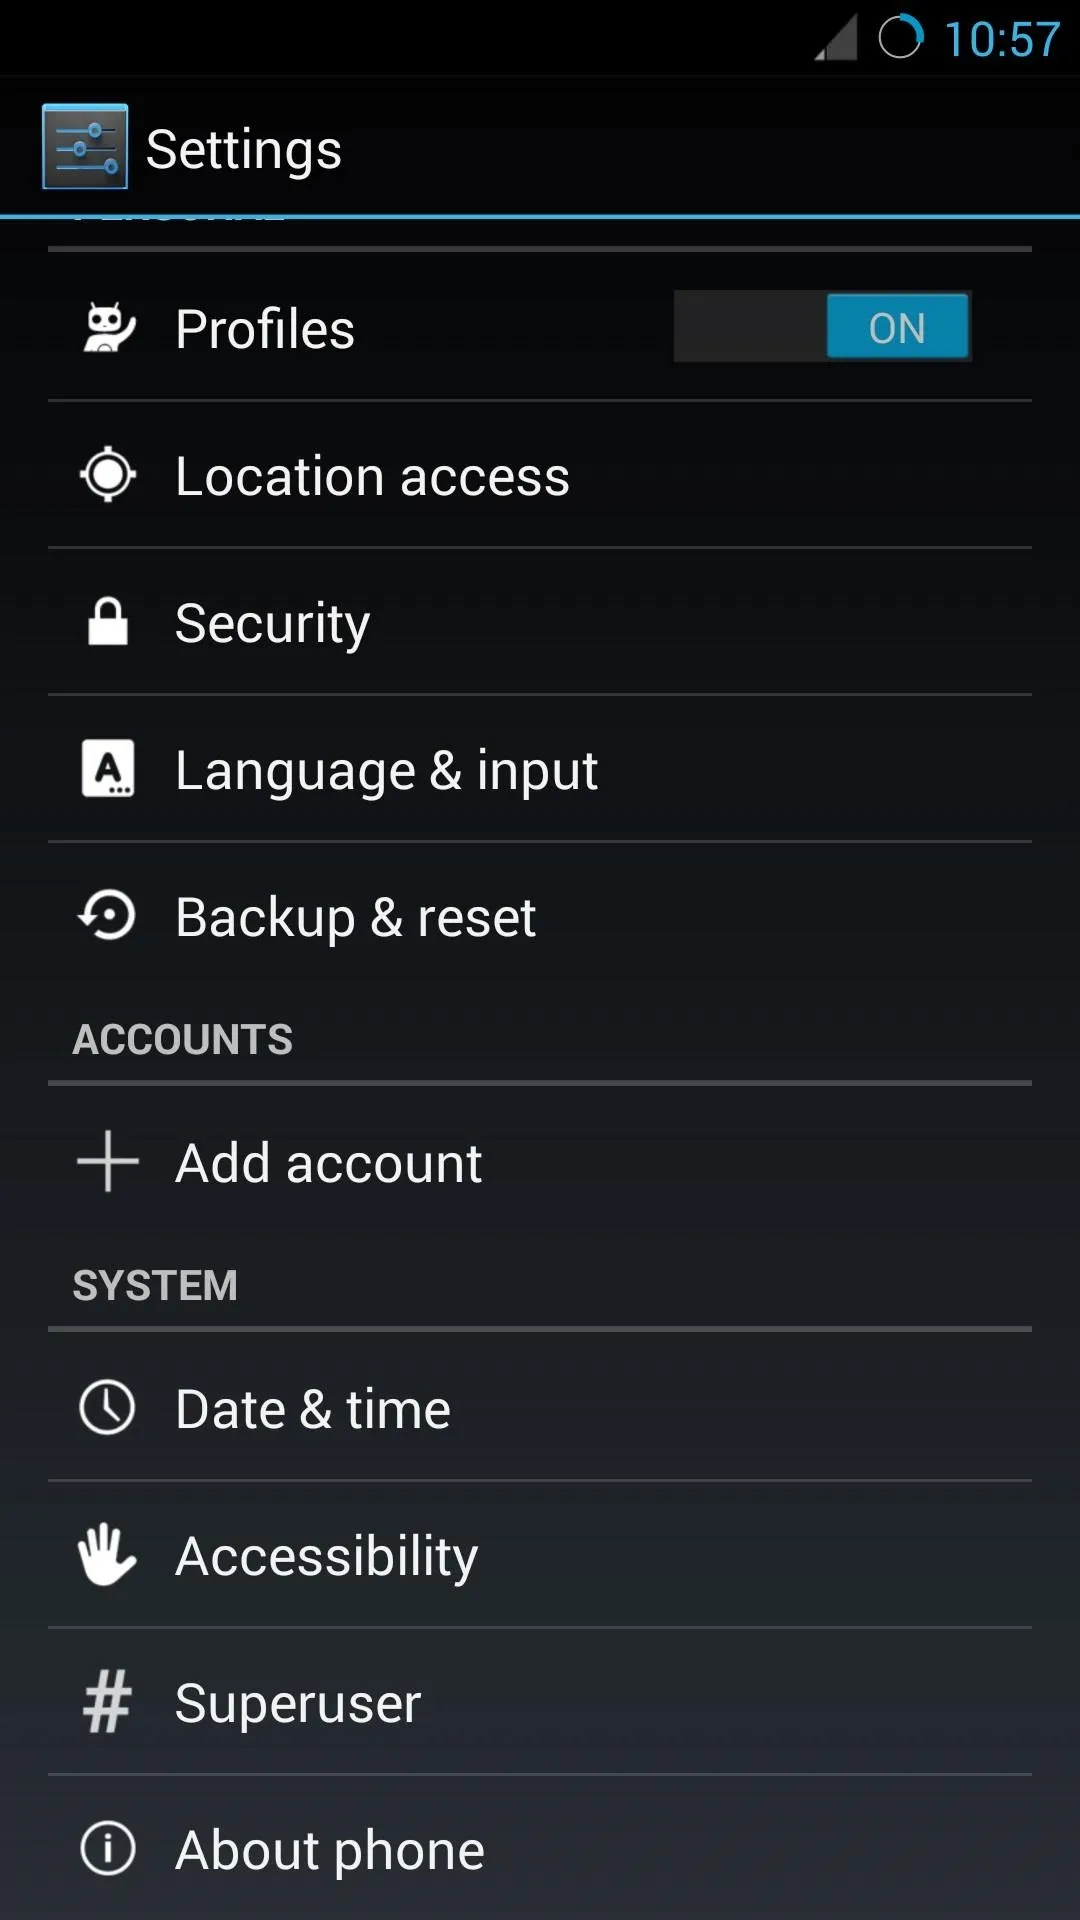
- Open up Settings.
- Tap About Phone at the bottom.
- Tap CyanogenMod Updates.
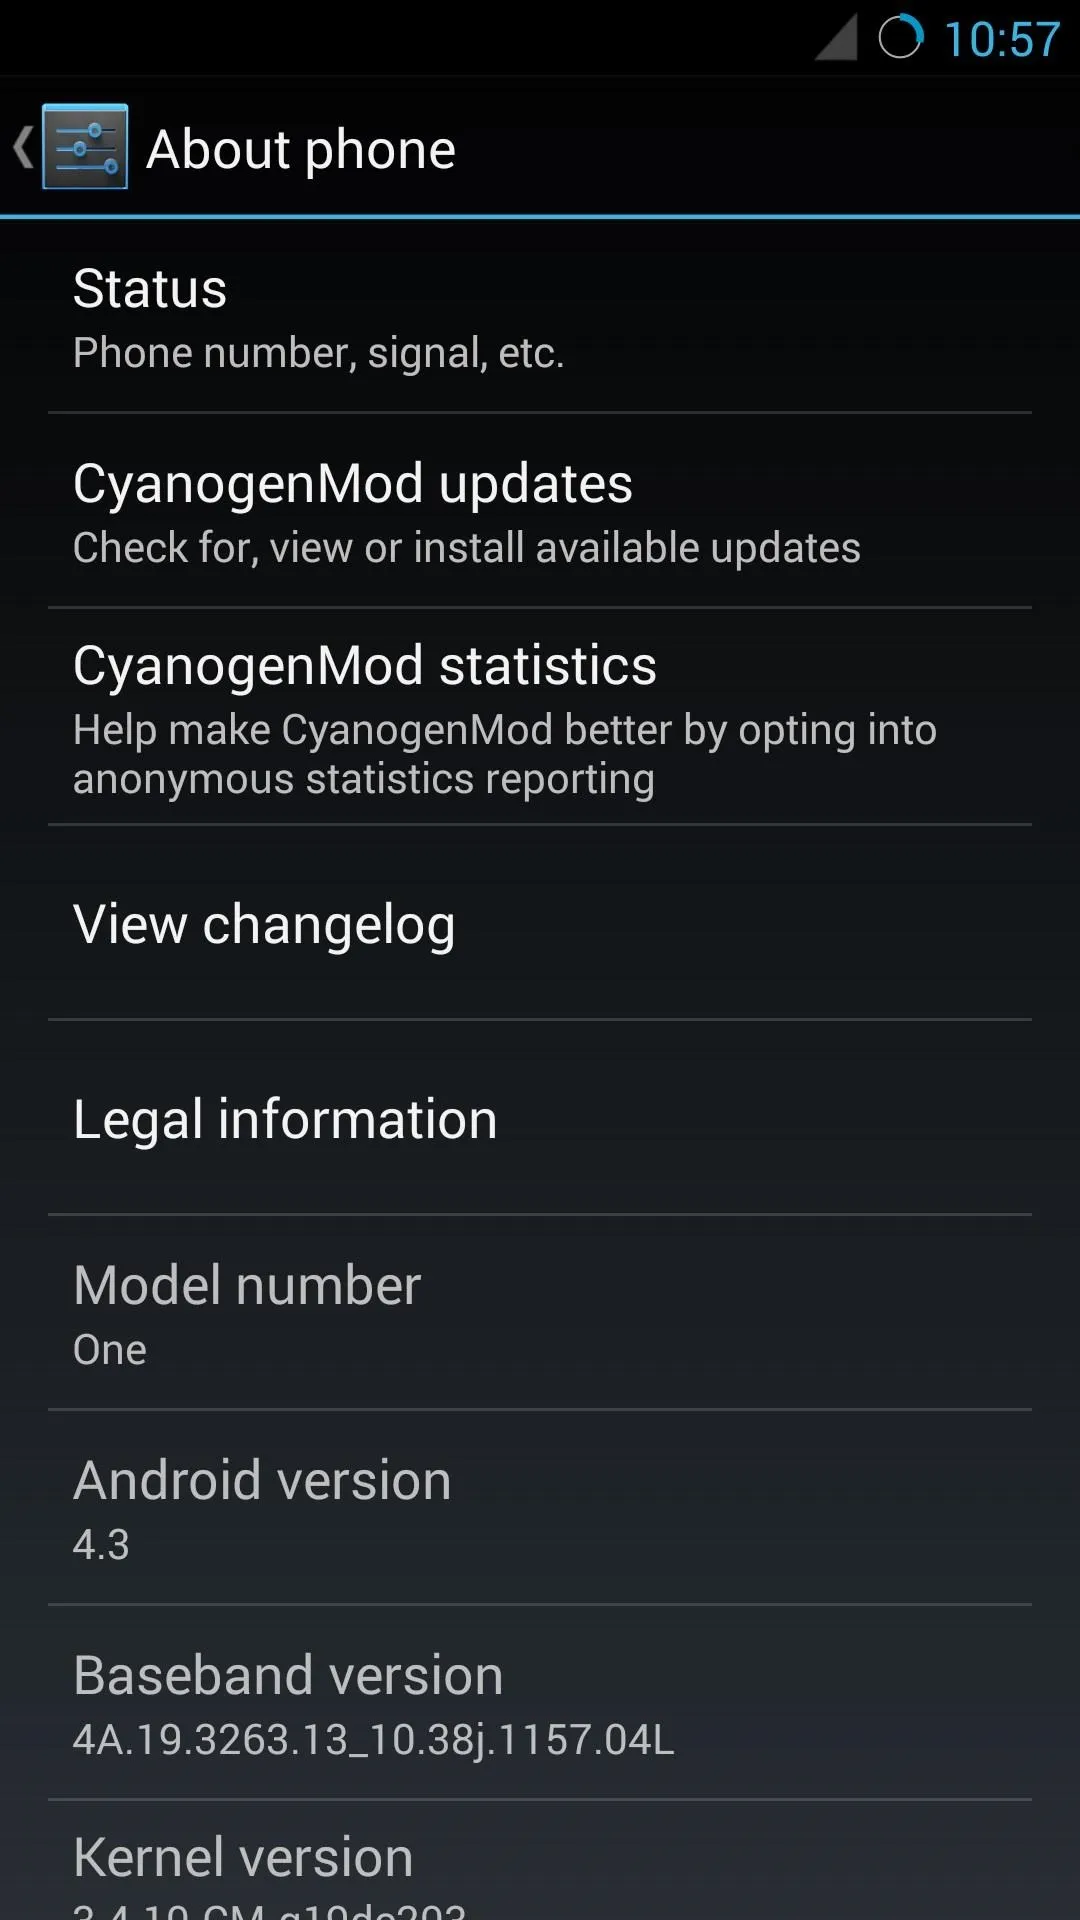


- Change Update types to New versions (incl. Nightlies).
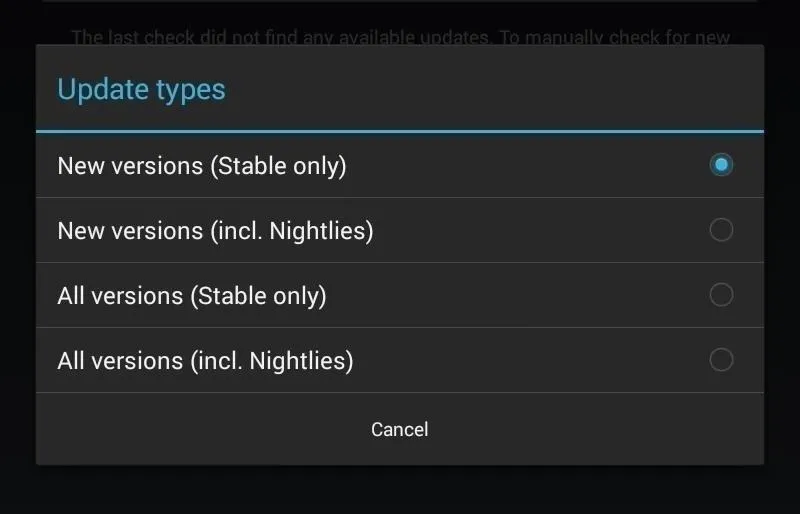
You can change how often it checks for updates, but the default is weekly. Anytime it finds new updates, you'll see them down below and you just need to tap the arrow on the right side and it will download and prompt you to install it.
That wasn't so hard, right? Let us know if you have any questions, and enjoy your new CM-fitted HTC One!







Comments
Be the first, drop a comment!