Linux may not be the most popular consumer operating system out there, but what it lacks in consumer app variety, it definitely makes up for in flexibility and security. And if you've ever tinkered with a Linux distro, you know how easy they are to install—most of the time, I skip standard installation and boot directly from a CD.
The simplicity of the operating system makes it extremely easy to run from any device that has enough storage to hold the Linux image, which is what fueled Softwarebakery to come up with a way to boot Linux from an Android device.
DriveDroid allows users to download and boot a variety of versions of Linux without the need to install them on your computer. You can even boot Mac OS X or Windows if you want. For instructions on those systems, check out Danny's guide on the ElementalX kernel (DriveDroid starts at Step #9).
While it would be great to load up any Linux-based operating system, DriveDroid requires a specially formatted version of the OS, so I only recommend using a build that is listed in the app's download page. You will also need to be rooted in order for DriveDroid to patch your kernel, allowing your device to host a Linux OS.
Install DriveDroid
DriveDroid is free to download, but if you feel generous and want to support the developers, there is a paid version ($2.70) that also removes ads, allows for resizing of images, and the use of custom distro repositories.

Other than the DriveDroid app, you will need a Micro USB cord to allow the app to communicate with your computer—this is your basic charger cable, so you should have one readily available.
Patch Your Kernel
There's a little bit of prep work required before you can boot into a Linux build, the most important of which is making your kernel compatible with the process.
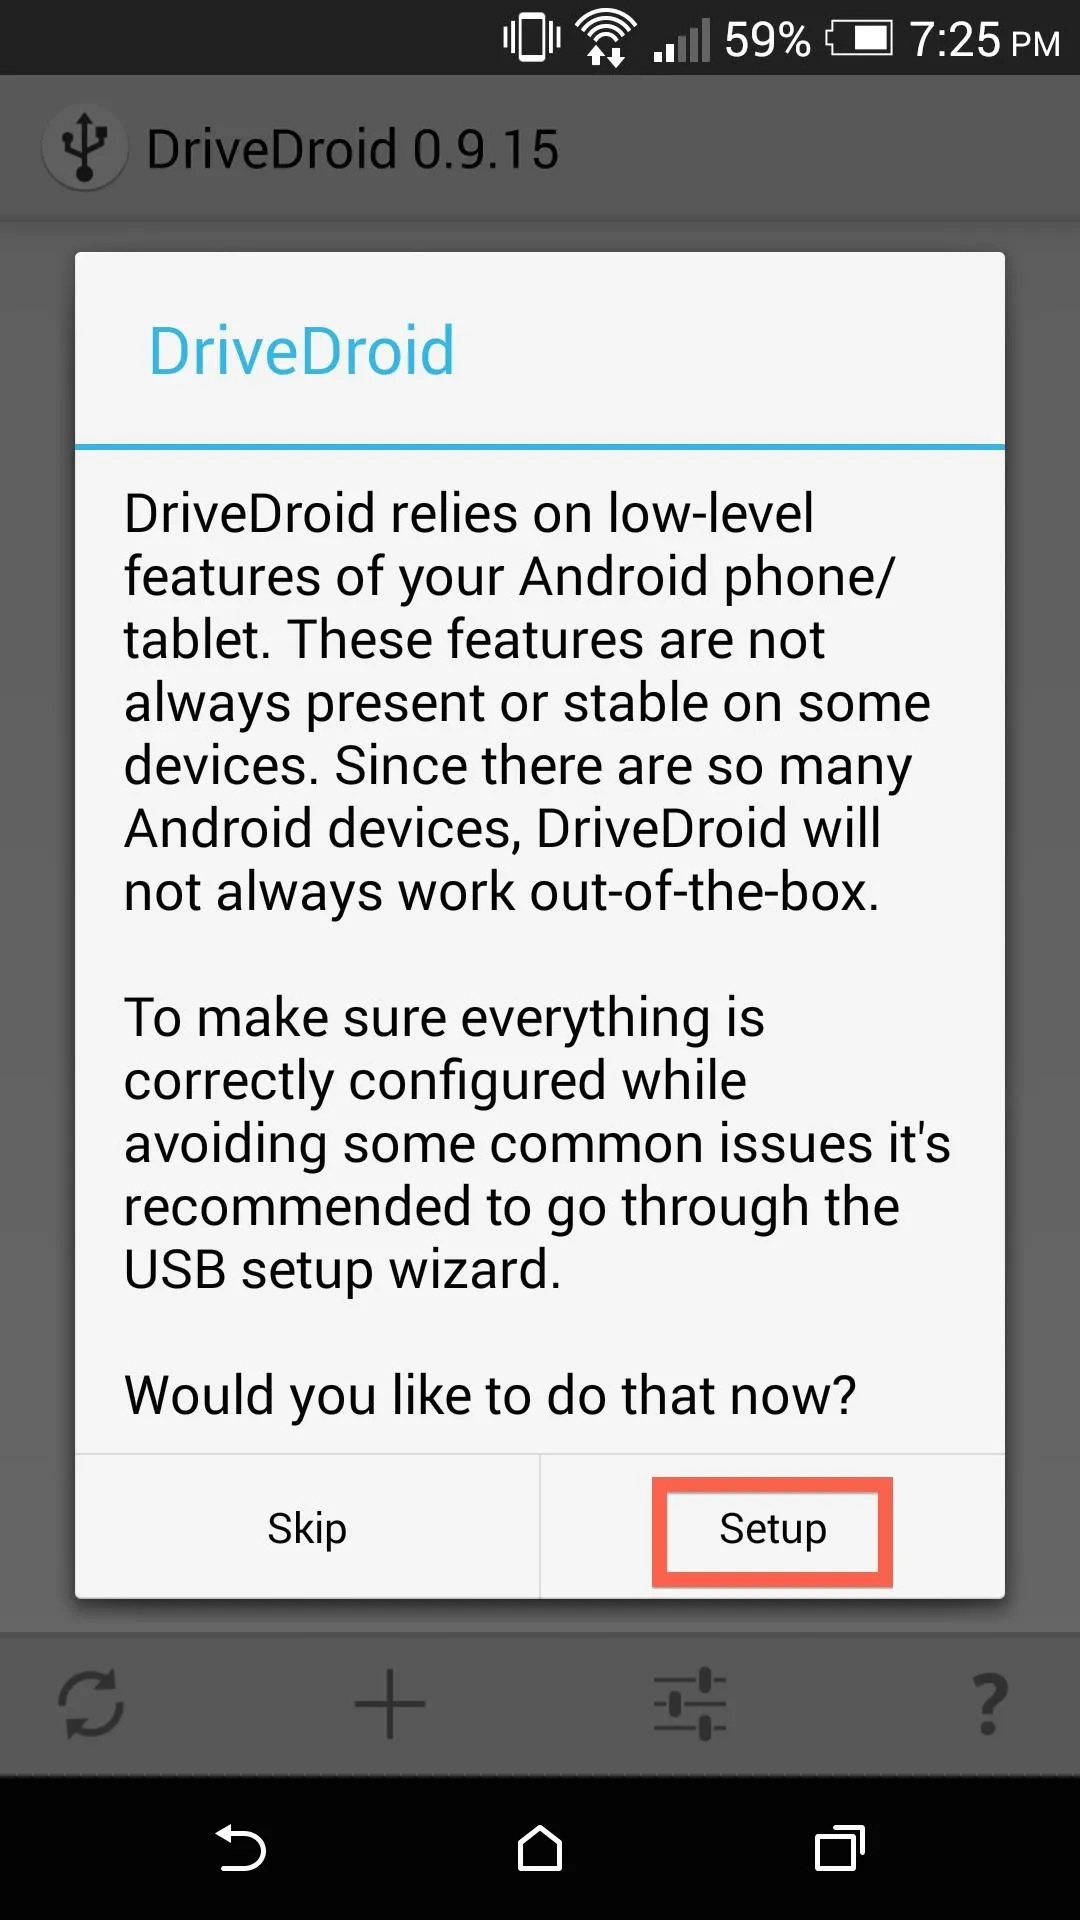
The patching tool comes preloaded with DriveDroid and will run the first time you open the app. So after granting Superuser permission, tap Setup on the first dialog box you see.
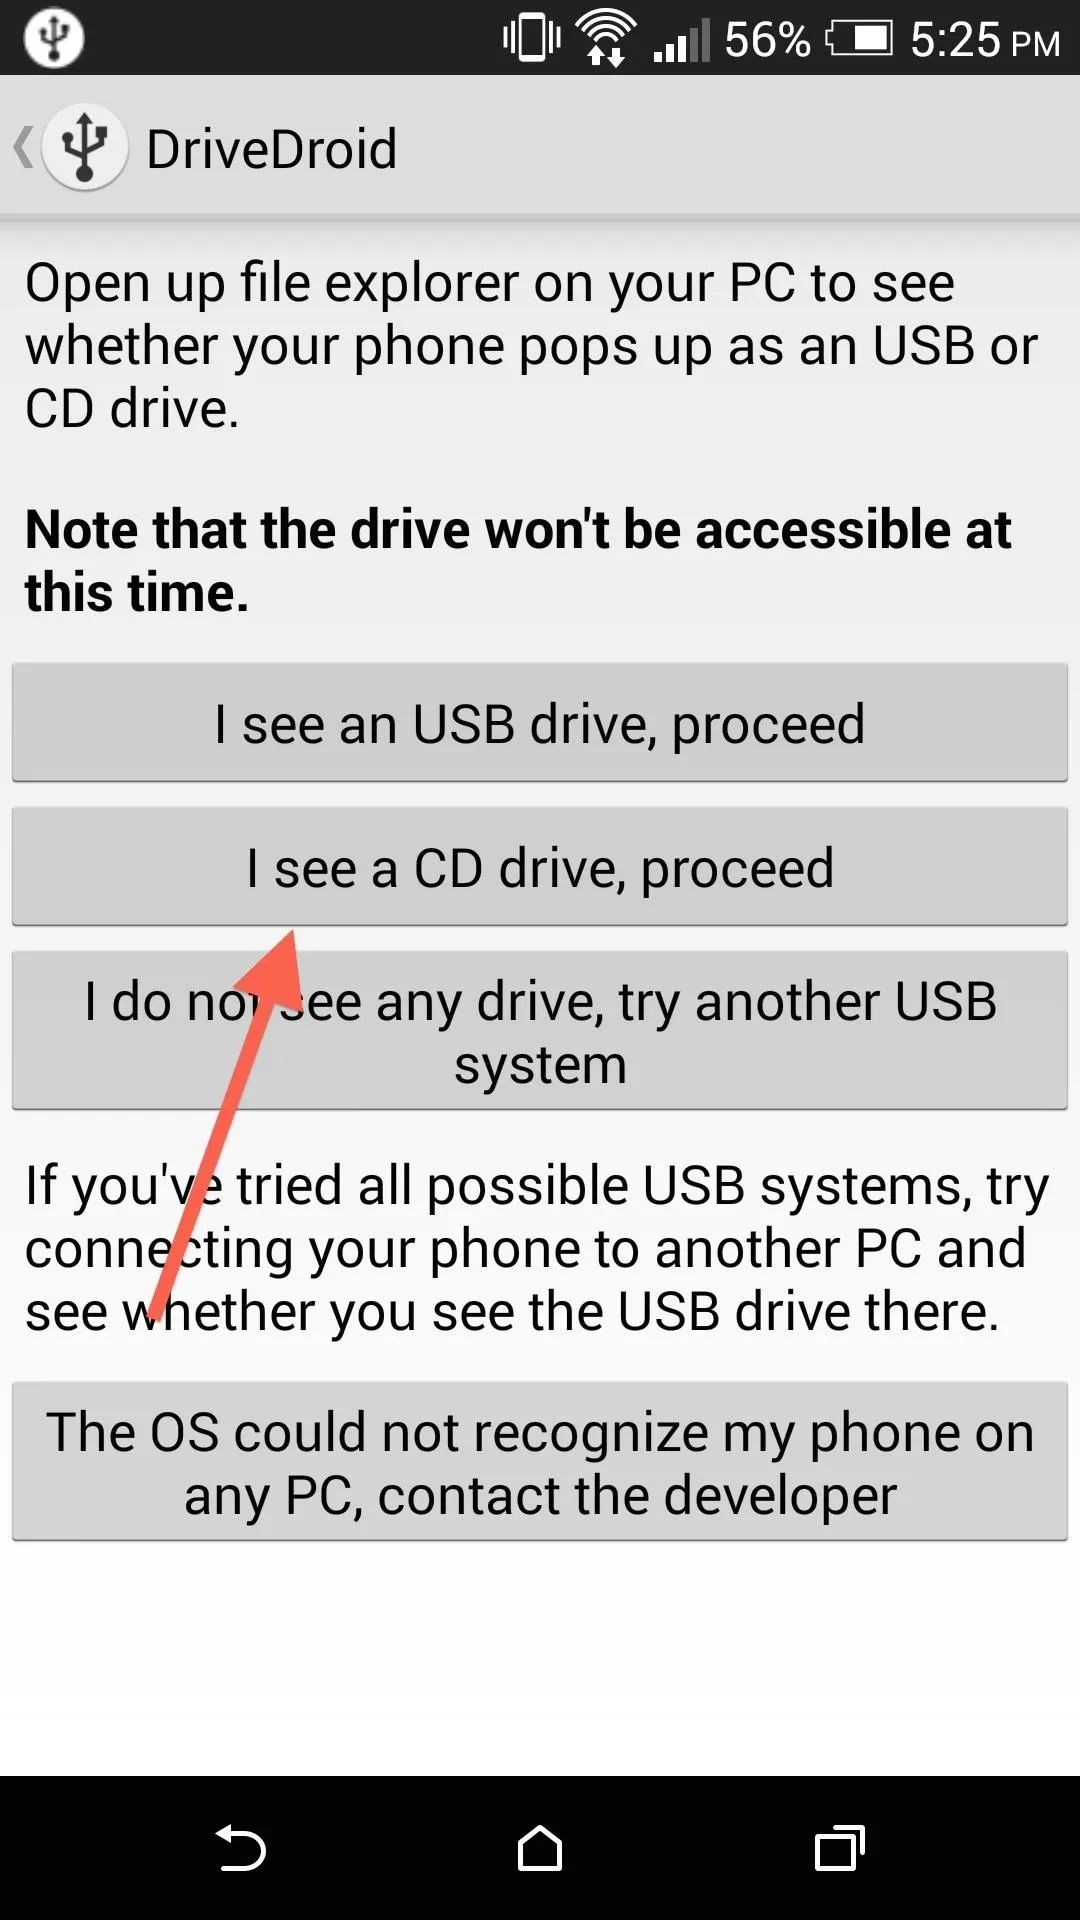


The correct USB System is Function Switch in Android Kernel, and you will also need to select I see a CD drive, proceed when prompted. Finally, tap DriveDroid booted successfully, proceed to close out the wizard.
Download Your Linux Distro
Since Linux is open source, there are many different flavors to choose from, called distros. The most popular is Ubuntu, but for this tutorial, I will be using Linux Mint since it has given me the best overall experience during my tests.
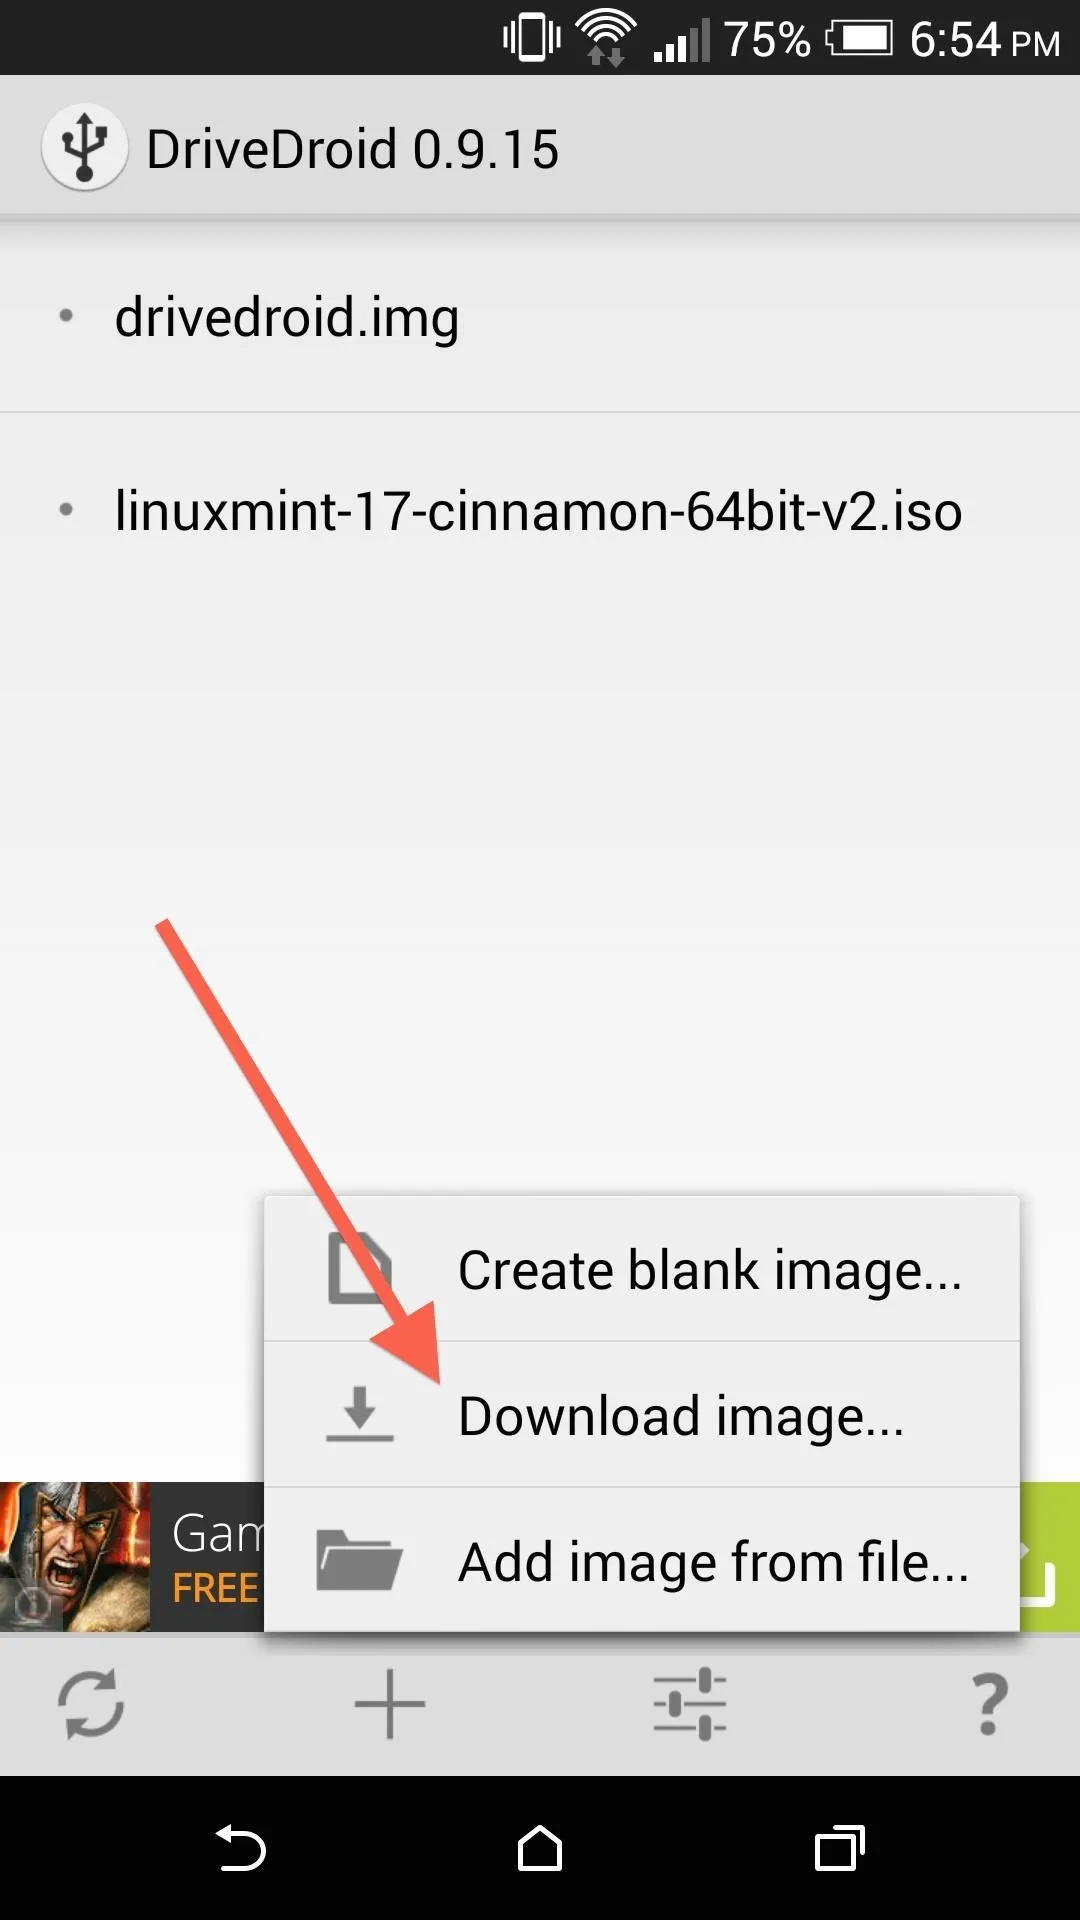
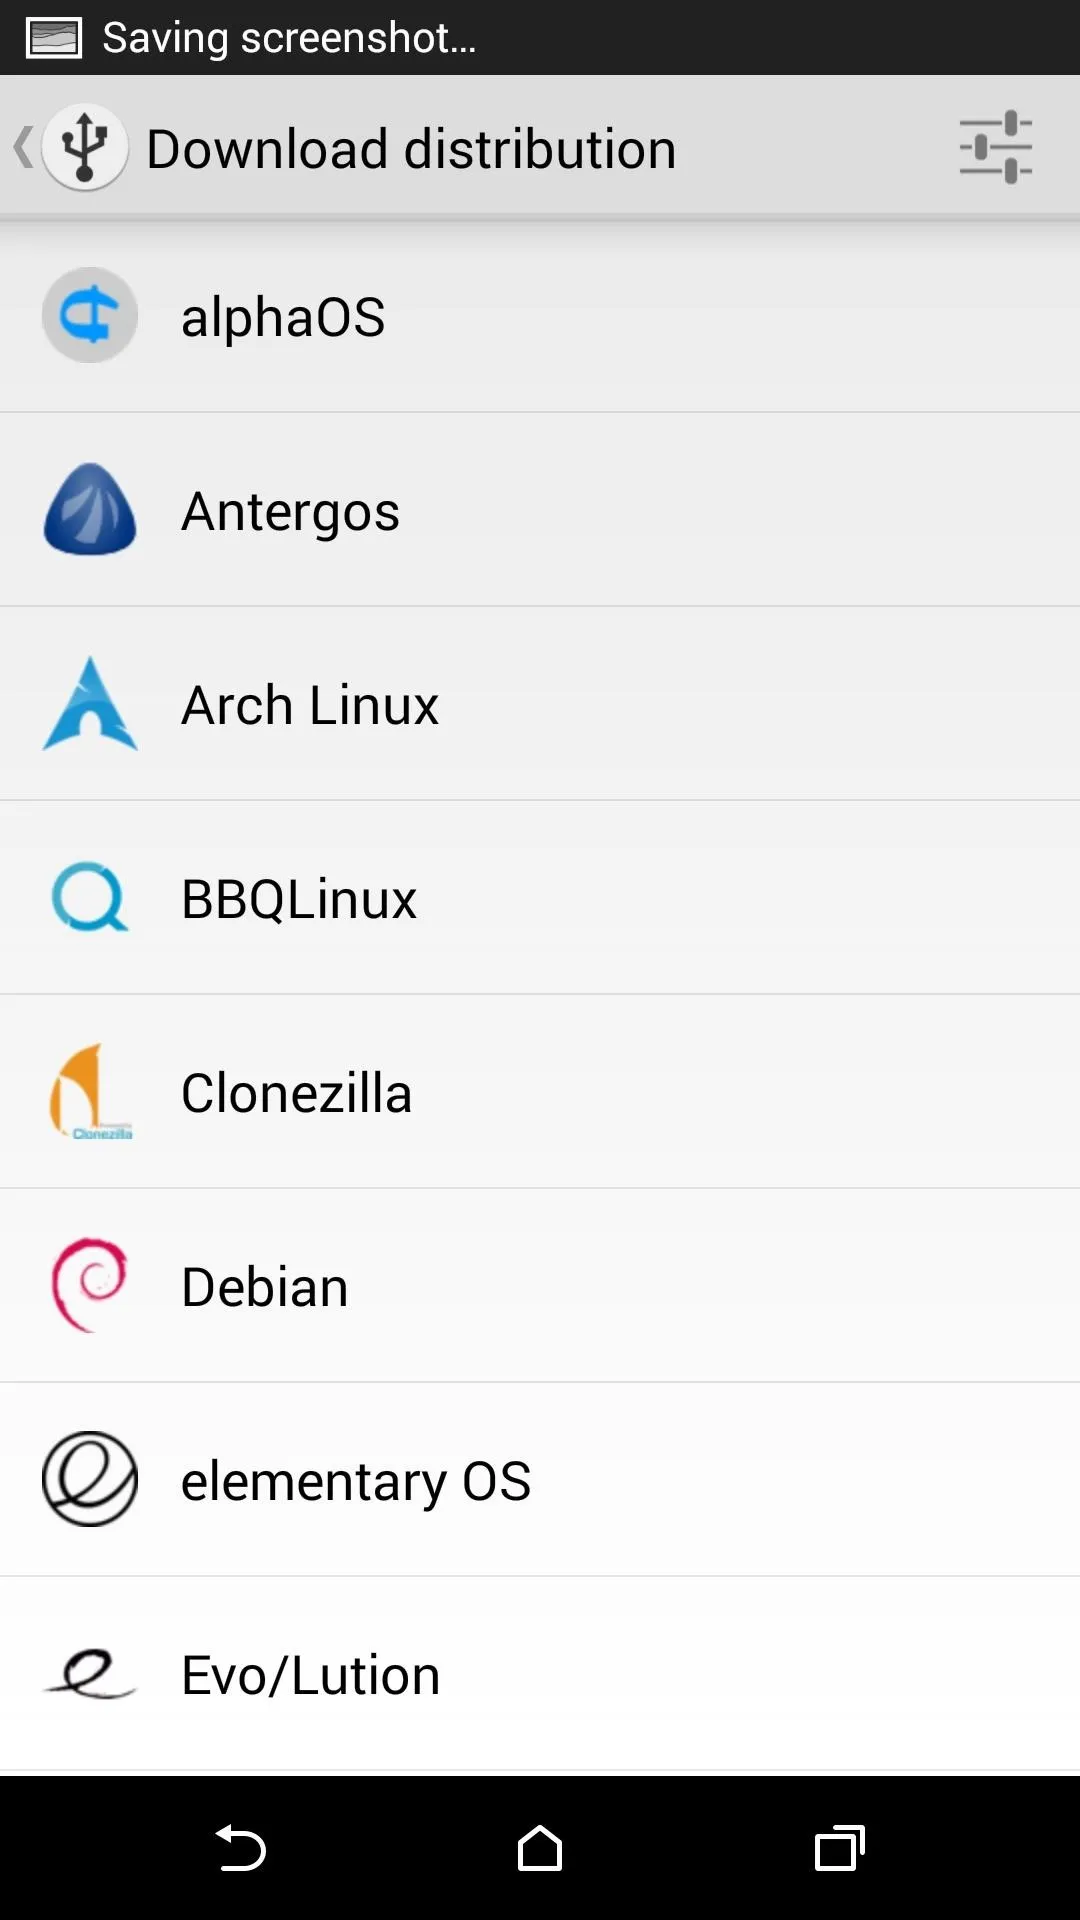


Tap the + icon, then select Download image... to head into the list of distros available for download. Grab the newest version that is compatible with your computer, and be sure to check whether you'll need the 32- or 64-bit version, as most distros come in both flavors.
Prepare Your Android
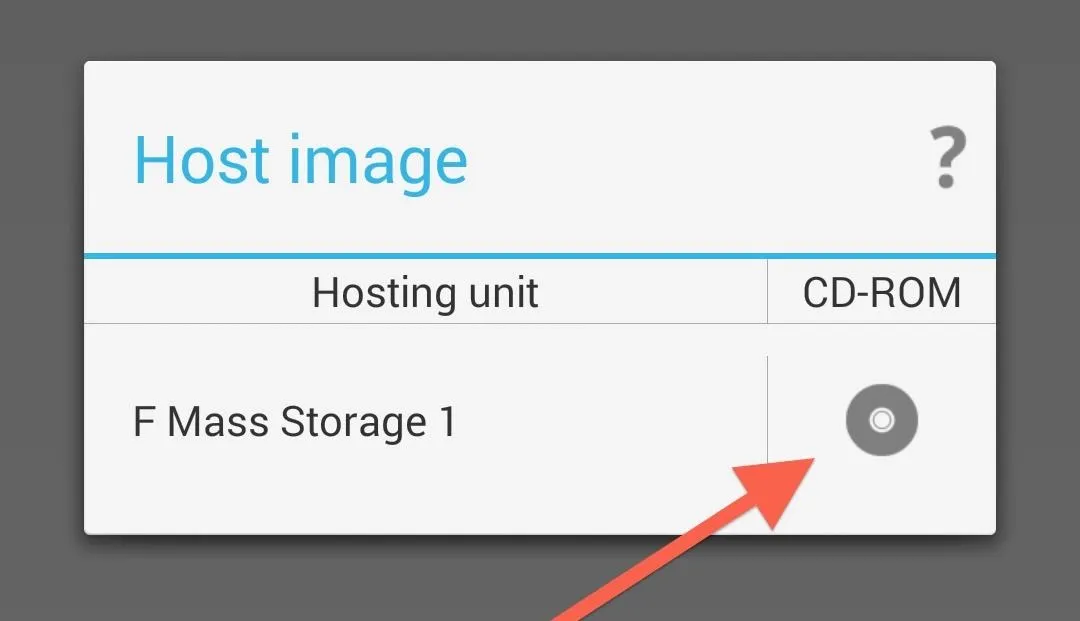
Now all that's left to do is to place your Android in Host Mode. Select the Linux image you downloaded and make sure the CD icon is filled in.
Reboot Your Computer
If you are using a Windows machine, you will need to allow your computer to boot from a USB device. For a majority of PCs, this can be accomplished by pressing F12 to view the advanced boot menu and selecting your USB device as your PC starts up. Others will need to have their BIOS settings changed to allow that functionality.
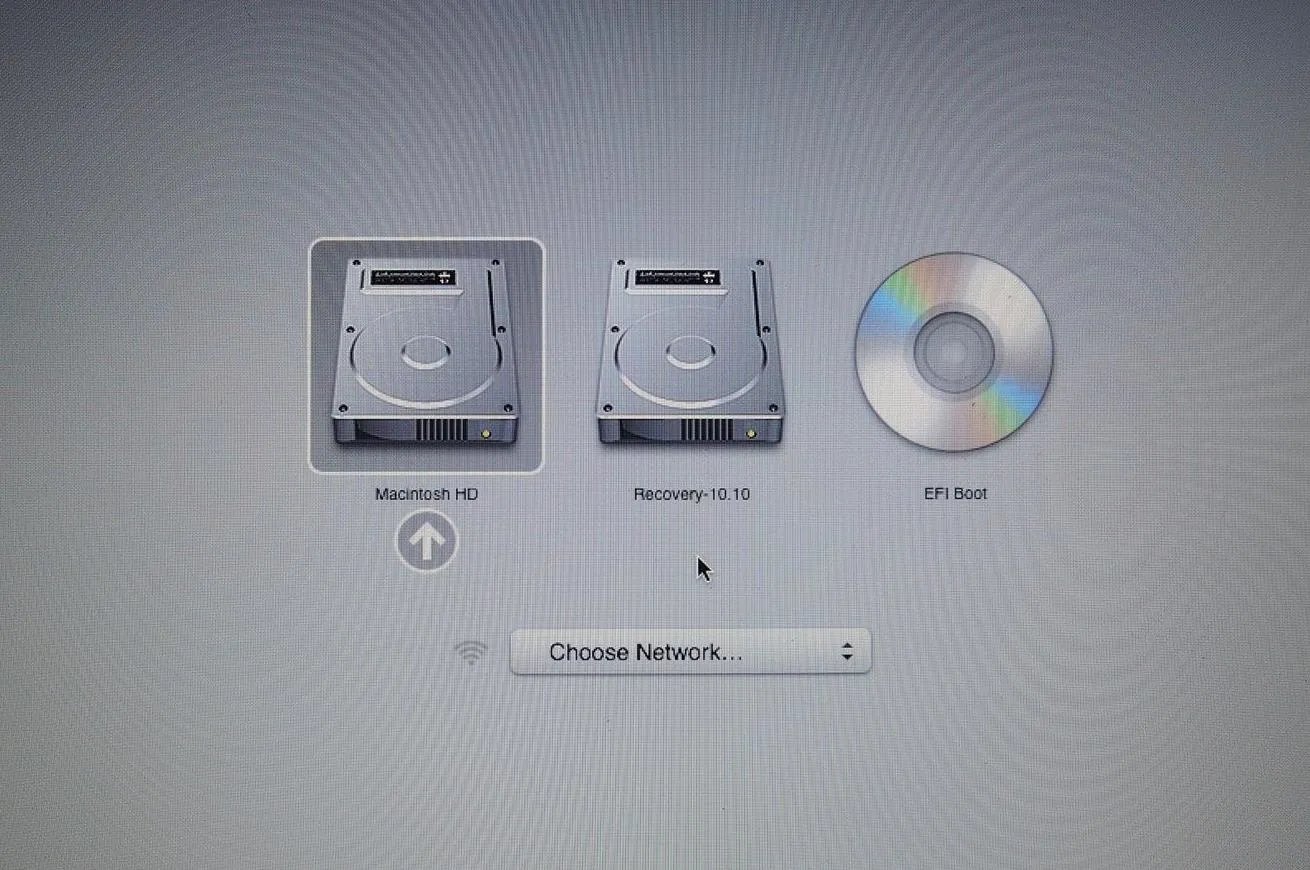
Things are much easier on a Mac—all you have to do is shut down your computer and hold down the option key as it powers on again. You will know you did it right if you see a list of all the drives attached to your device.
Enjoy Linux
Now just select your boot device and hit the Enter key. Your boot time may go a little longer than normal, but that lag will not carry over to when you actually use the OS.
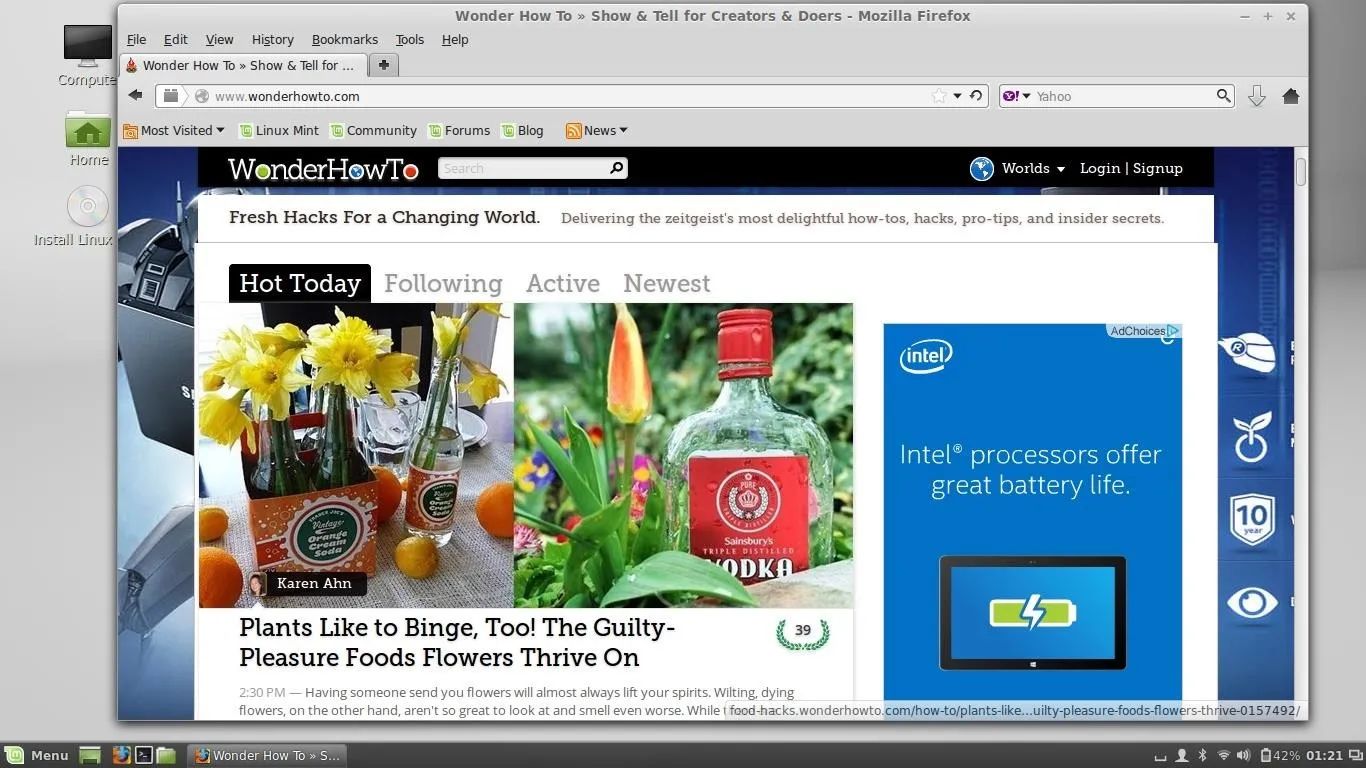
Along with Mint, I have also successfully run Ubuntu, ArchLinux, and Peppermint on both Mac and Windows PCs, so don't worry about any sort of compatibility issues. However, if you do run into any issues getting your portable Linux station up and running, drop me a comment and I'll be sure to get you sorted out.
Cover image background via Shutterstock









Comments
Be the first, drop a comment!