

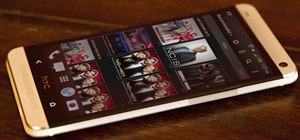
As fellow softModders, I'm sure you strive to find any and every way to make your phone unique. Wallpapers and icon packs are great to get started, but to really stand out from the rest, try changing your HTC One's boot animation.
A new boot animation for your phone can be installed in a number of ways, but the most consistent are through flashing through a custom recovery or manually adding it to your ROM's boot animation folder. Both options require you to be rooted with an unlocked bootloader, so once you have both, continue on.
Method #1: Flashing Through Recovery
This option requires you to have a custom recovery installed, in this case TWRP. Start by downloading the boot animation .zip file directly from your phone's browser. I will be changing my boot animation to the one seen on Google Play Edition devices, but more are listed towards the end of the article.
Once you've got your animation in your Download folder, head to recovery by pressing the Home and Volume Down keys together, then navigating down to "Recovery" using the Volume keys and pressing the Power button to confirm.
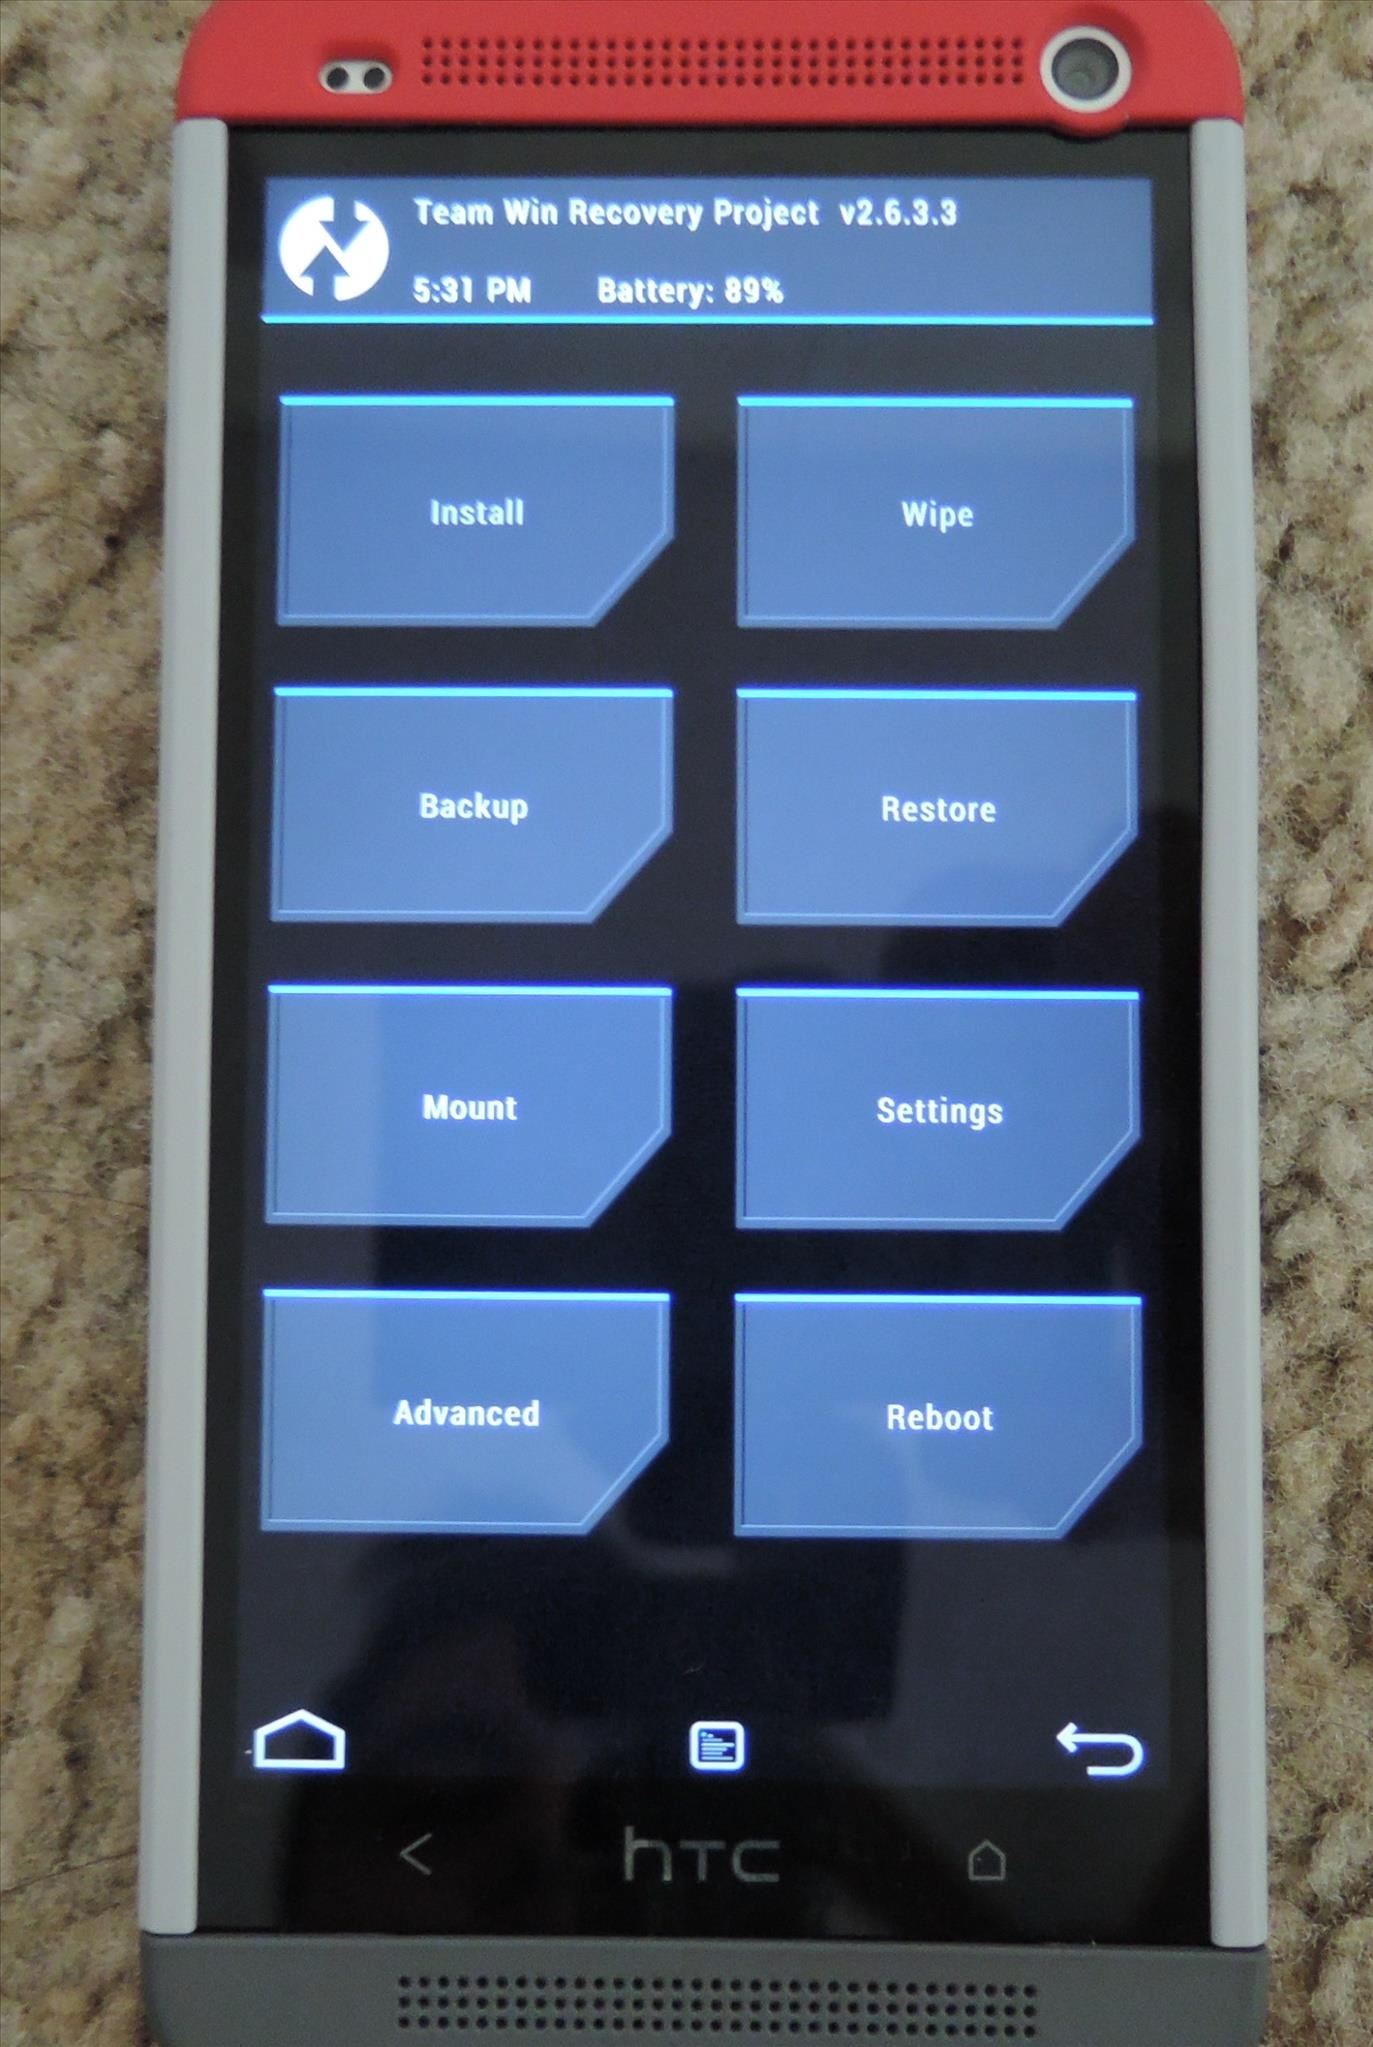
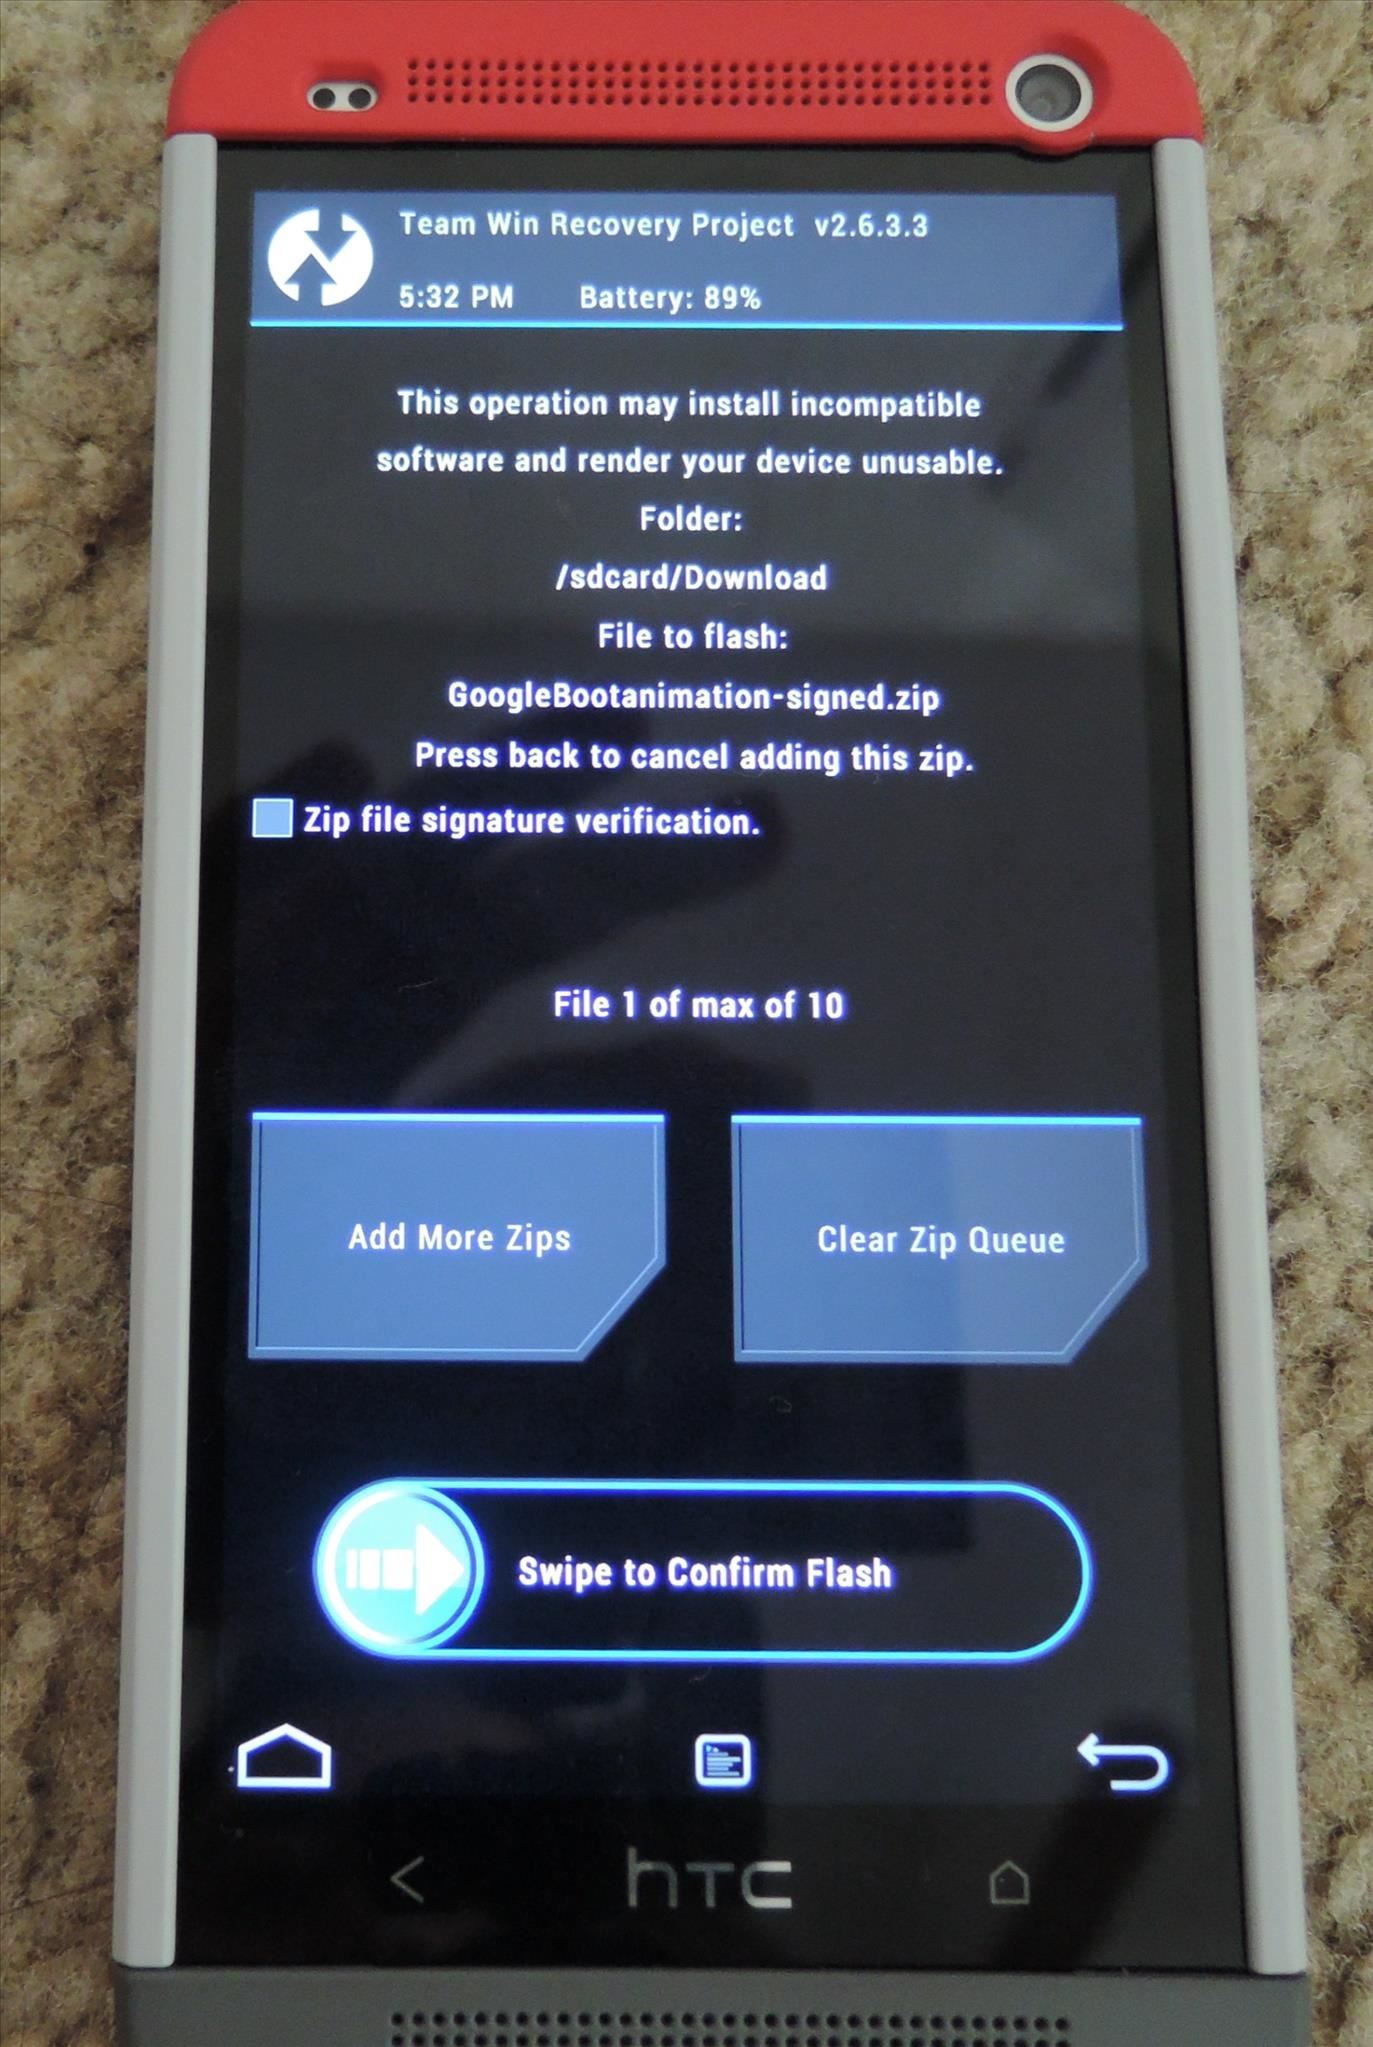
Once is recovery, select "Install", then select the .zip file you downloaded and "Swipe to Confirm Flash". Once the flash is complete, hit "Reboot" and you're all set.
Method #2: Manually Replacing the BootAnimation System File
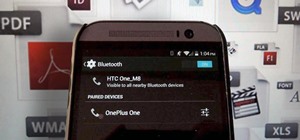
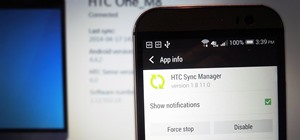
This method is a little more tricky, but effective nonetheless. Be sure that in addition to being rooted, you have a file browser on your phone that has root privileges, like ES File Explorer File Manager.
Step 1: Download Your Boot Animation
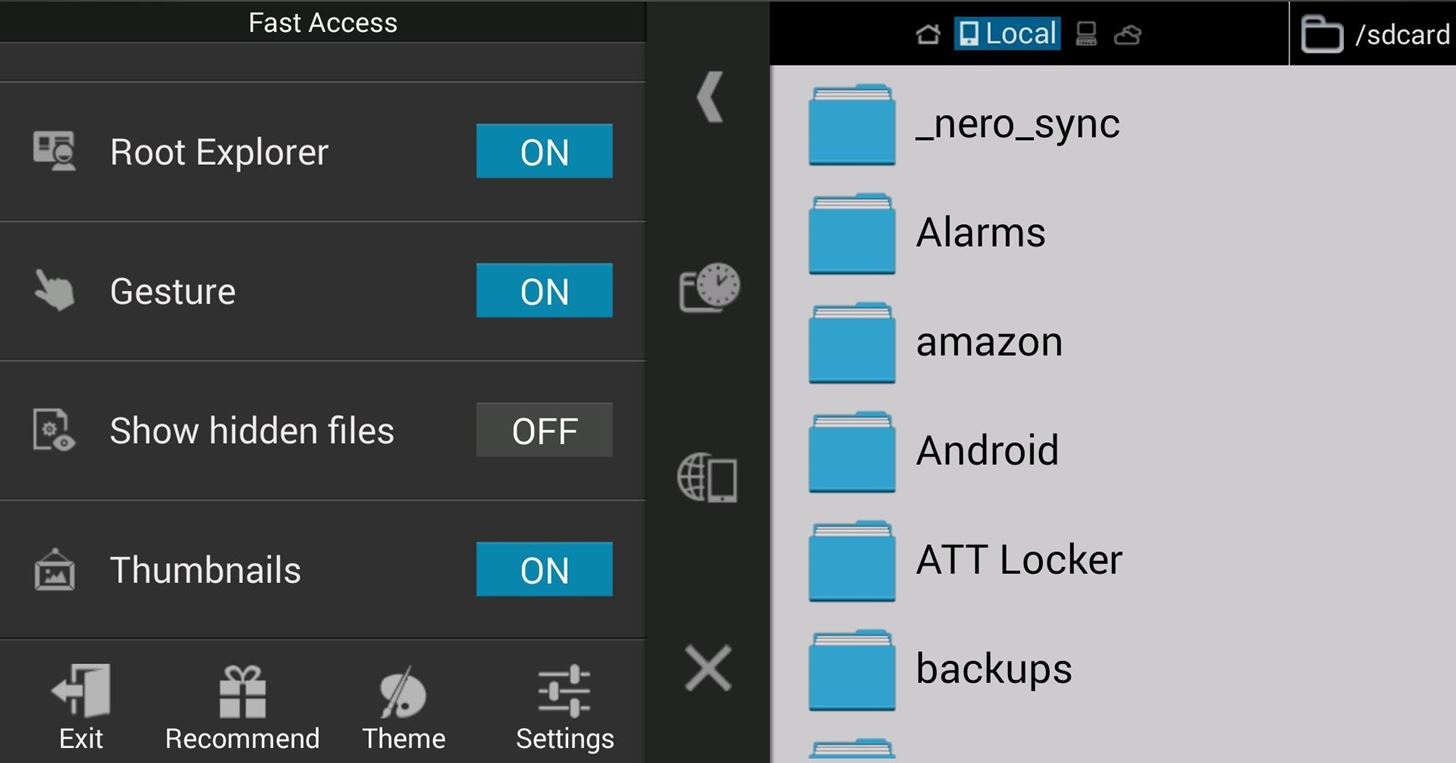
Download the bootanimation.zip file directly to your phone's storage. Now open ES File Explorer and enable Root Explorer from the Tools options.
Step 2: Copy the .Zip File & Set Permissions
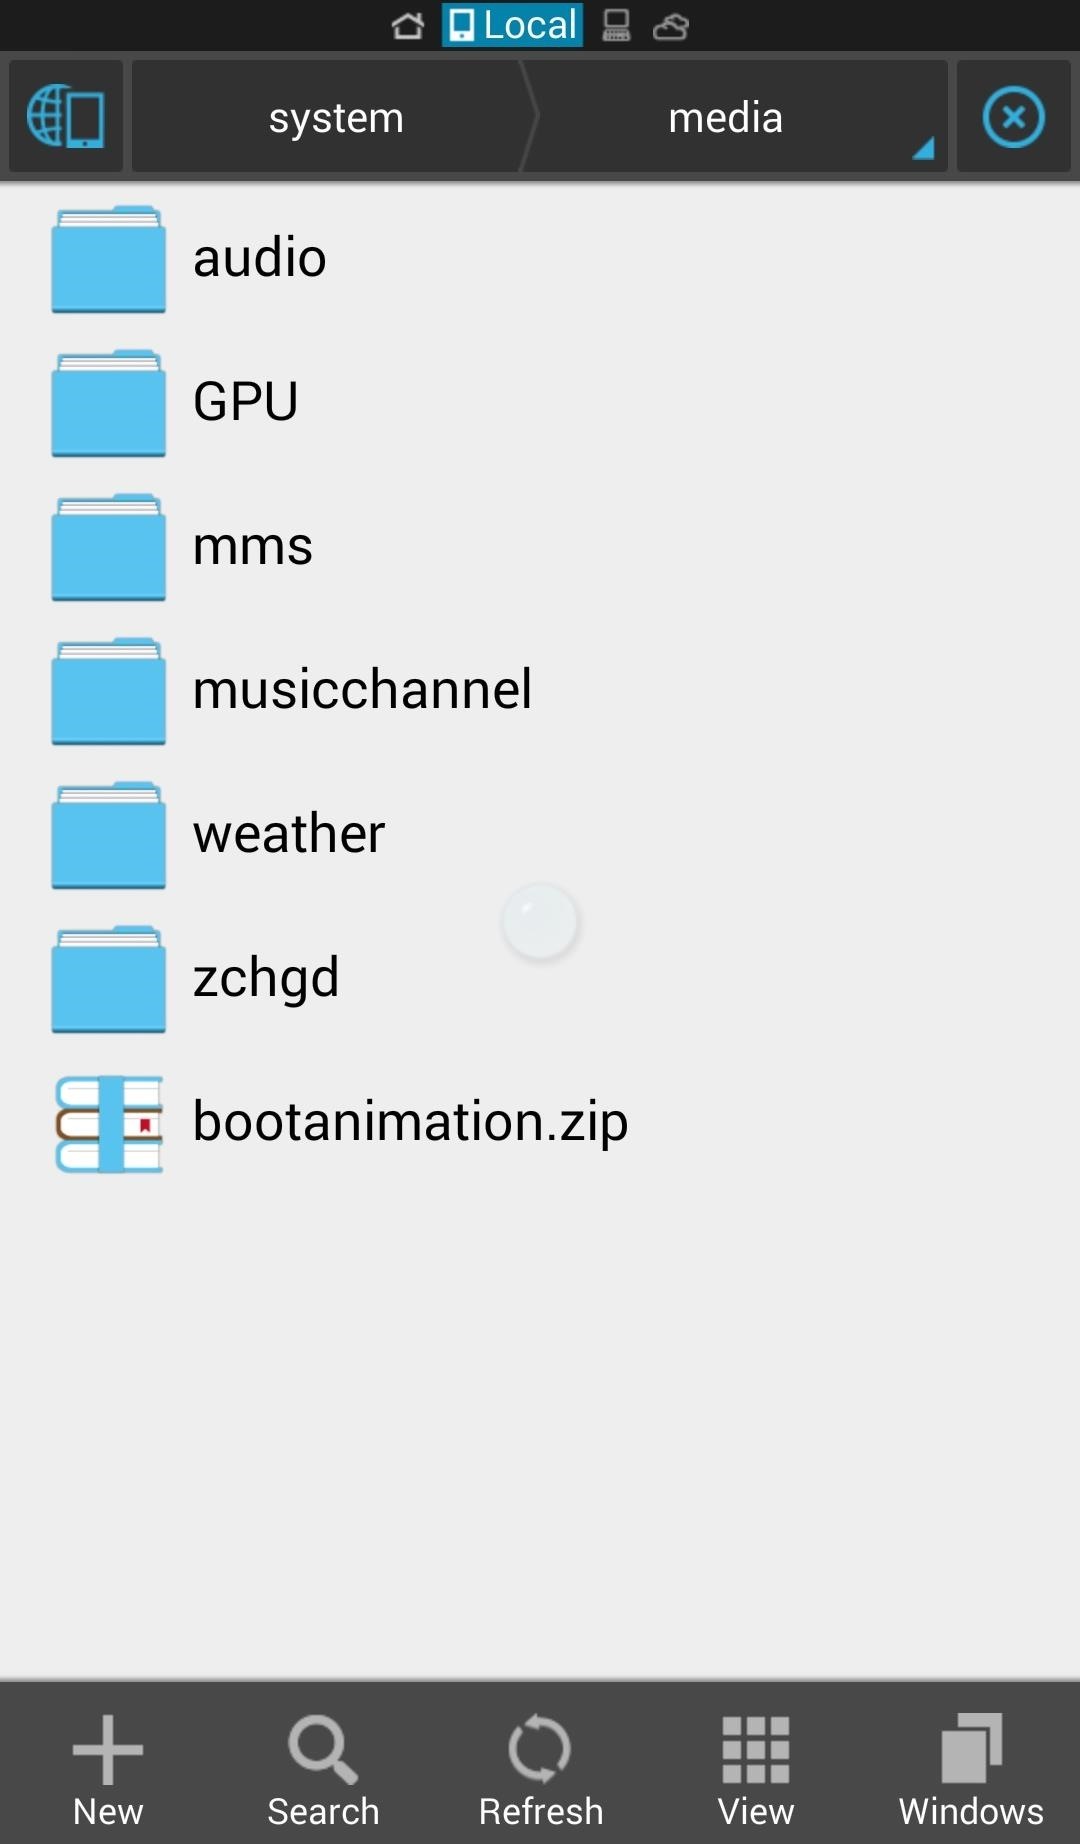
Copy your bootanimation.zip (it must be named "bootanimation.zip") to the /system/media folder and, if prompted, choose to replace the current boot animation there.
It may be a good idea to simply rename the the original animation prior to copying the new one over, in case you want to revert back.
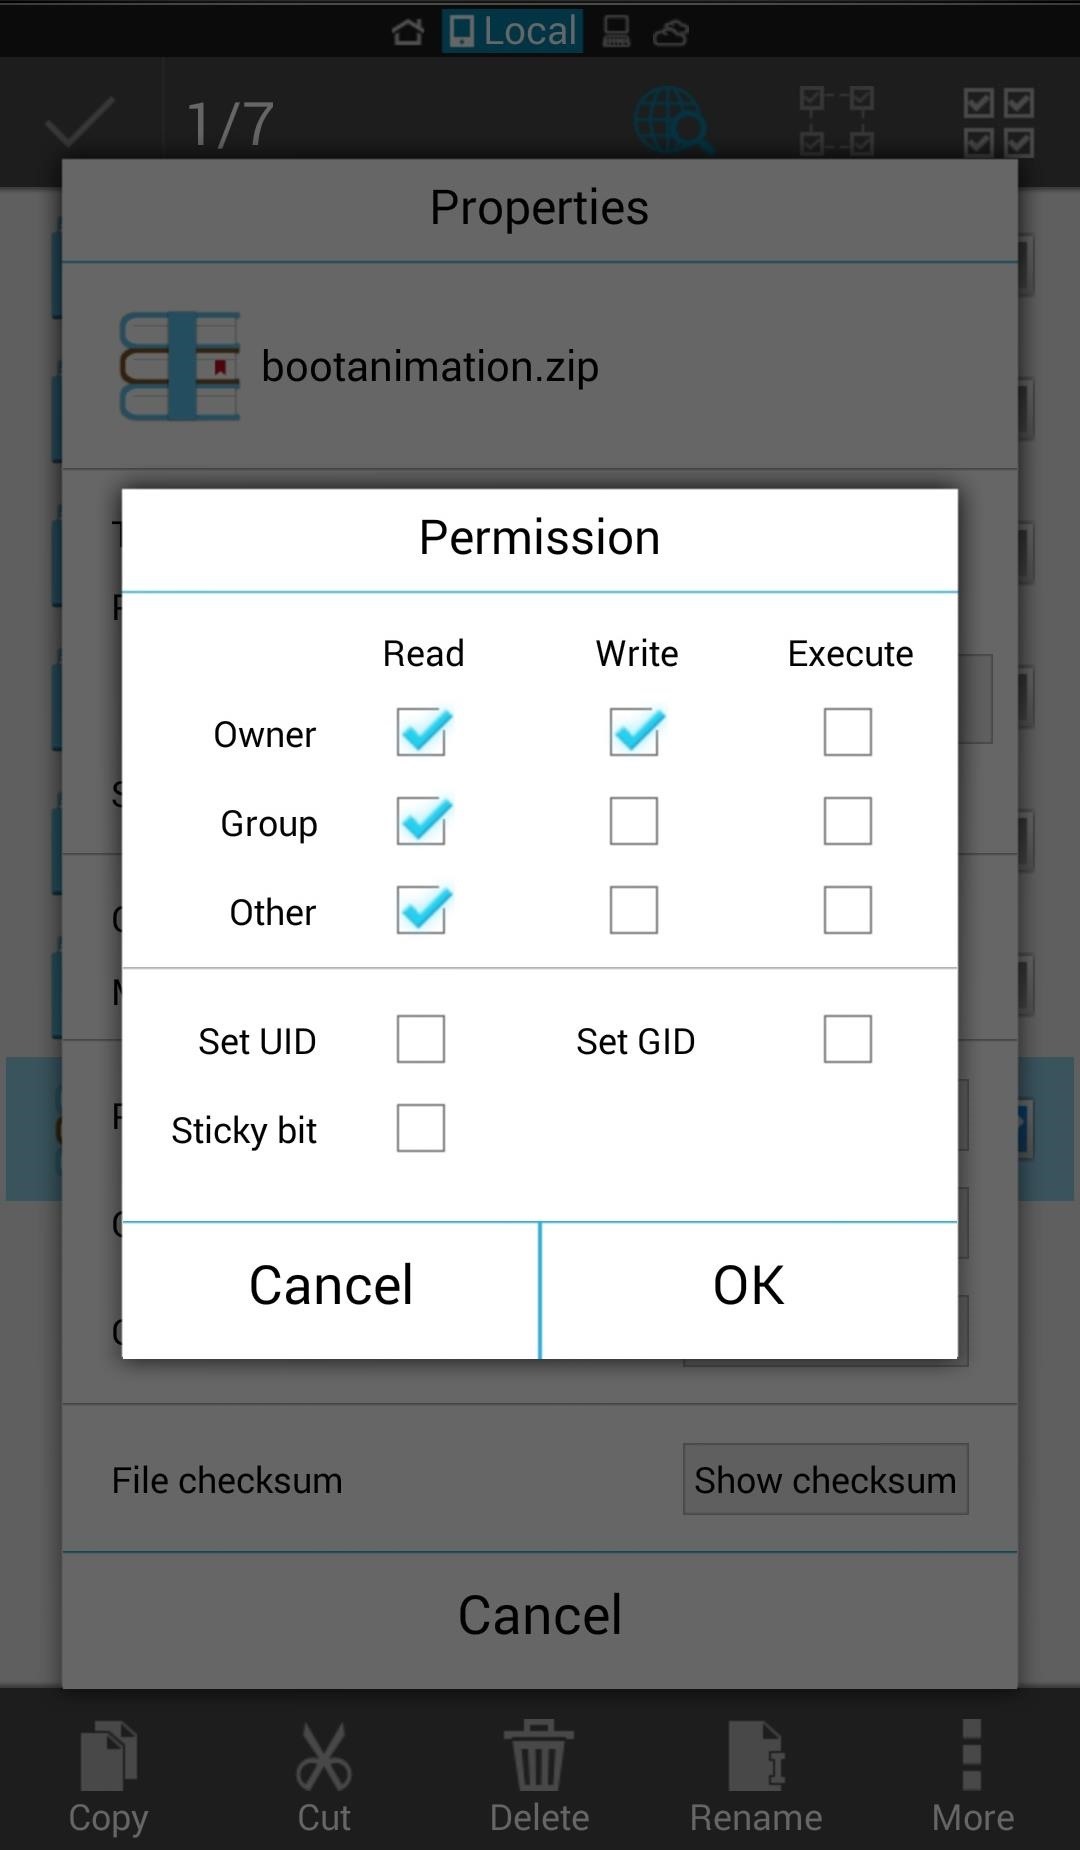
Now change the "permission" of the file by tapping and holding it and selecting the "Properties" option from the menu overflow button. The permissions will be:
- Owner: Read/Write
- Group: Read
- Other: Read
Now close ES Explorer and reboot your phone to check out your new boot animation.
Step 3: Additional Files for Custom ROMs
Some ROMs place their boot animations in different locations, so if your boot animation does not apply, download the HTC_bootup_one.zip file and place it in /system/customize/resource/ (be sure to change the permissions again). Feel free to use any boot animation for this method as well, just rename the .zip file to "hTC_bootup_one.zip".

The manual method has a few more steps, but it still gets the job done, especially if you have a Verizon Wireless variant with a locked bootloader.
Additional Boot Animations
I think the Google animation is great, but there is no short abundance of them floating out there. Below are a few of our favorites.
- Ultimate Boot Animation Collection by p2nv
- Matrix Digital Rain by Crackanug
- Blue Beats Audio by nerdo
- Sexy Sports by cisza
- Pure Black Beats by BilboSwaggins
Now, go out and show off that new boot animation and let us know what your favorite ones are in the comments!
Just updated your iPhone? You'll find new emoji, enhanced security, podcast transcripts, Apple Cash virtual numbers, and other useful features. There are even new additions hidden within Safari. Find out what's new and changed on your iPhone with the iOS 17.4 update.


3 Comments
First, Thank You for this tutorial!! Saved me a few dollars.
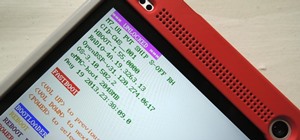
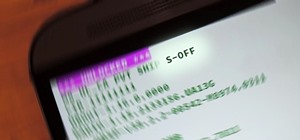
I'm trying to delete the at&t bootup zip. Everytime I delete and restart it, it still appears. I noticed in the tutorial, your HTC was S-OFF. Is that what I need to do before I can the bootup animation can officially be deleted?
Did you replace it in both folders?
Thank you so much for a great tutorial on how to do this customisation for my HTC M8. It's so fun to have control over things unlike the Iphone space.
Share Your Thoughts