
By this point, you've definitely come across an app or two that wasn't designed with the HTC One in mind. Either the resolution is too small, the status bar stays active when it shouldn't, or the font isn't the ideal size. There are ways out there to get that changed, but up until now it wouldn't just change one app—it would change all of them.
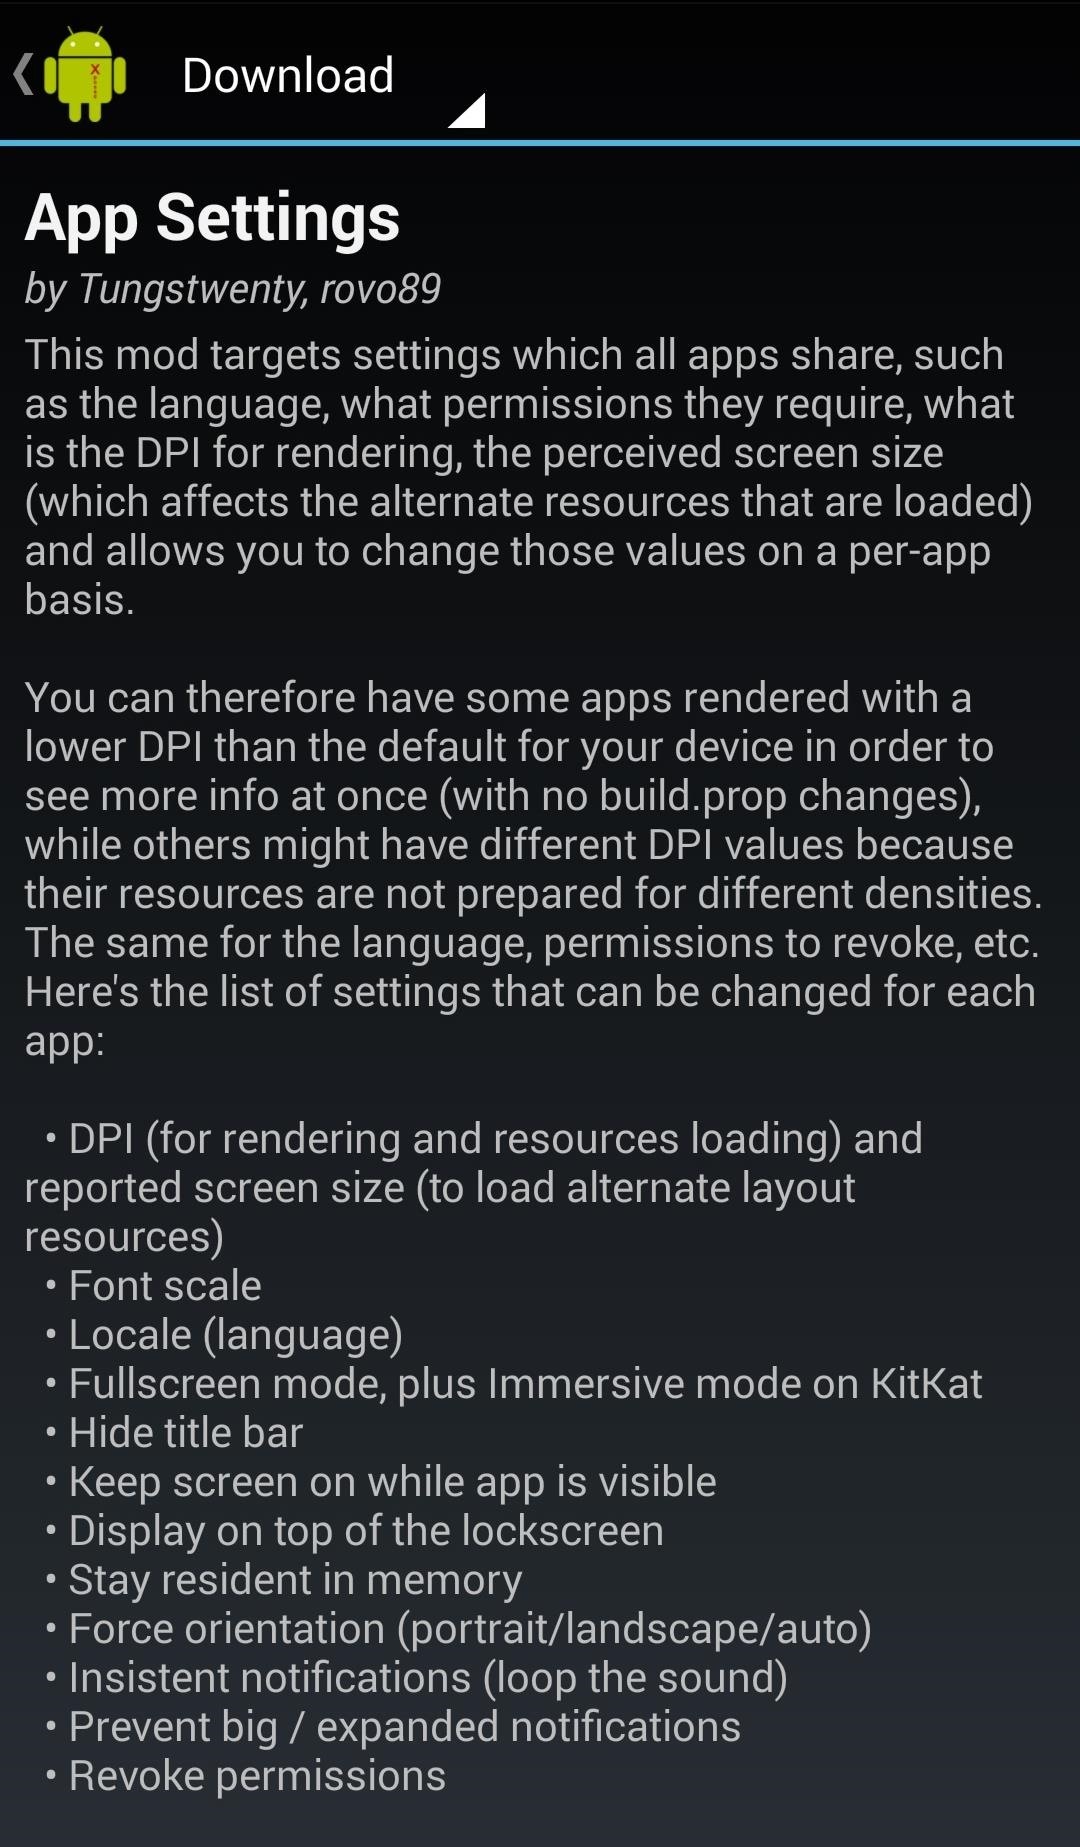
Now with App Settings, created by devs rovo89 and tungstwenty, you can easily modify the DPI, language, and font size of any app on your HTC One, and I'm going to show you how it's done.
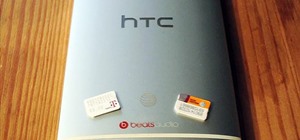
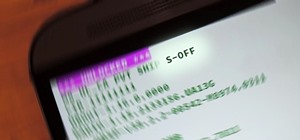
Since this is an Xposed module, be sure to have your HTC One rooted with the Xposed Framework installed and "Unknown sources" enabled.
Step 1: Install App Settings
Open Xposed Installer, go to the Download section, and search for and install App Settings. Alternatively, you can grab the APK directly from the Xposed Module Repository online.

After installing, you'll need to activate the module by checking it in the Modules section and rebooting your device.
Step 2: Change DPI Settings
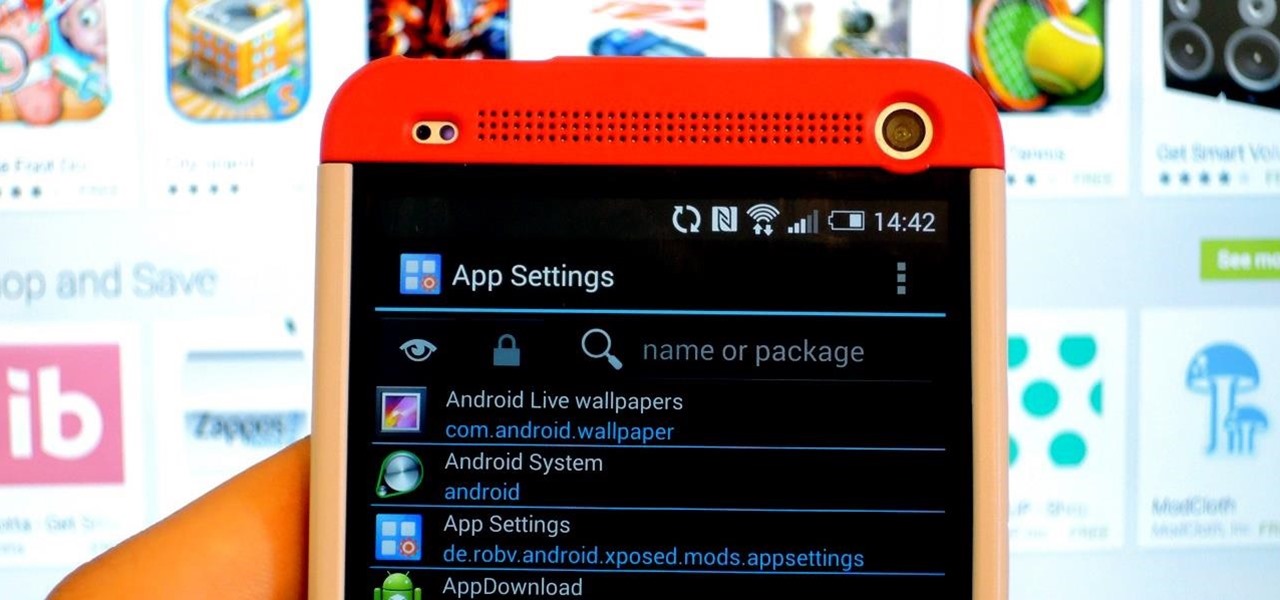
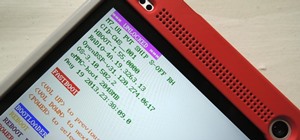
To change the DPI of an app, or any other of its settings, you will first have to open the App Settings app and select the target app from the list (in this case, I will change Google+).
DPI, or dots per inch, is the density of pixels that controls how much of the screen real-estate is used by your apps. A higher DPI would result in bigger icons, and an overall "bigger" look to the app. In most cases you'd want to lower the DPI so that apps seem to take full advantage of your 4.7 inch display.
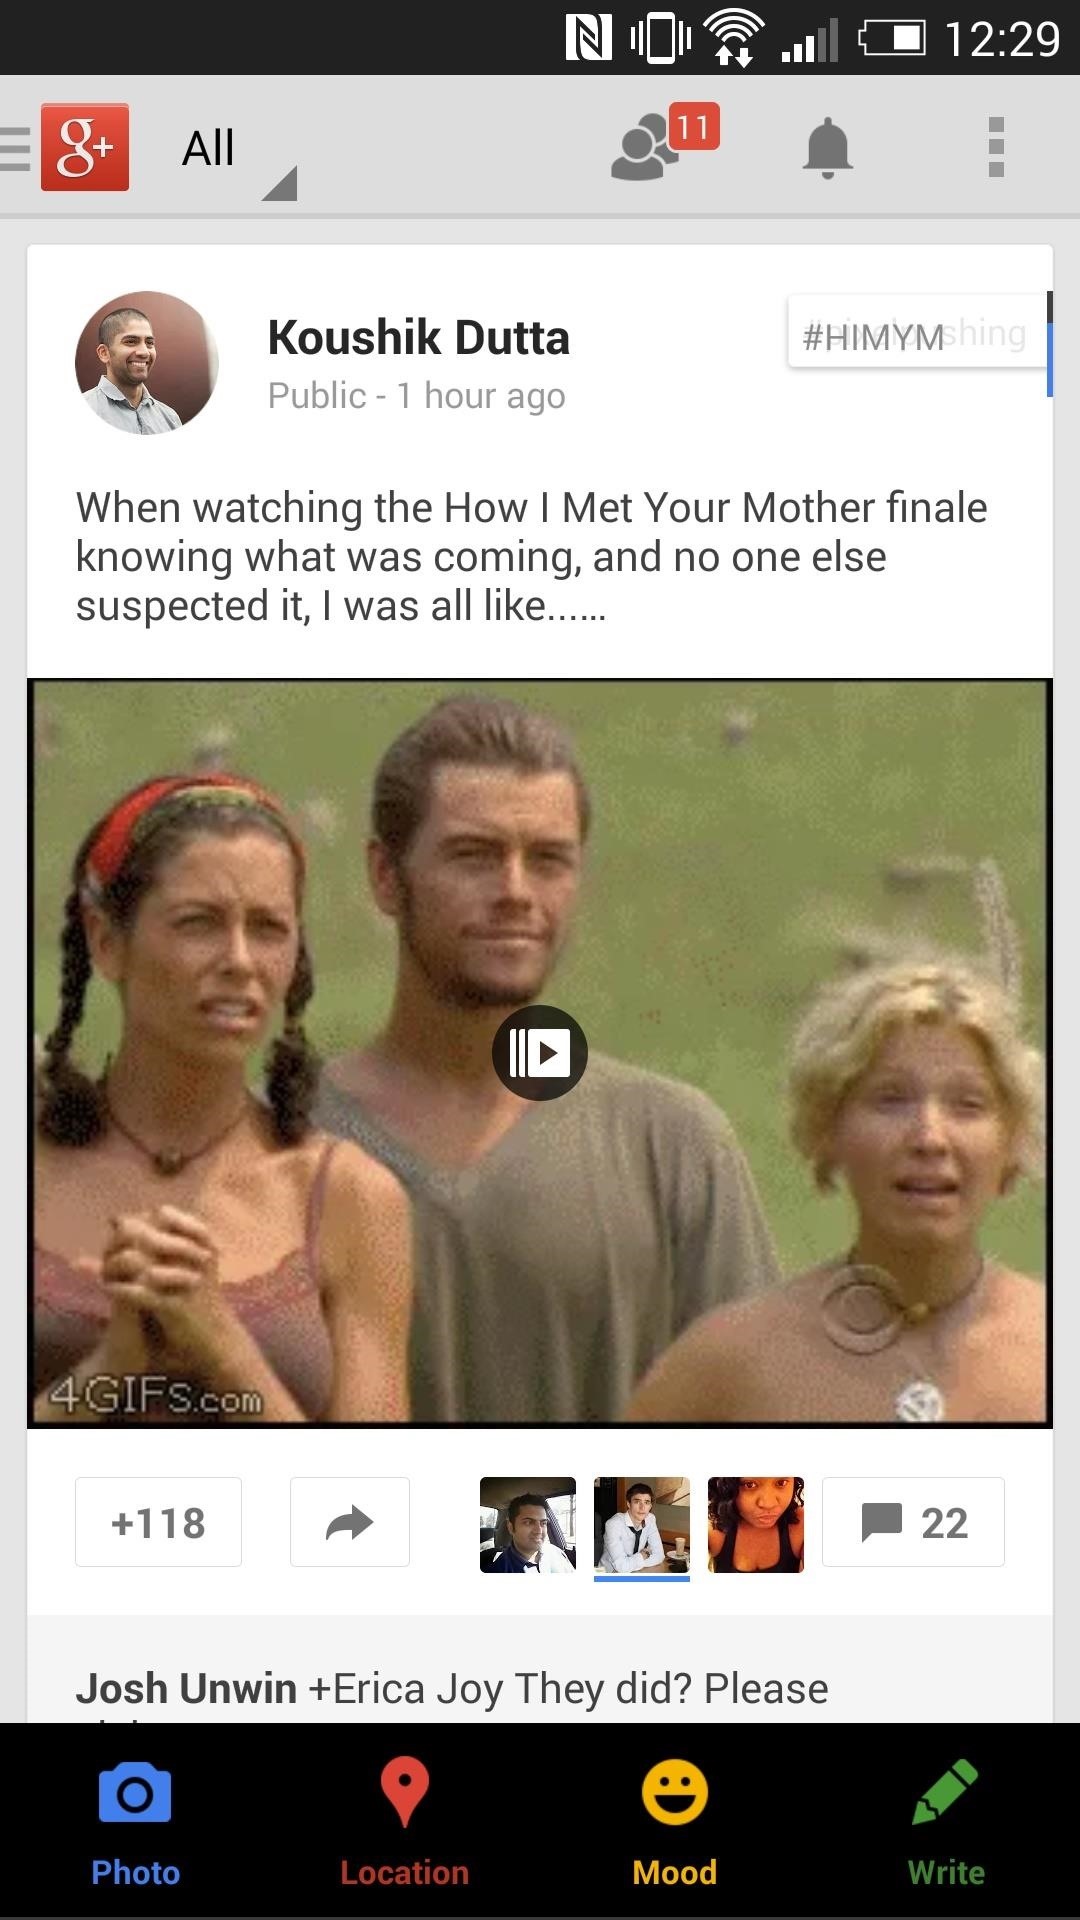
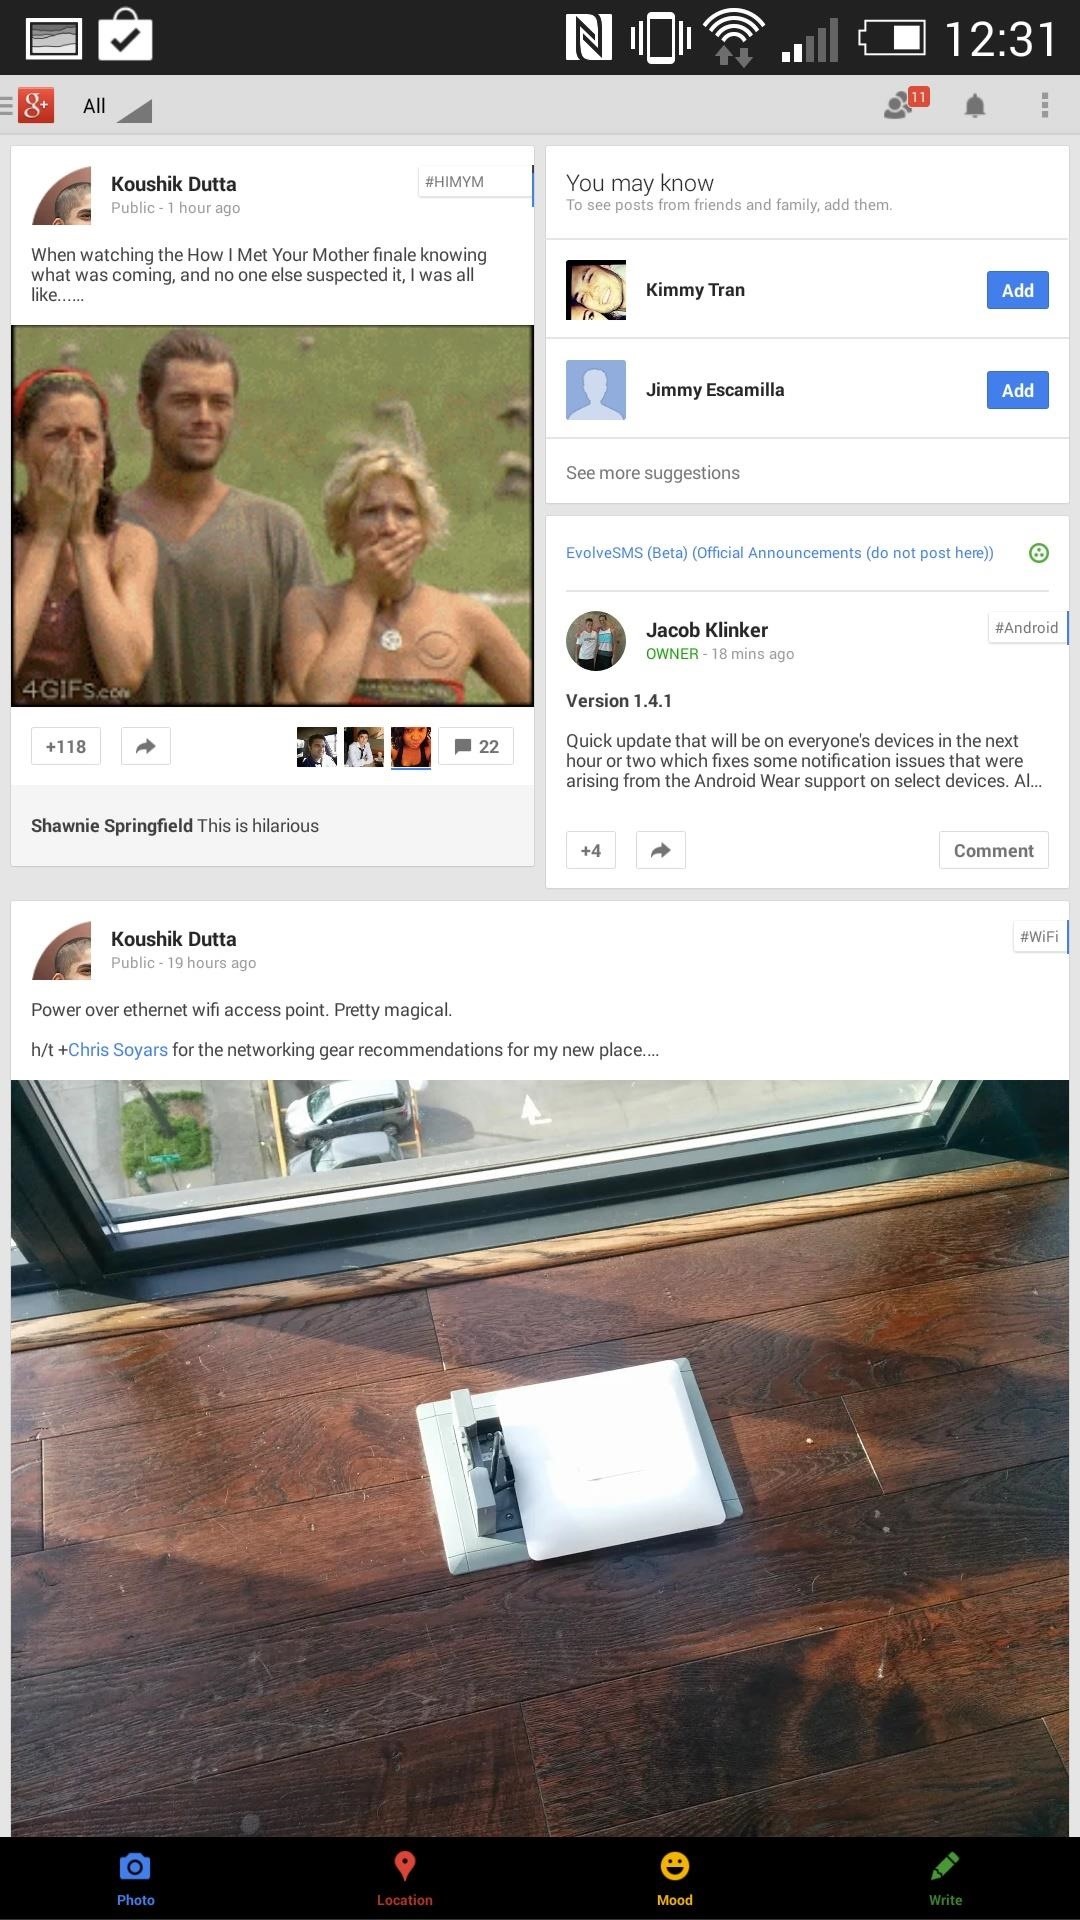
On the left is the normal DPI of the One, 480, and on the right is the modified Google+ app with a DPI of 200. You probably wouldn't want to go that small, unless you've some spectacular vision.

Once you've set the app to your liking, tap the save icon up top and then relaunch the app.
Step 3: Change Font Size
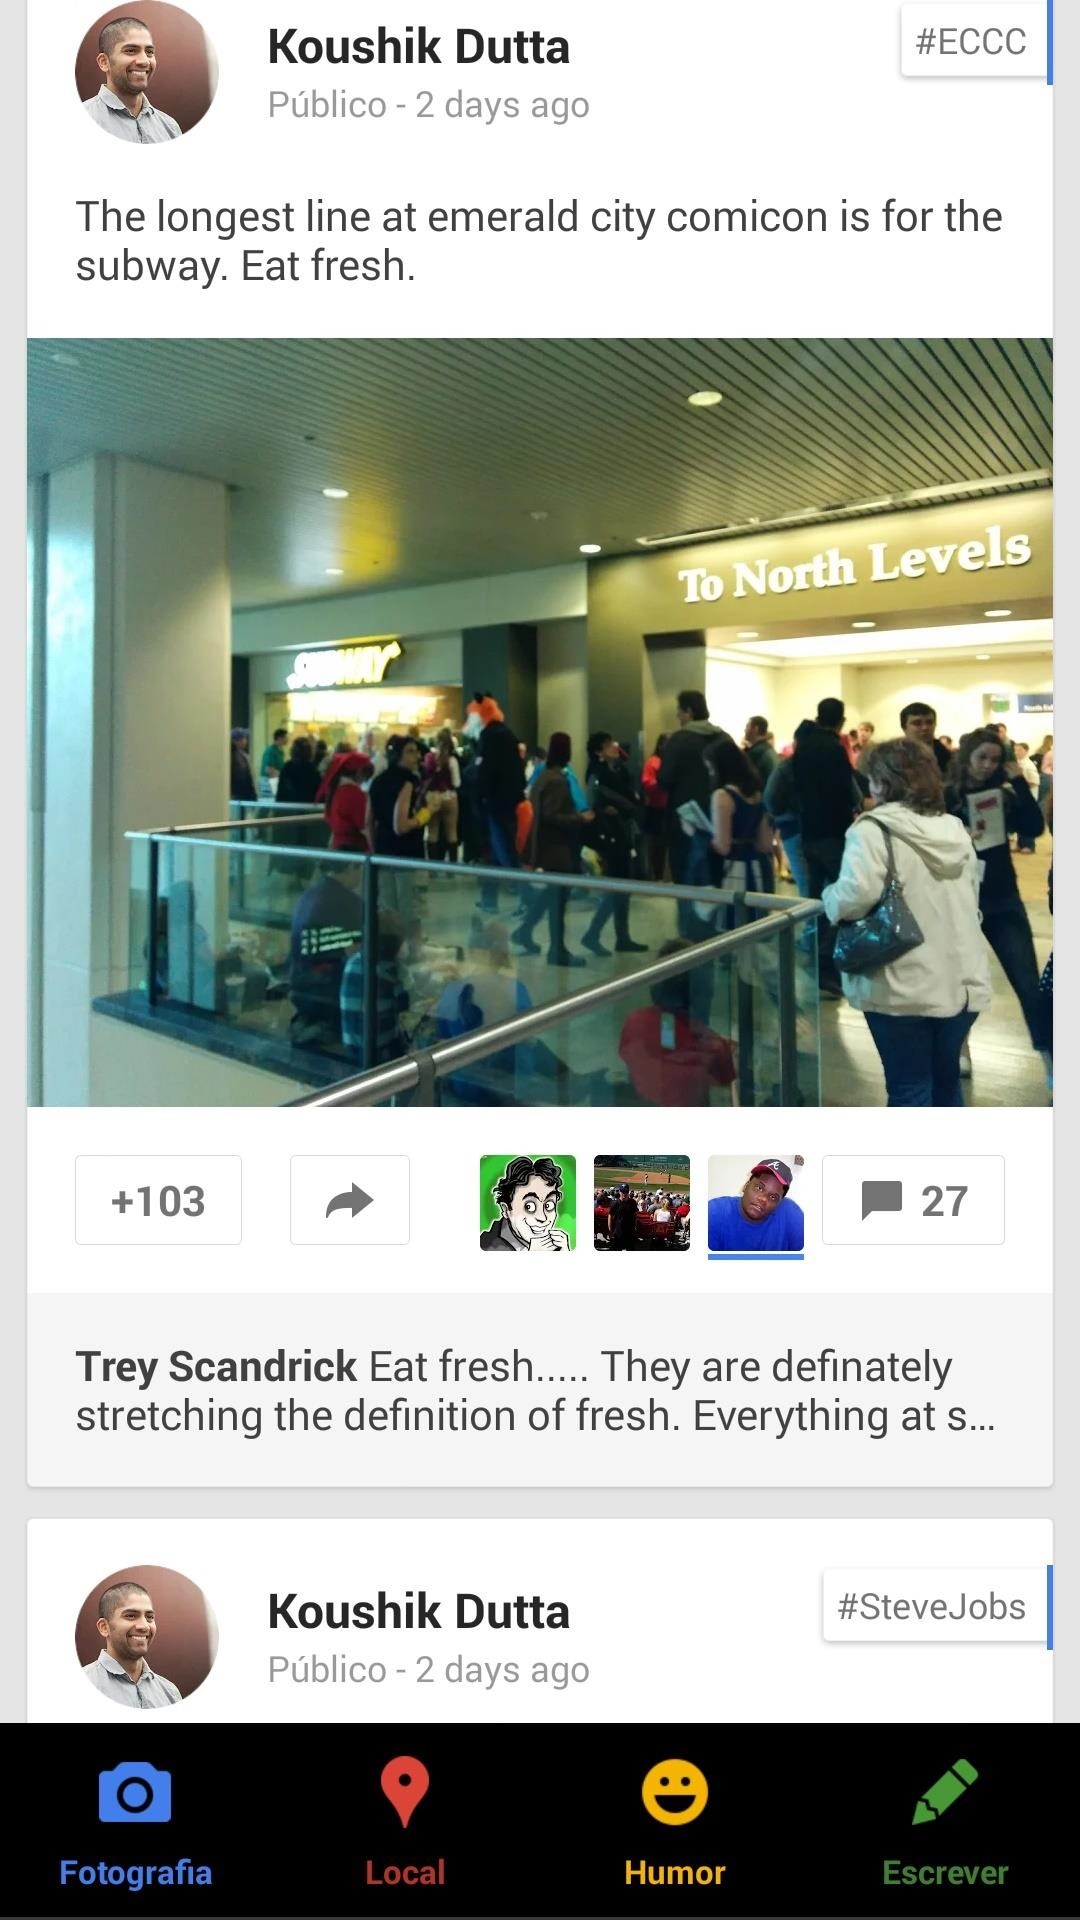
The font scale in App Settings is not set by pixels, but rather a percent system. By default, it will be set at 100% and you can modify however you like. The font size will also scale with the DPI, so be sure to keep that in mind when changing your app's appearance.


In the above images, the left is the normal 100% setting for fonts and the right is 150%.
Step 4: Force-Enable Immersive Mode
When Google unveiled KitKat, they also introduced the Immersive Mode feature. If app developers included this feature, it would allow their app to go full screen while still allowing the user to bring back the status bar by swiping down from the top of the screen. Many apps are starting to include this by default, but if they do not, App Settings can force them to.


Above is a comparison between Google+ with and without Immersive mode enabled.
Other Options
You can lock the screen orientation of an app and also prevent it from showing the title bar, as well as change the locale to a different country so that you can have certain apps be in different languages.

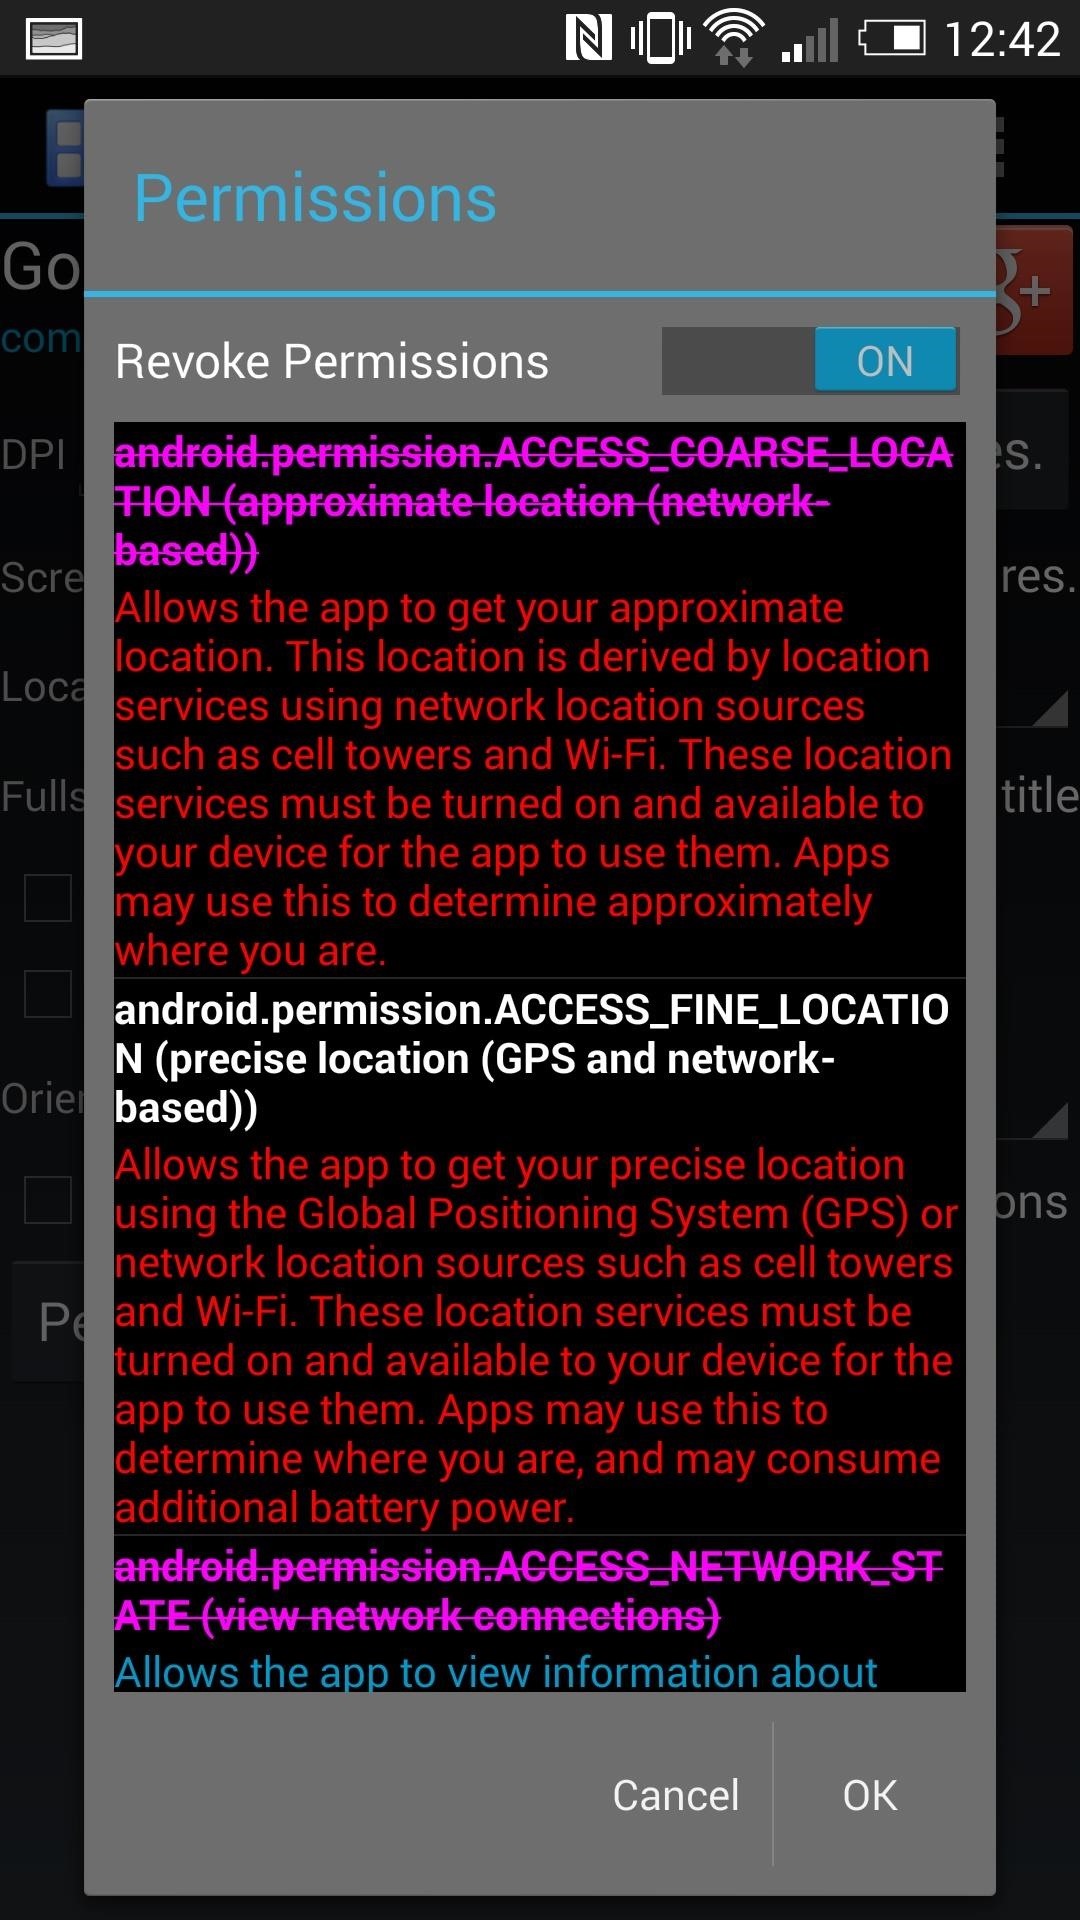
There are also options to keep your display active the entire time the app is visible, so you don't have to worry about the auto lock. App permissions can also be revoked, so you can stop those apps that are a little too nosy, although this may cause certain apps to stop functioning completely.
There you have it! You can now custom fit every app on your HTC One to your liking. Be sure to list any of your favorite app configurations in the comments below.
Just updated your iPhone? You'll find new emoji, enhanced security, podcast transcripts, Apple Cash virtual numbers, and other useful features. There are even new additions hidden within Safari. Find out what's new and changed on your iPhone with the iOS 17.4 update.


Be the First to Comment
Share Your Thoughts